
How to Grow Chives in a Pot from Seed
The following two lists shows what tools and equipment I used to grow the Chives. Not all are strictly necessary but they are listed for completeness. For example - you would only need a heated mat if you had nowhere warm to germinate the seeds - or you can use re-cycled pots from last year if you have them.
This site is reader supported and as such external links may earn us a commission. As an Amazon Affiliate we earn from qualifying purchases but at no cost to you the reader.
Things You Will Need to Grow Chives
Tools You Will Need to Grow Chives
Step by Step Guide
If you want a quick overview then I suggest you first watch my Youtube Video How to Grow Chives in a Pot from Seed . The following steps are also in the video but more detail is given in the sections below:
This site is reader supported and as such external links may earn us a commission. As an Amazon Affiliate we earn from qualifying purchases but at no cost to you the reader.
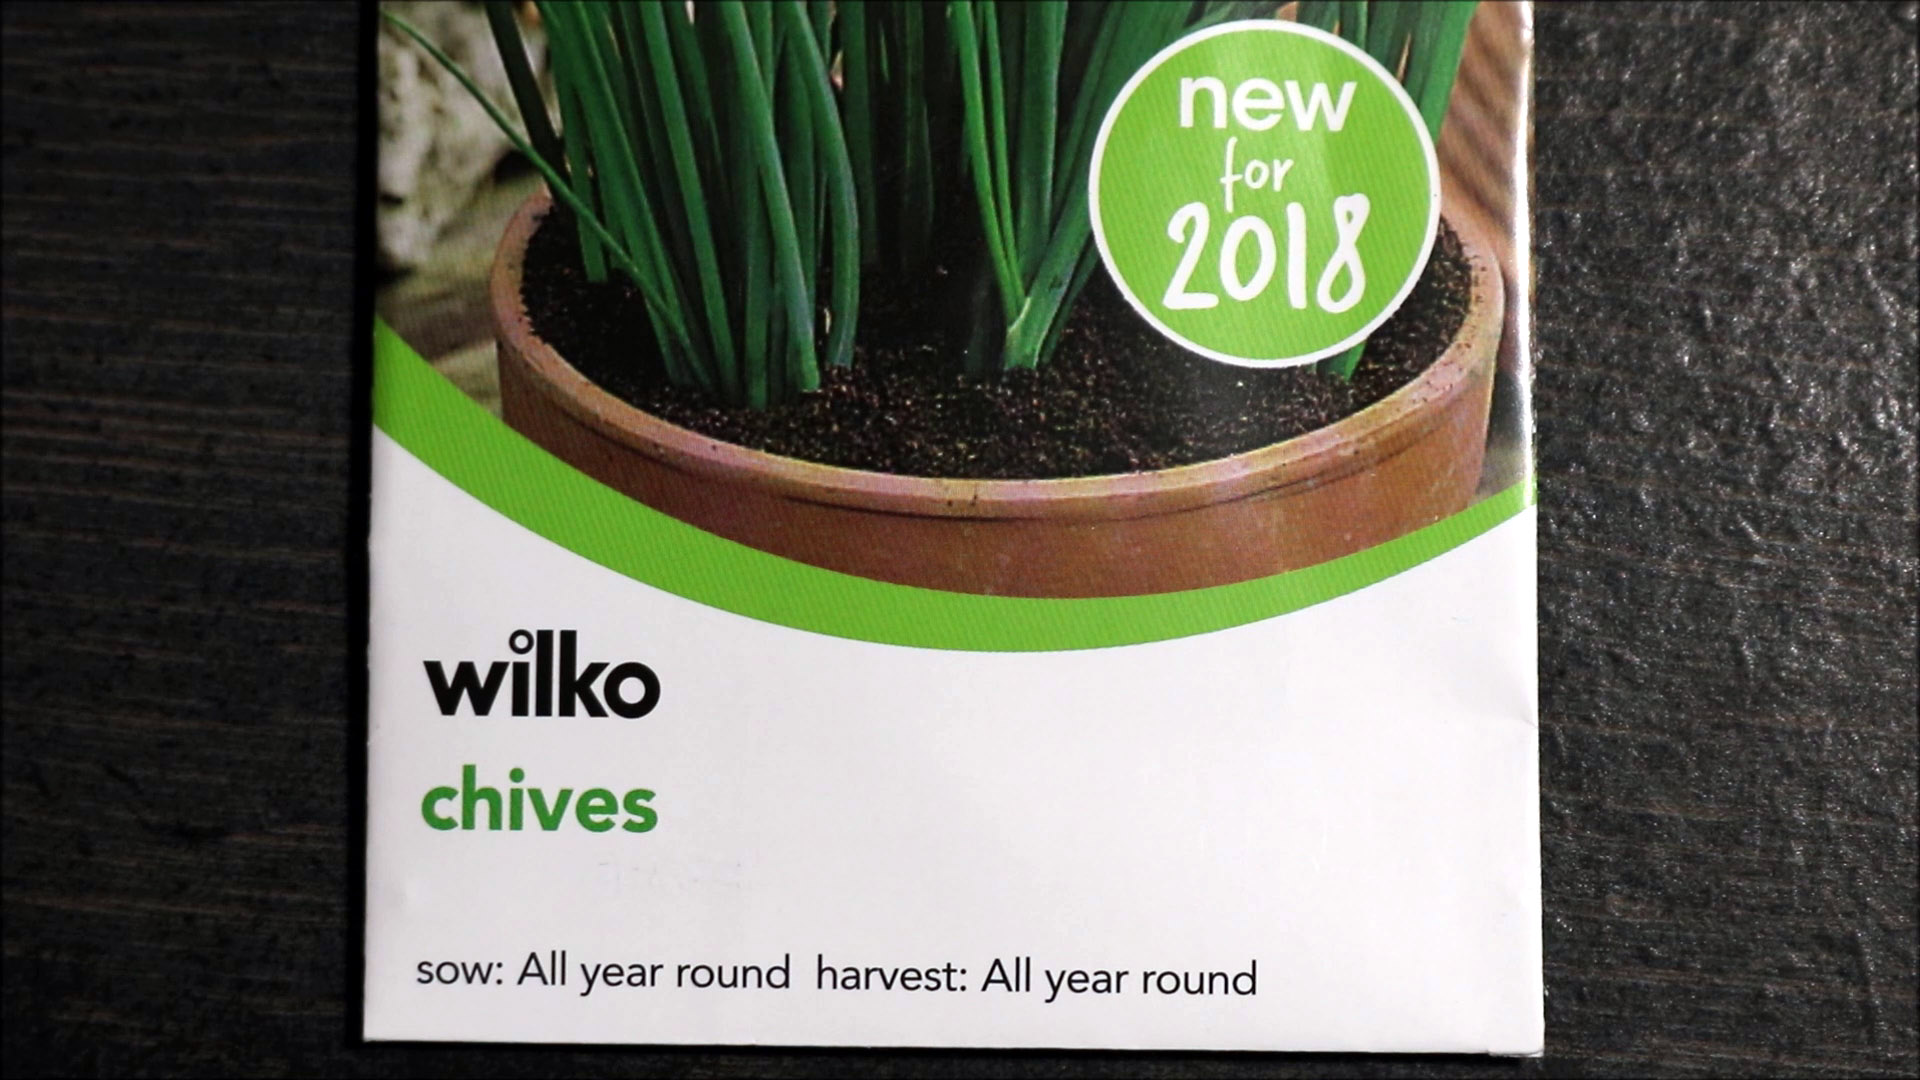
Step 1. Buy Some Seeds
Chive Seeds are available in Garden Stores or you can buy them on-line.
As shown on the packet the seeds can be sown and harvested all year round.

On the rear of the packet are usually shown growing times and instructions for your region.
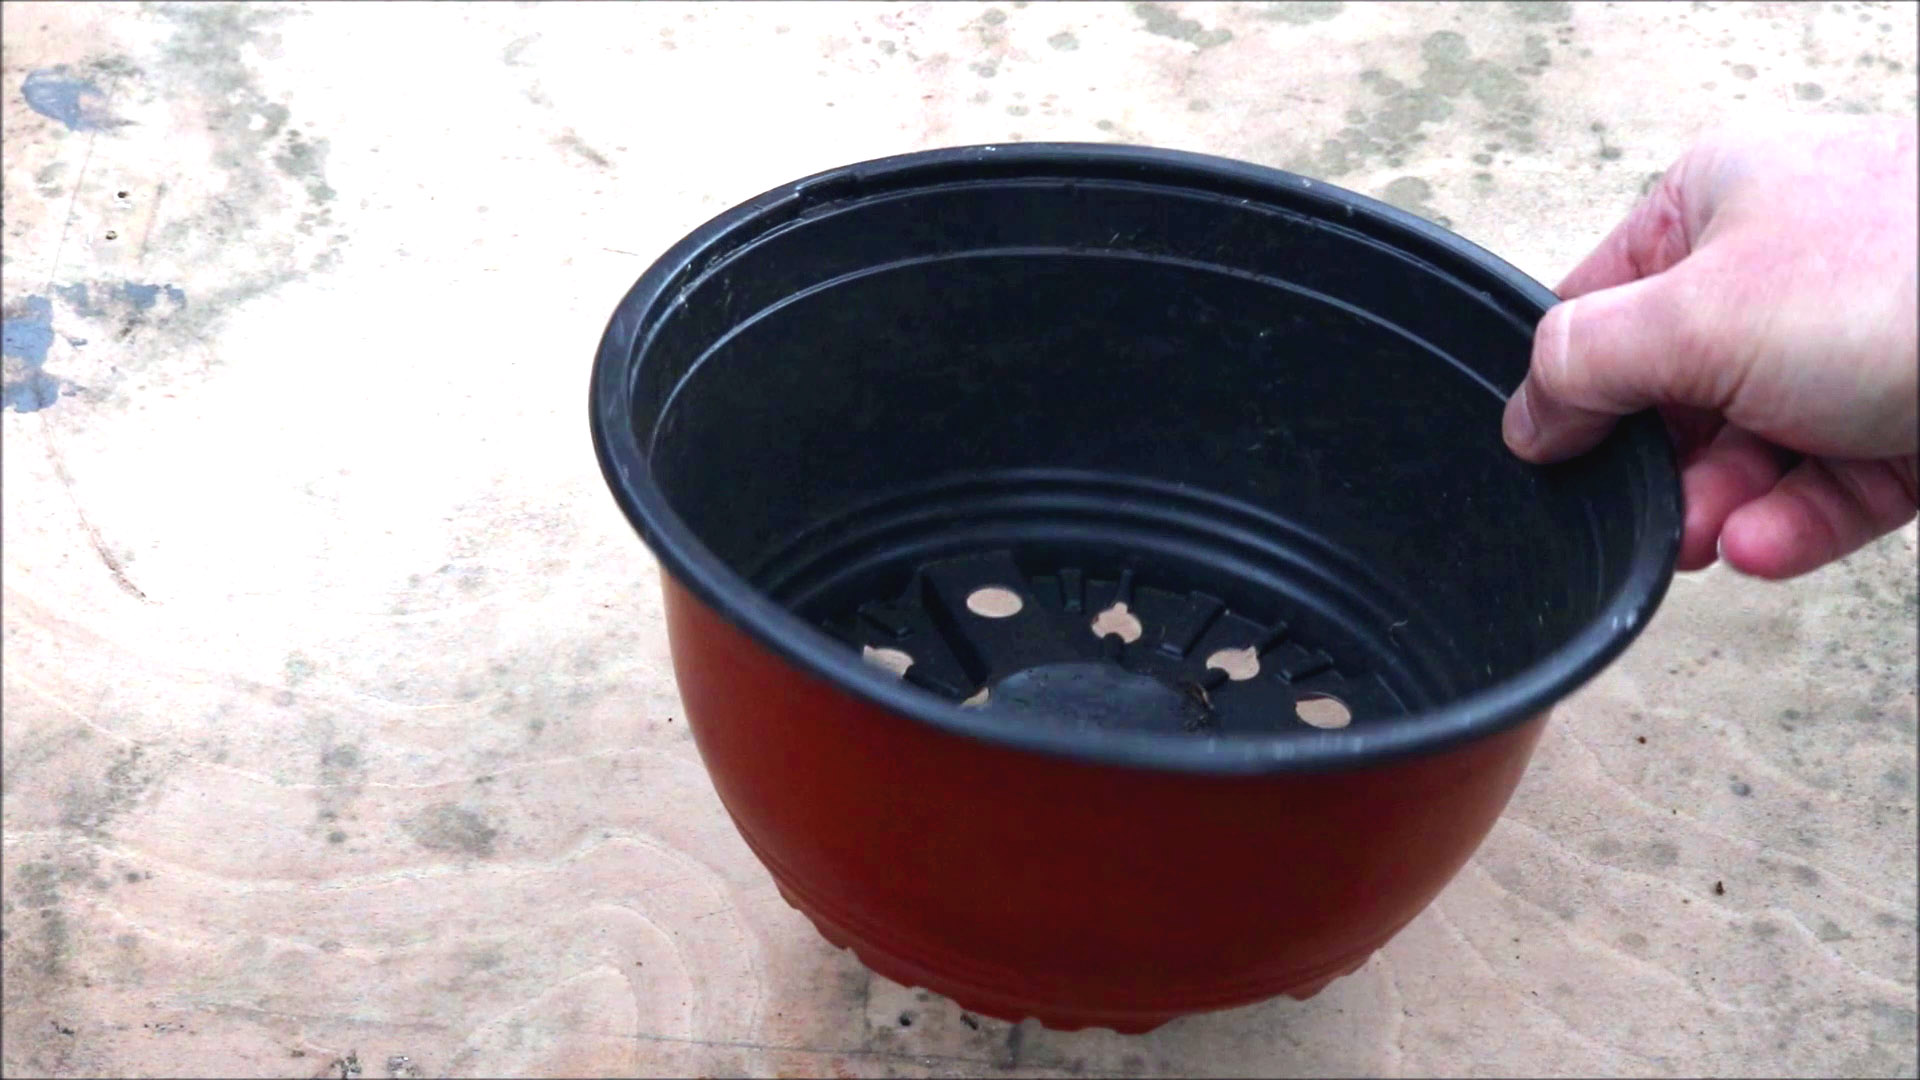
Step 2: Get a Pot
You will need a Plant Pot that is at least 50mm (2 inches) deep. The
diameter of the pot is up to you depending how many chives you want to grow.
The pot must have drainage holes or the soil could get waterlogged and
drown the roots.
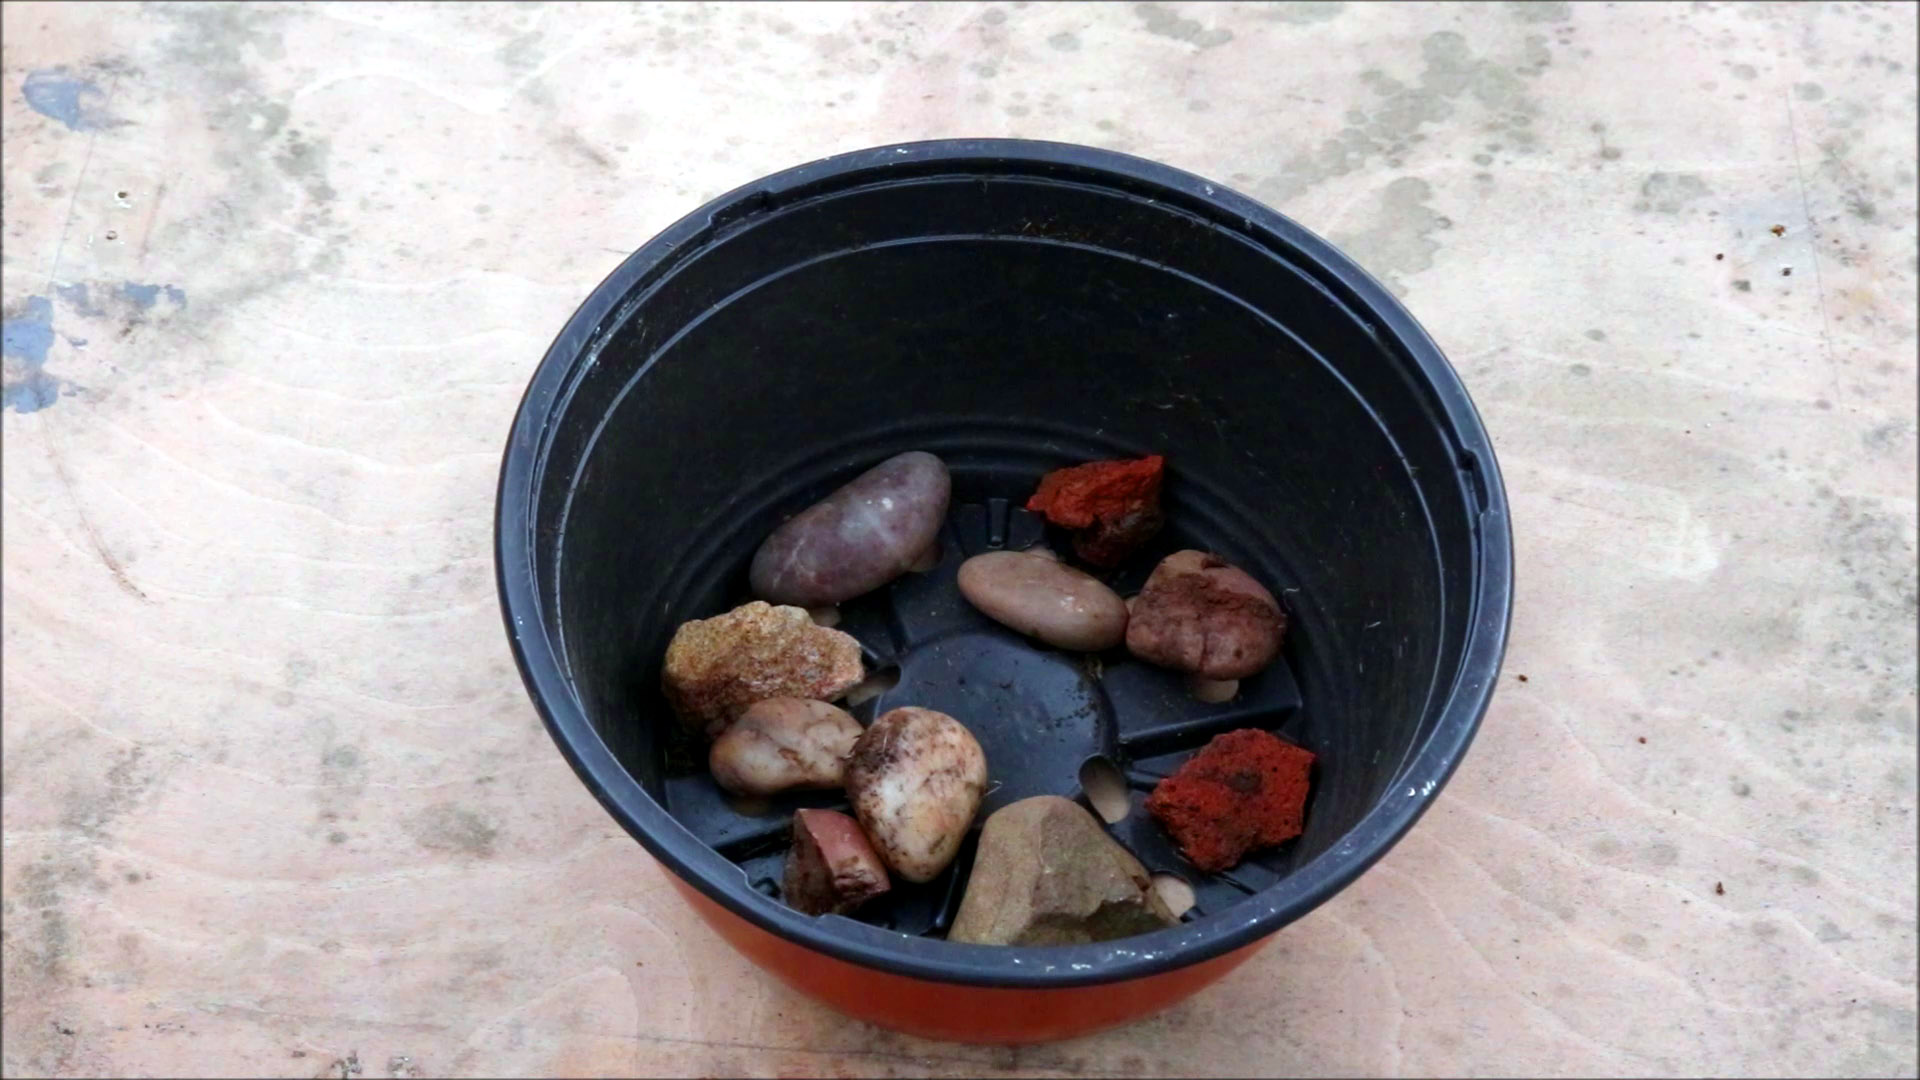
Step 3: Plug Drainage Holes
Get some small stones or pebbles and place them over the drainage holes at the bottom of the pot. This allows excess water in the compost to drain out but stops the compost washing out through them.

Step 4: Fill the Pot with Compost
Fill the pot with Compost
up to about 12mm (1/2 inch) from the rim.
Gently press the compost down to remove any air pockets.
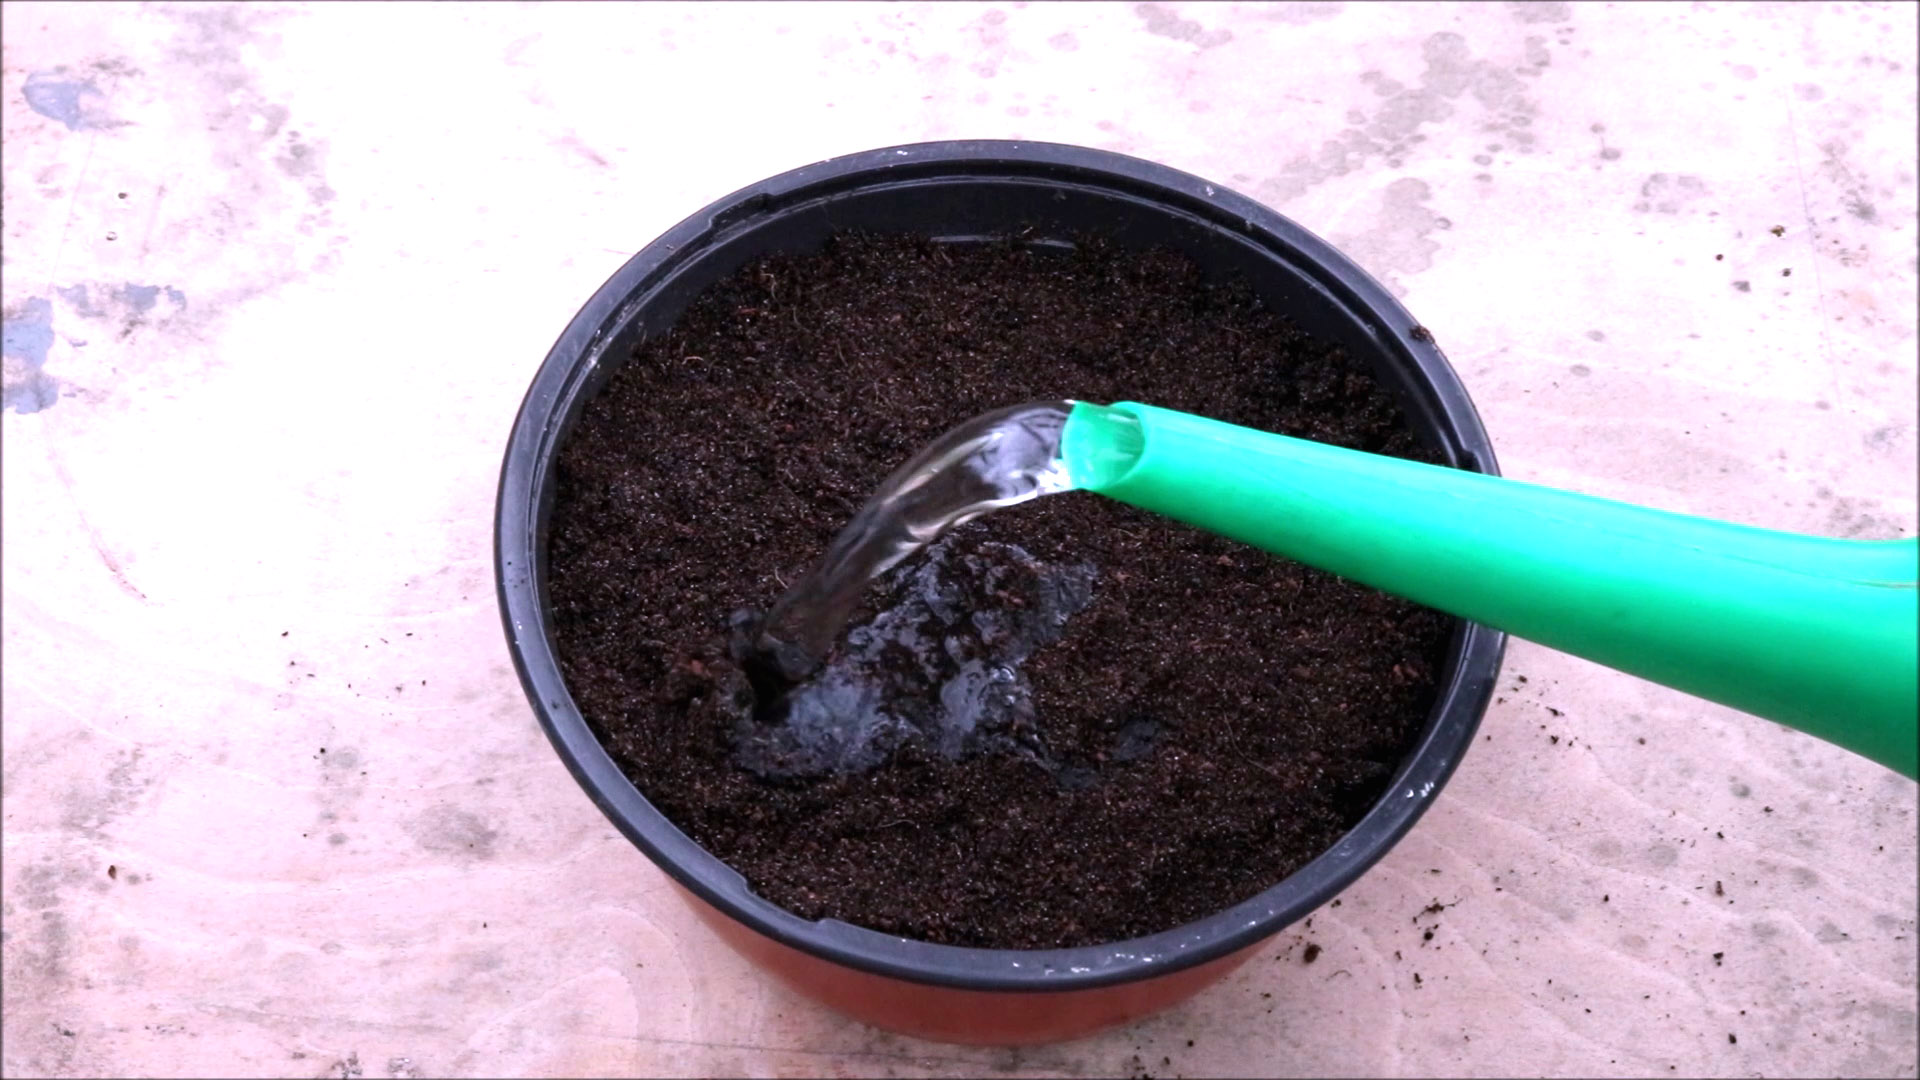
Step 5: Water the Compost
Seeds need air, heat and water to germinate. It is best to moisten the compost before adding the seeds otherwise they can all be washed to the edges of the pot if you water afterwards.
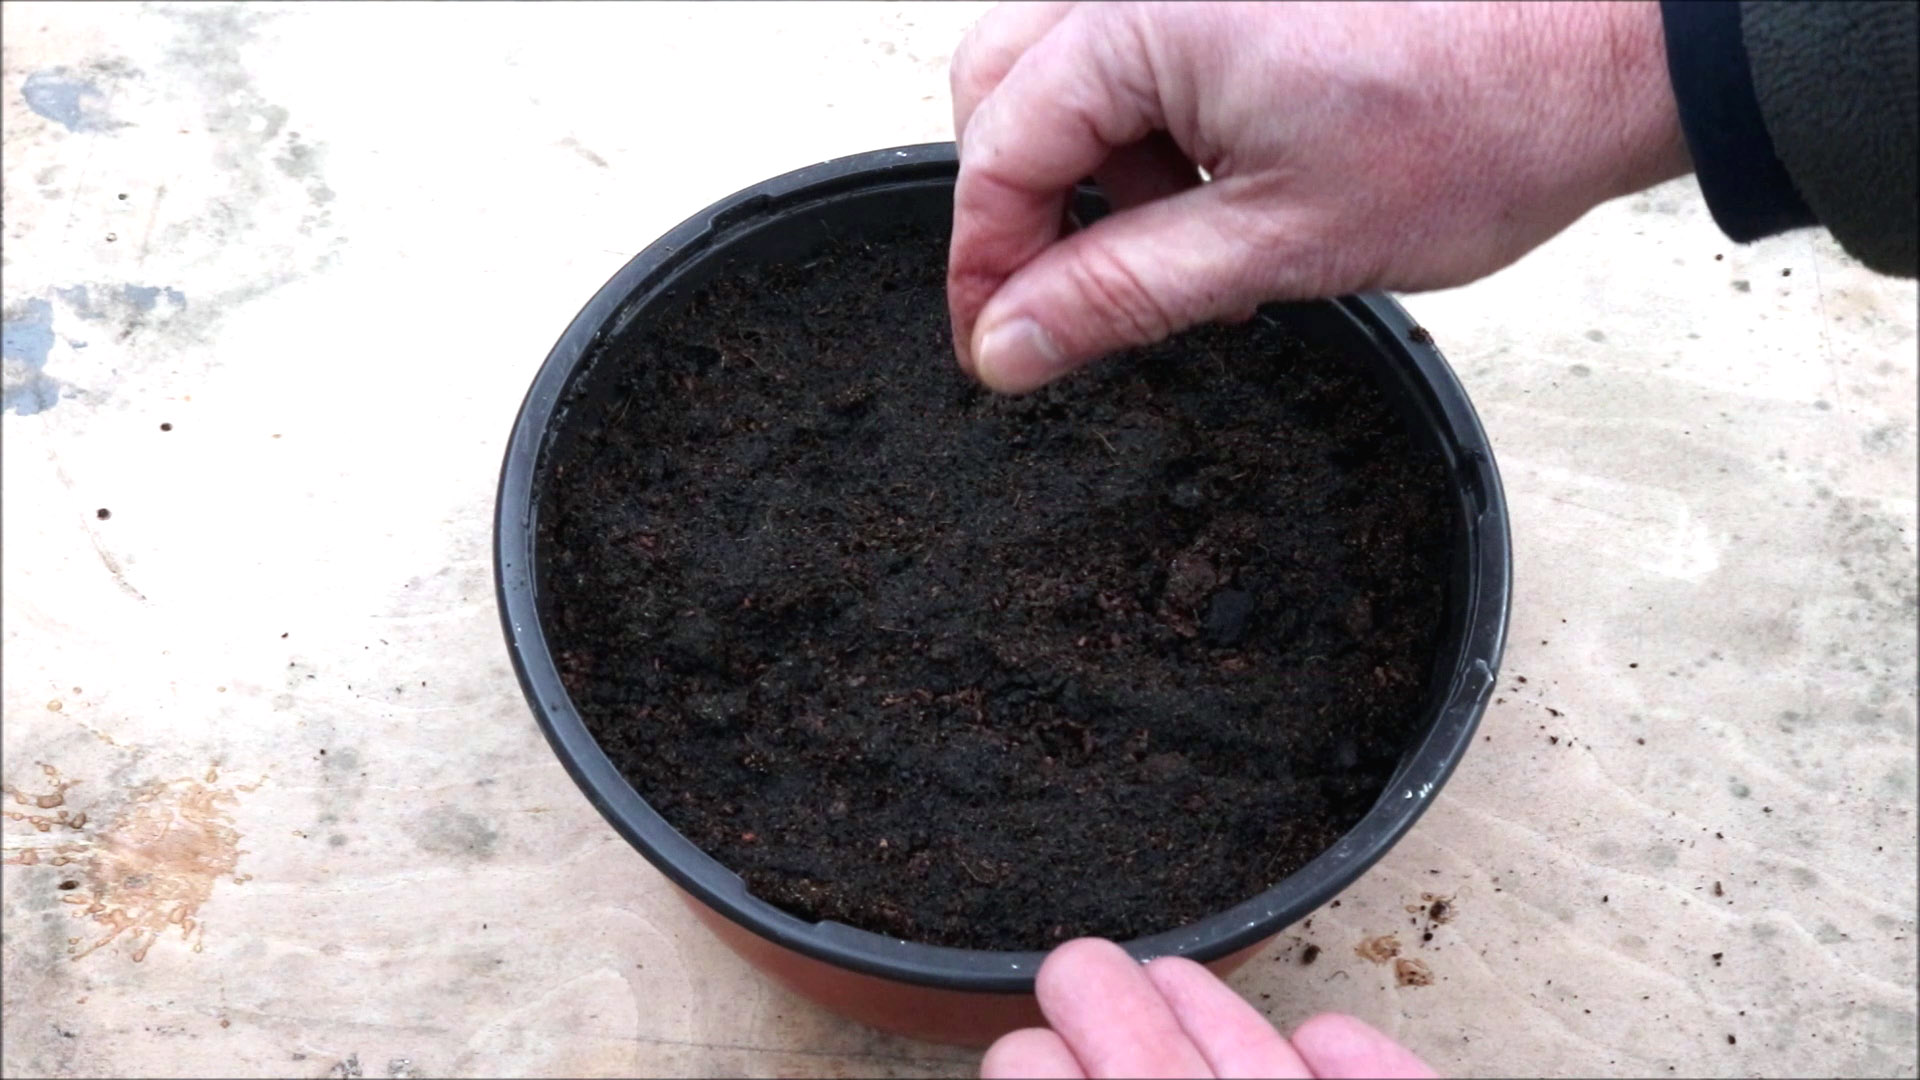
Step 6: Sprinkle the Seeds onto the Compost
Sprinkle the seeds evenly across the pot trying to get a spacing of 10mm ideally. Dont worry about doing this exactly - the figure is just a guide.
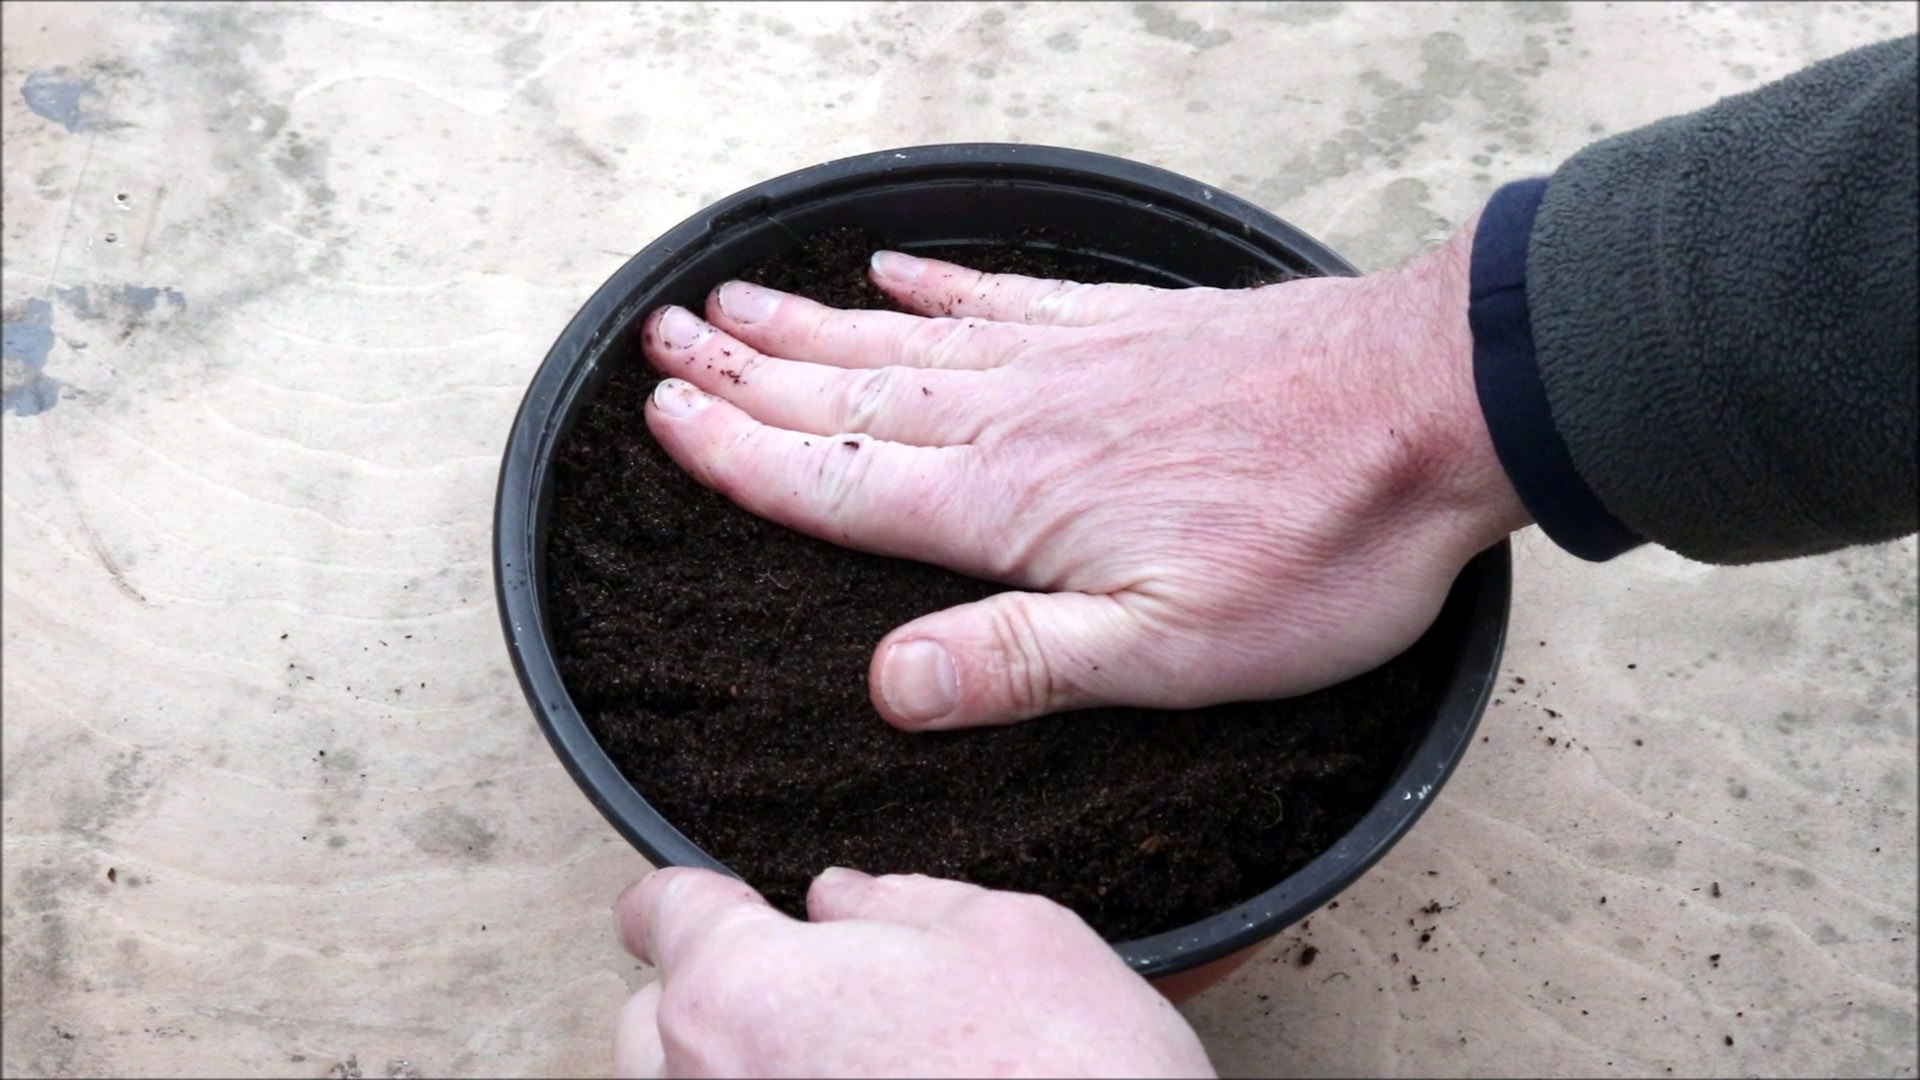
Step 7: Cover the Seeds with the Compost
Cover the seeds with 10mm (1/4 inch) of compost. Press the compost down gently to remove any air pockets. This allows the seeds to make contact with the moist compost and absorb water which they need to germinate.
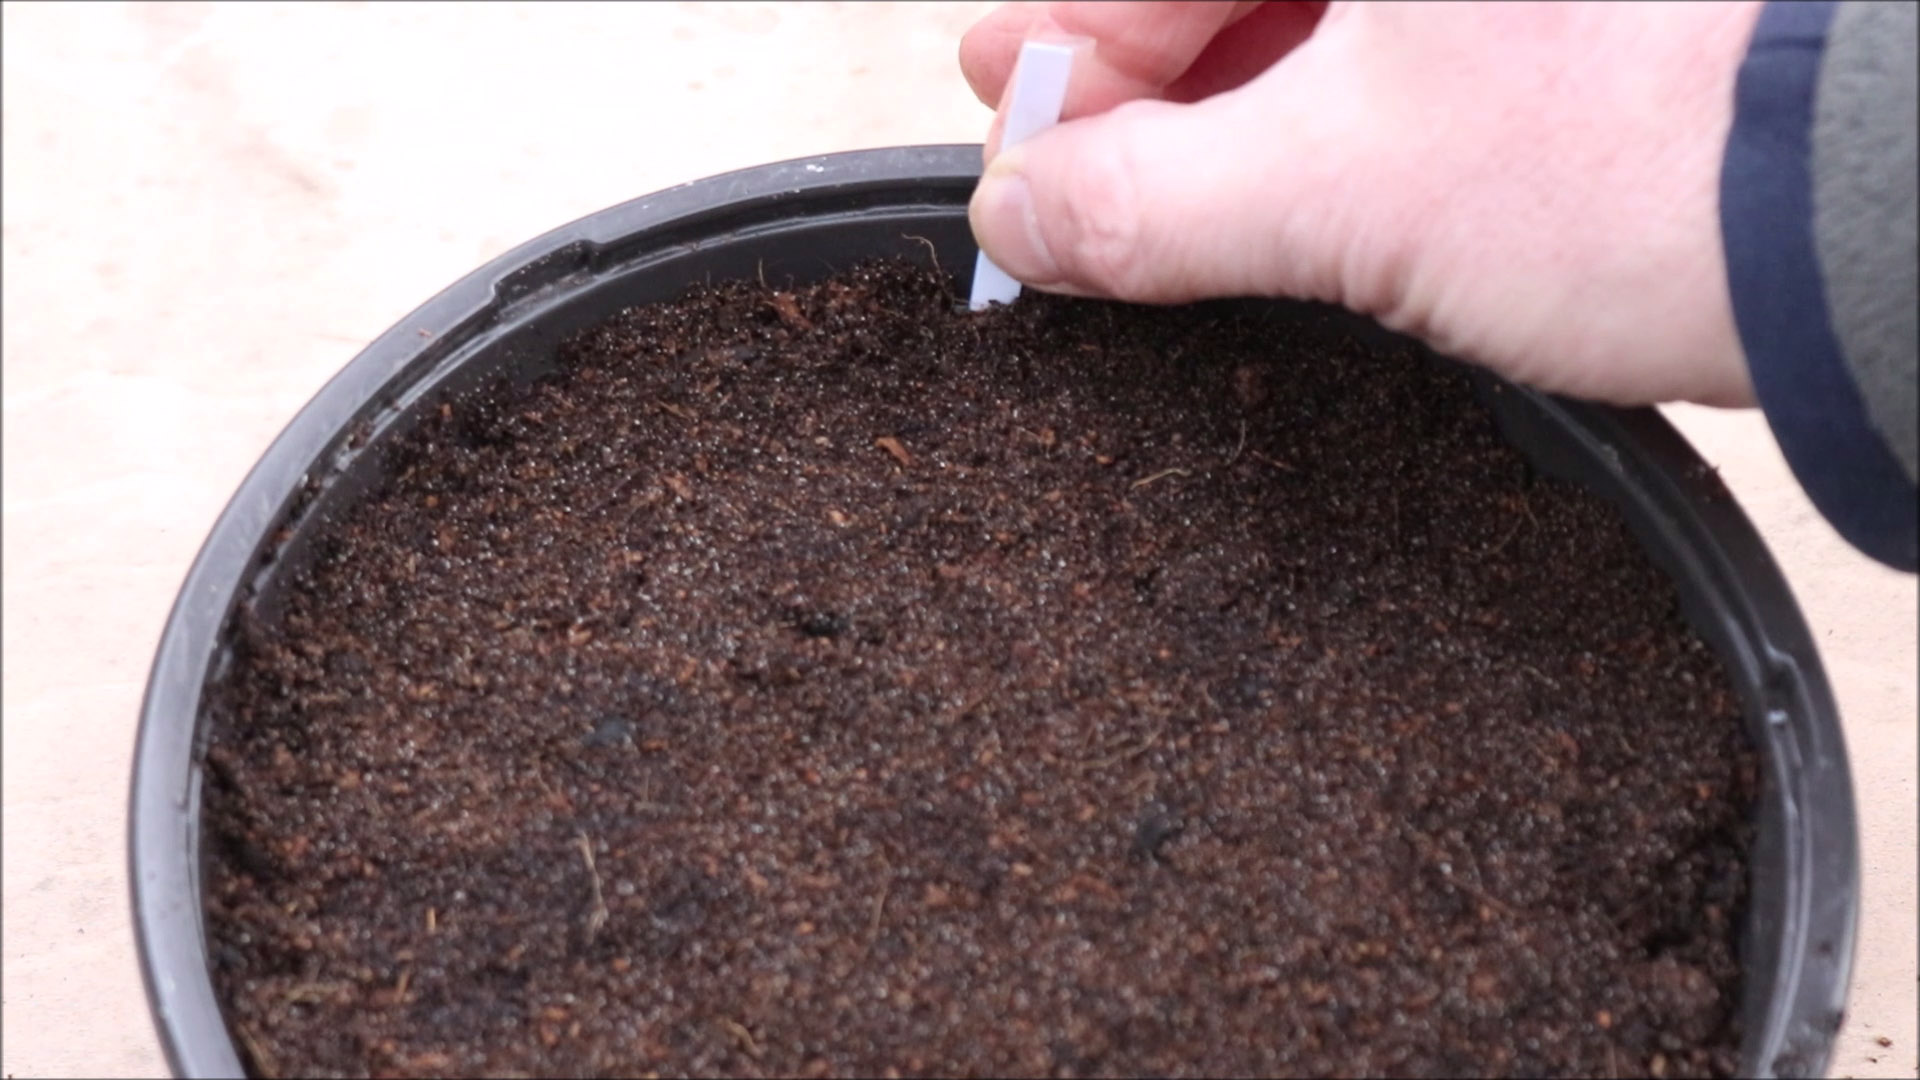
Step 8: Fit a Label
This is important, especially so if you have several Pots growing lots of plants. It can be several weeks until the seeds germinate and when they do it is not obvious what plants they are. So it is a good idea to identify them.
I use home made labels - sometimes from laminated paper and sometimes
from wooden stirrers from coffee shops. You can also buy ready made Labels if
you prefer.
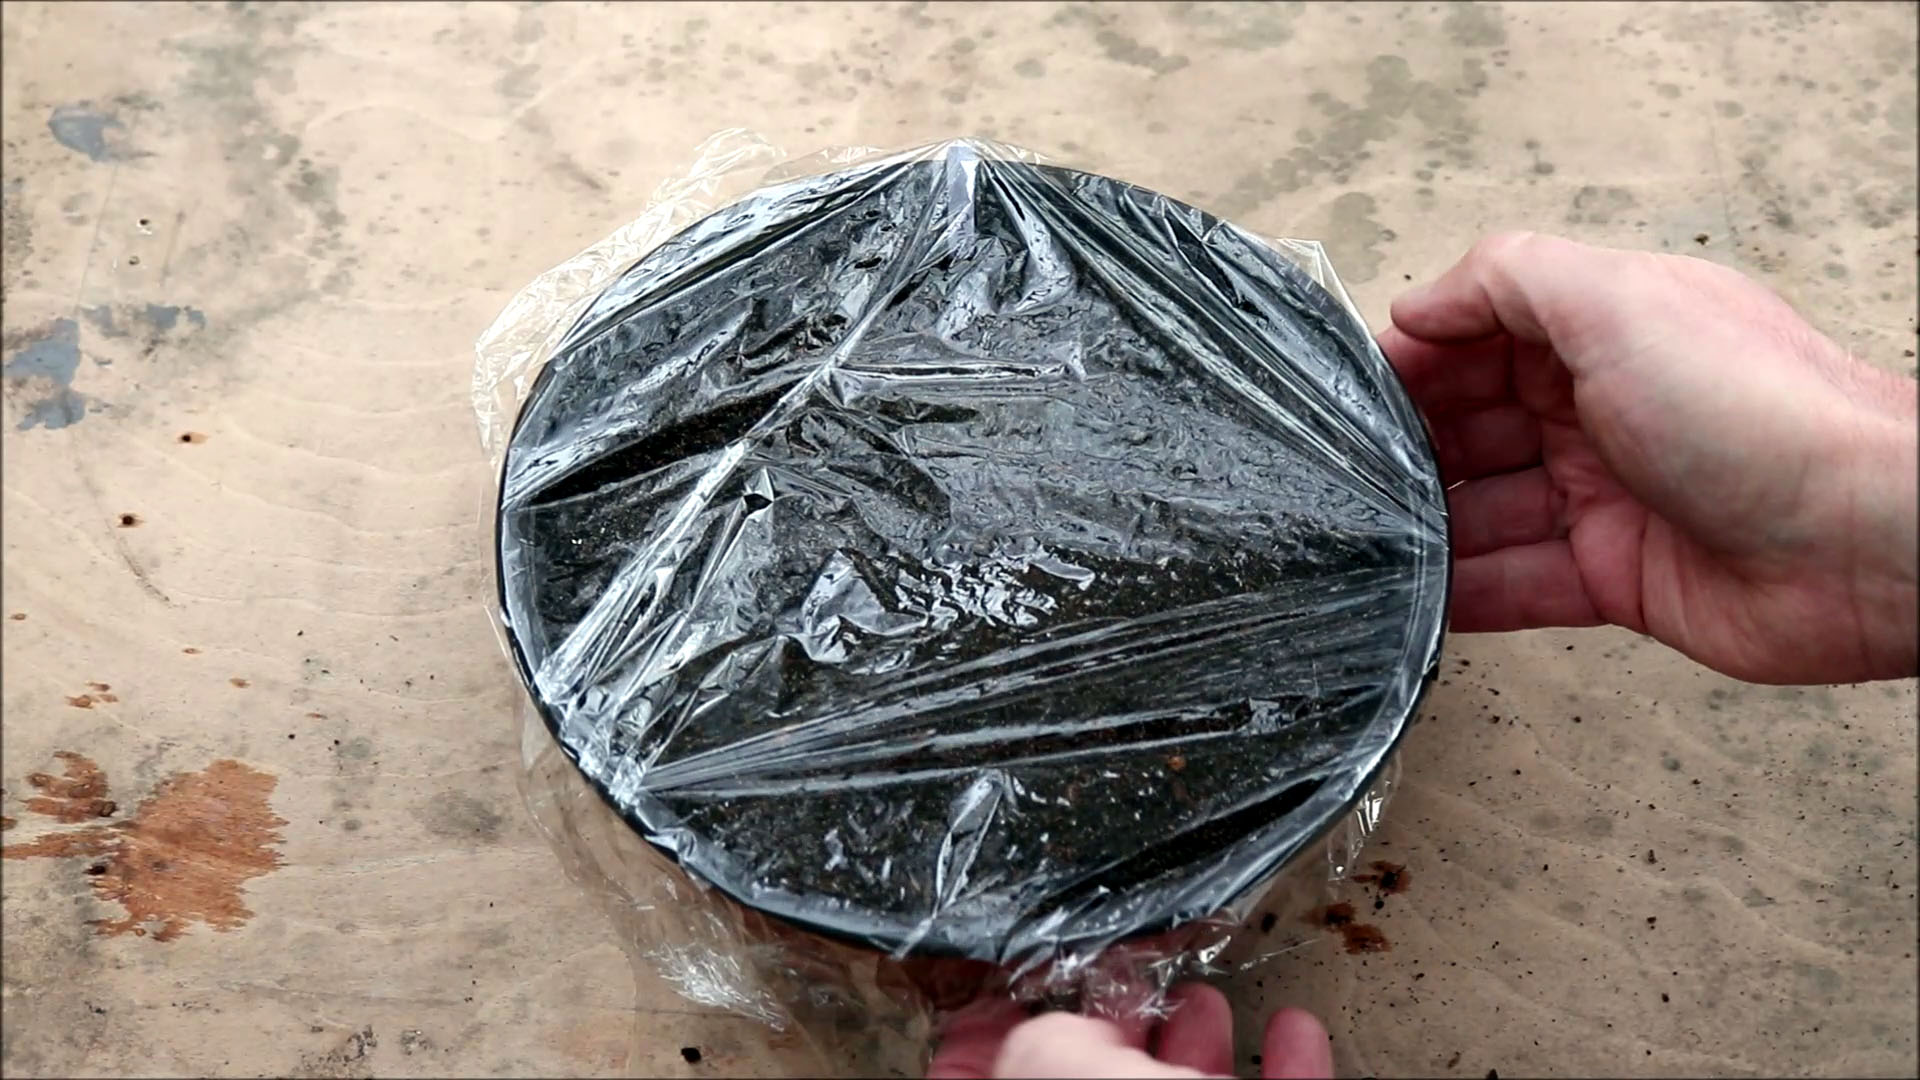
Step 9: Cover with Plastic Film
Cover the pot with Plastic Film
and leave overnight. The plastic film keeps the air in the tray humid
which helps the seeds absorb water.
Keep in a warm place (20 degC or 68 degF) and water if the compost starts to become dry.
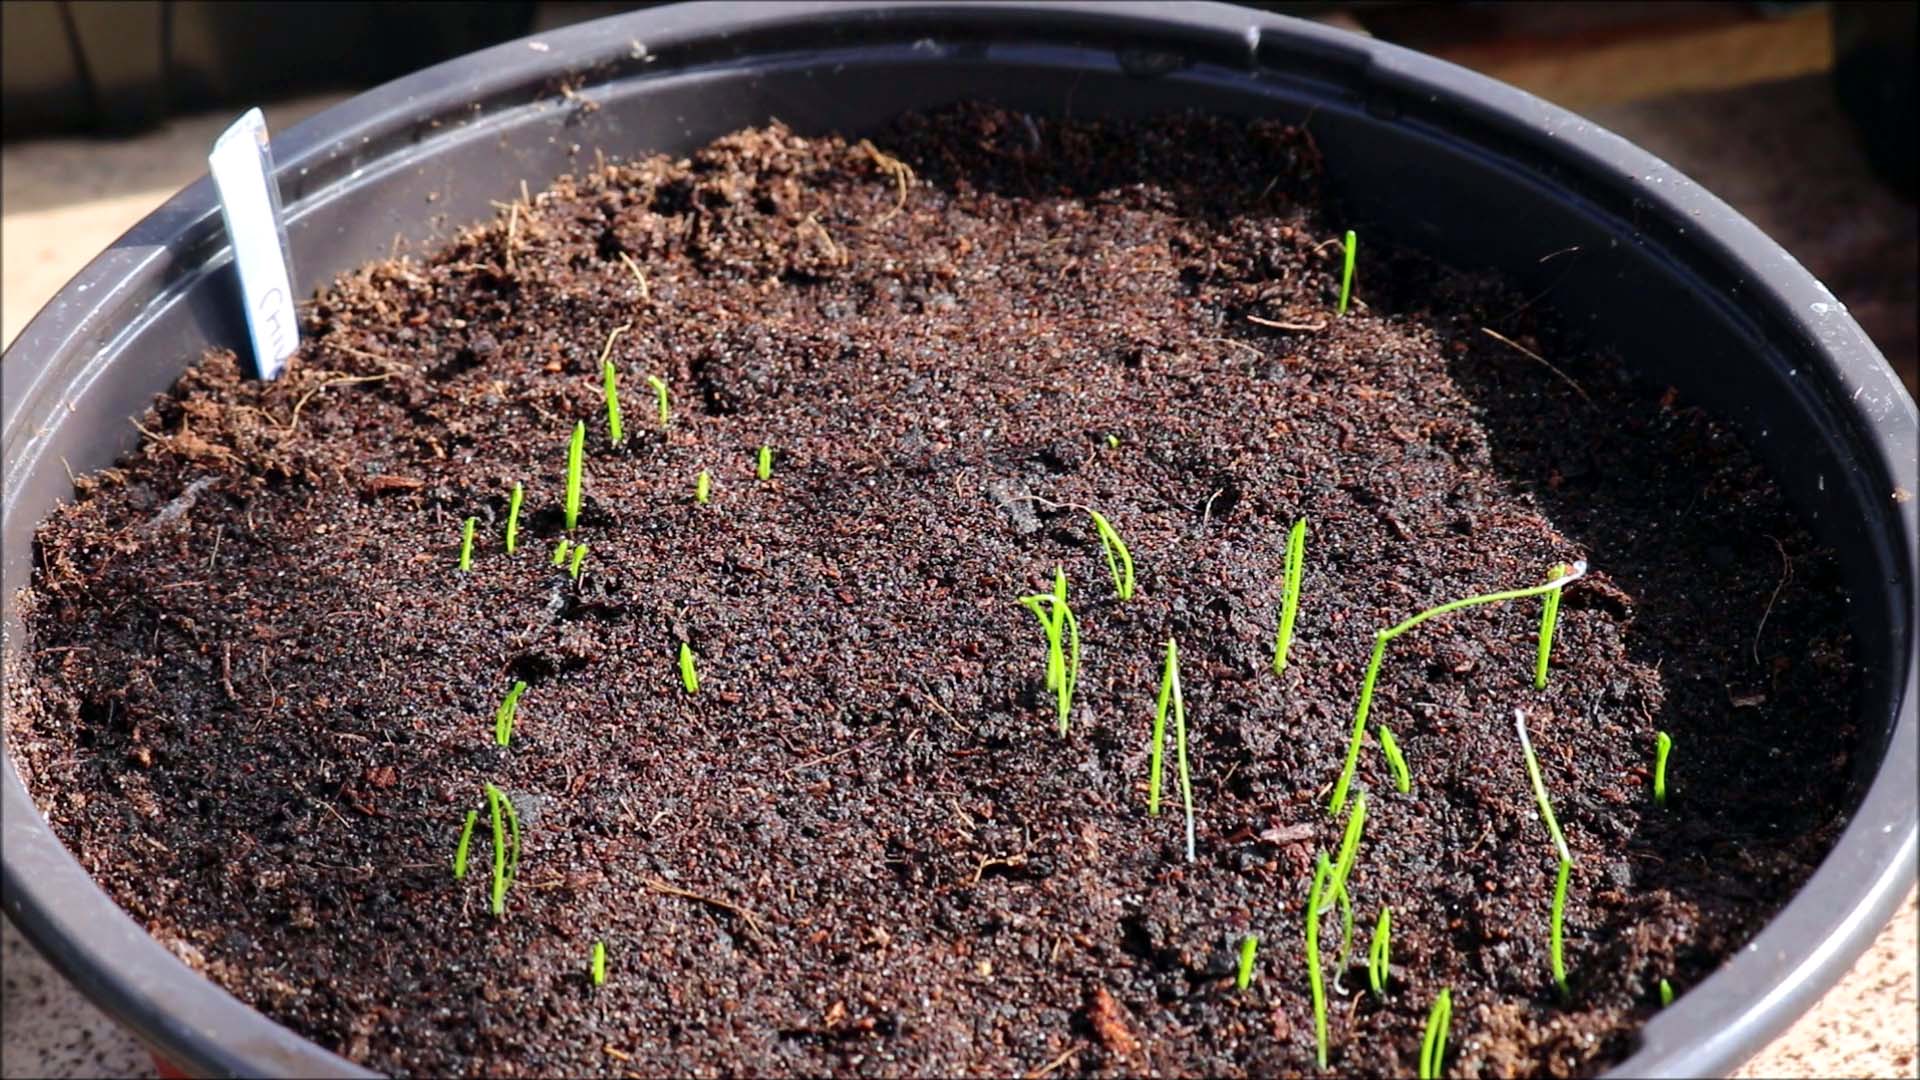
Step 10: Seeds Germinate
Within 14 to 28 days the seeds will start to germinate. At this point remove the plastic film and move to a place that gets full sunlight.
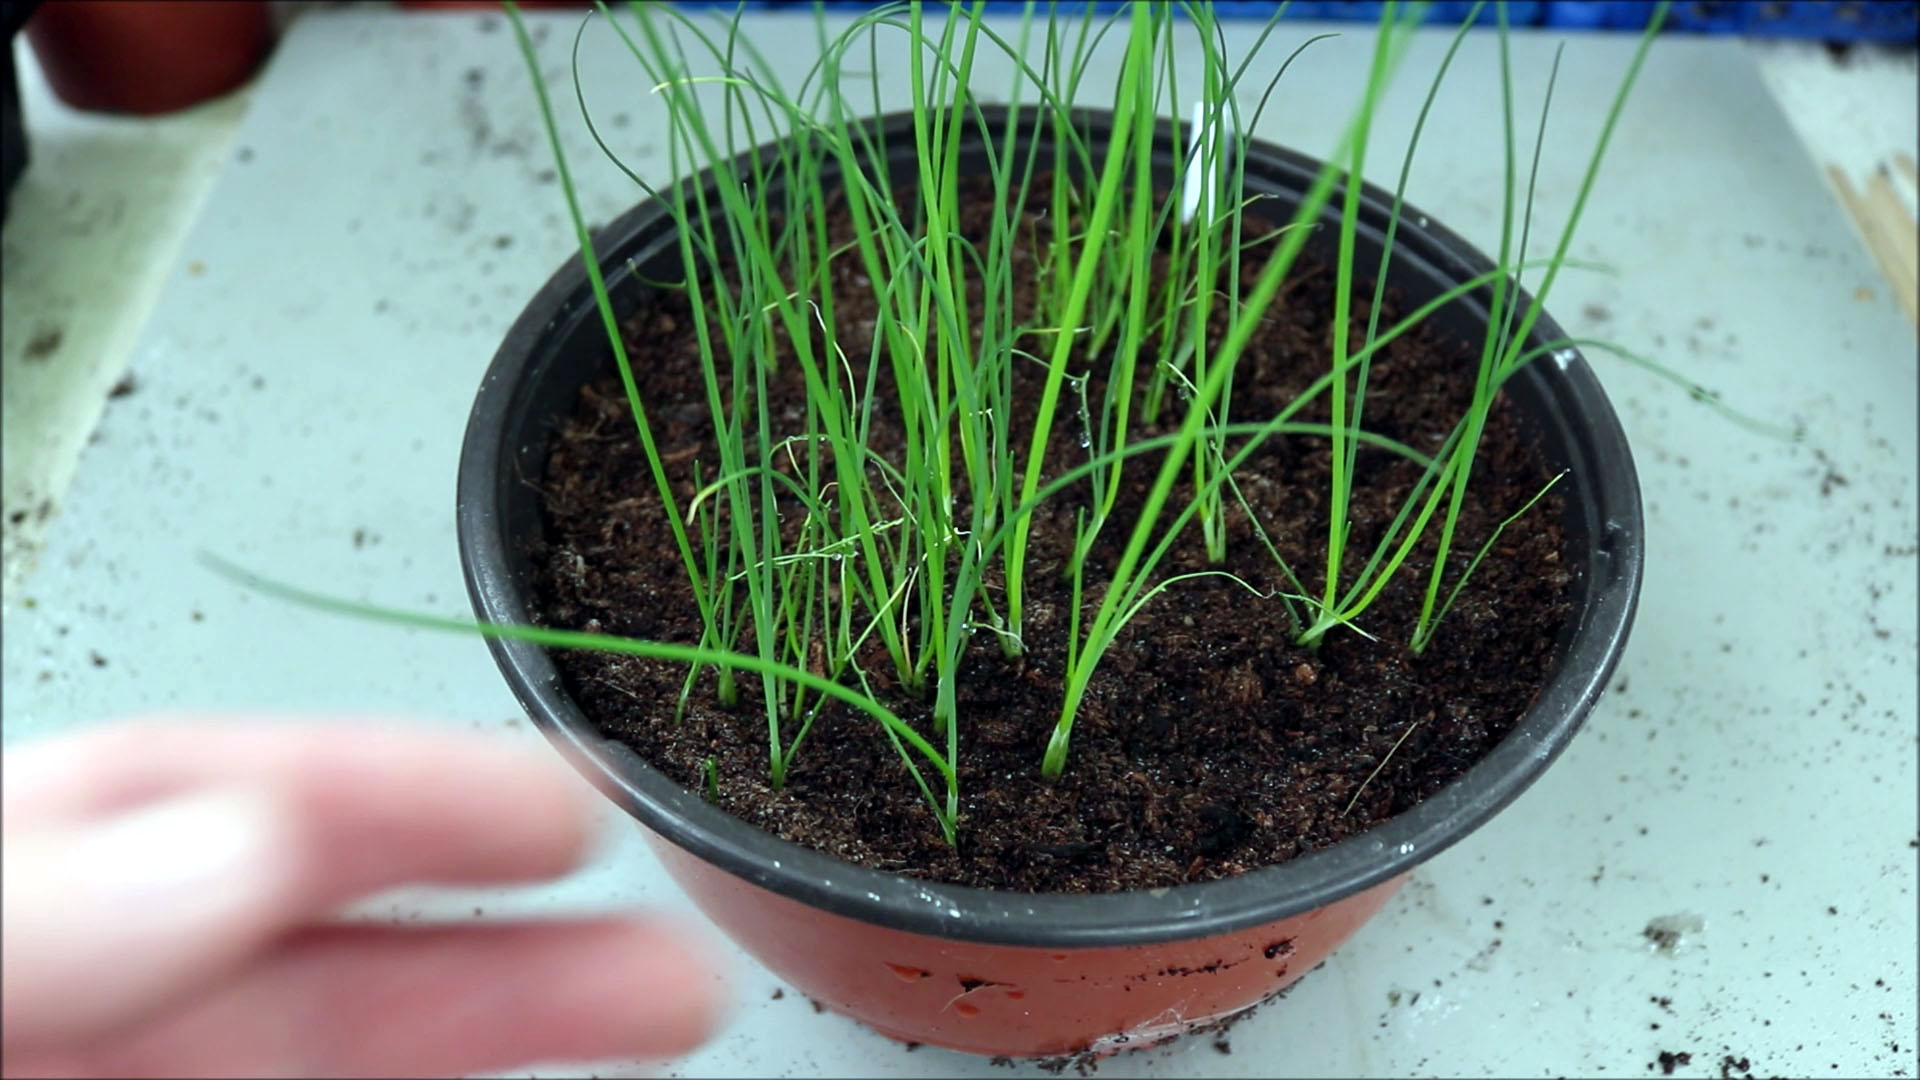
Step 11: Keep Warm and Watered
Keep warm and watered, in full sunlight. The plants will steadily mature.
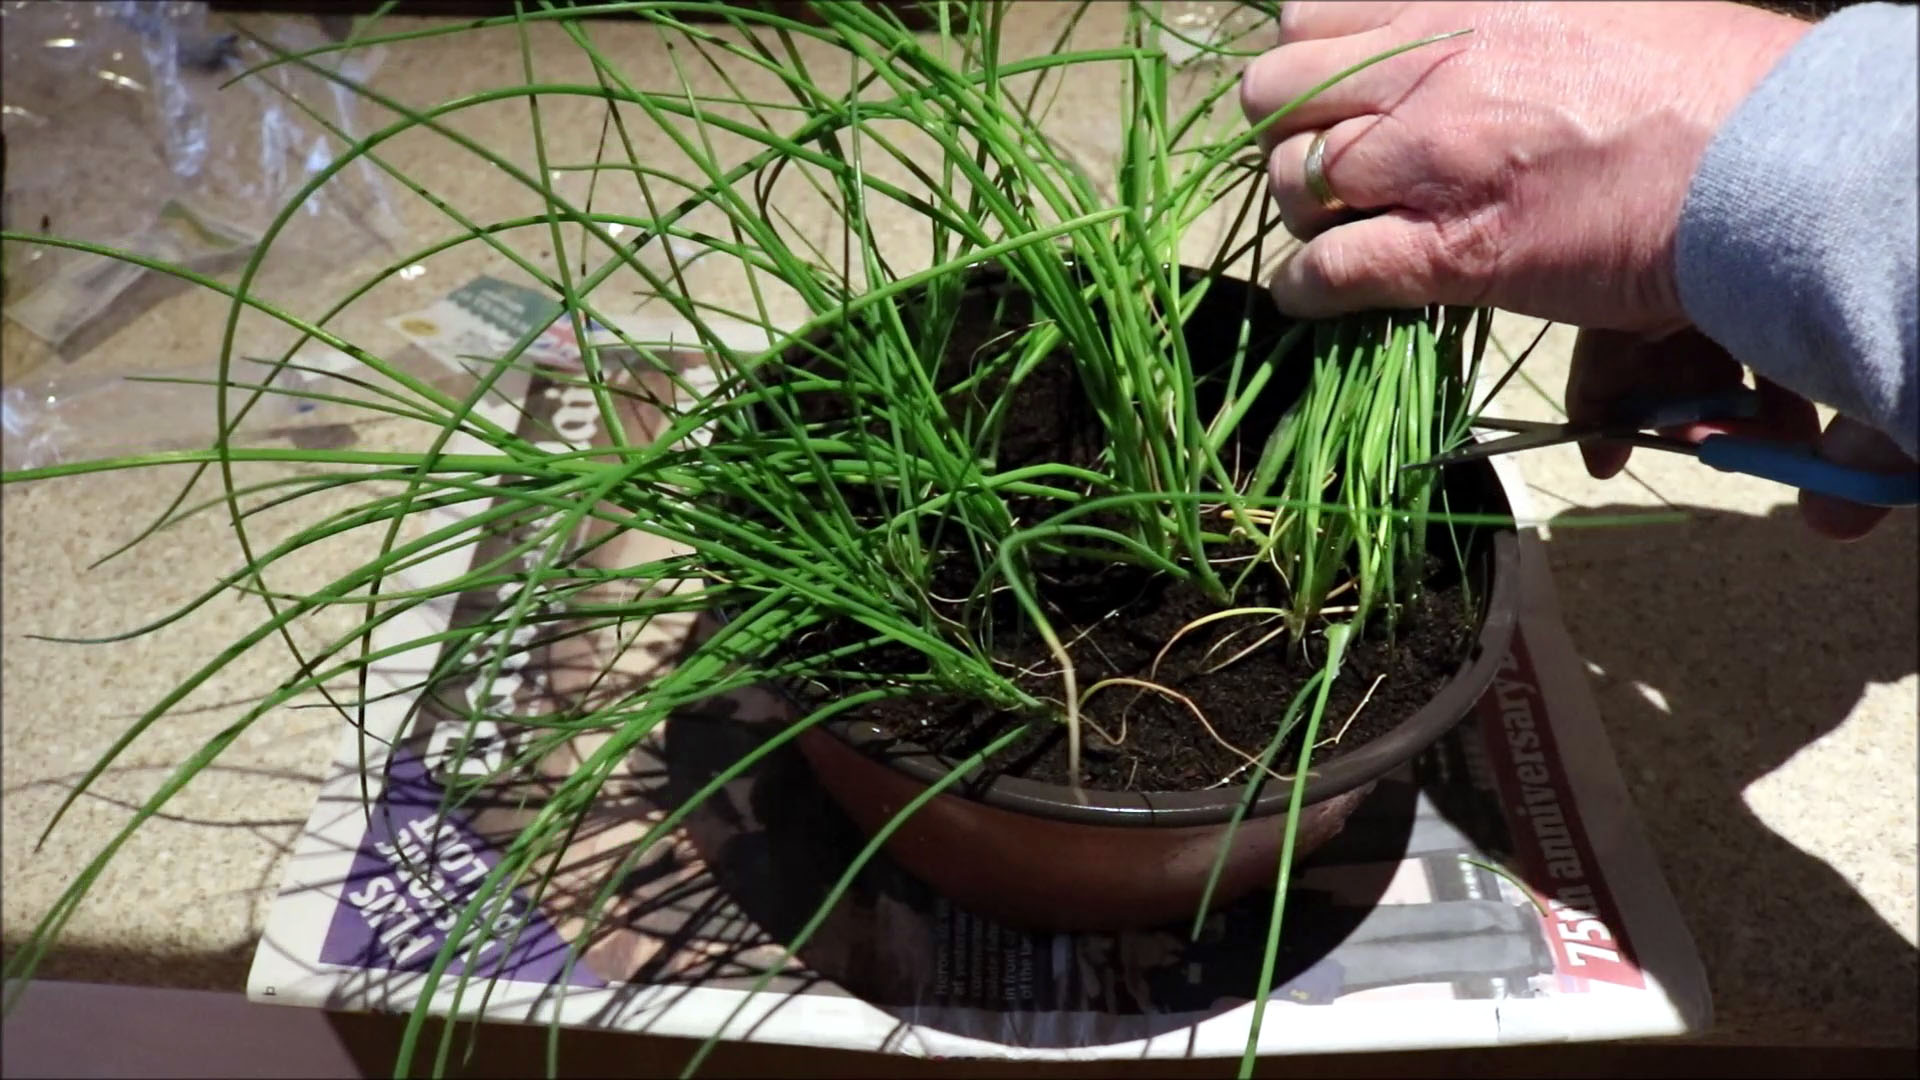
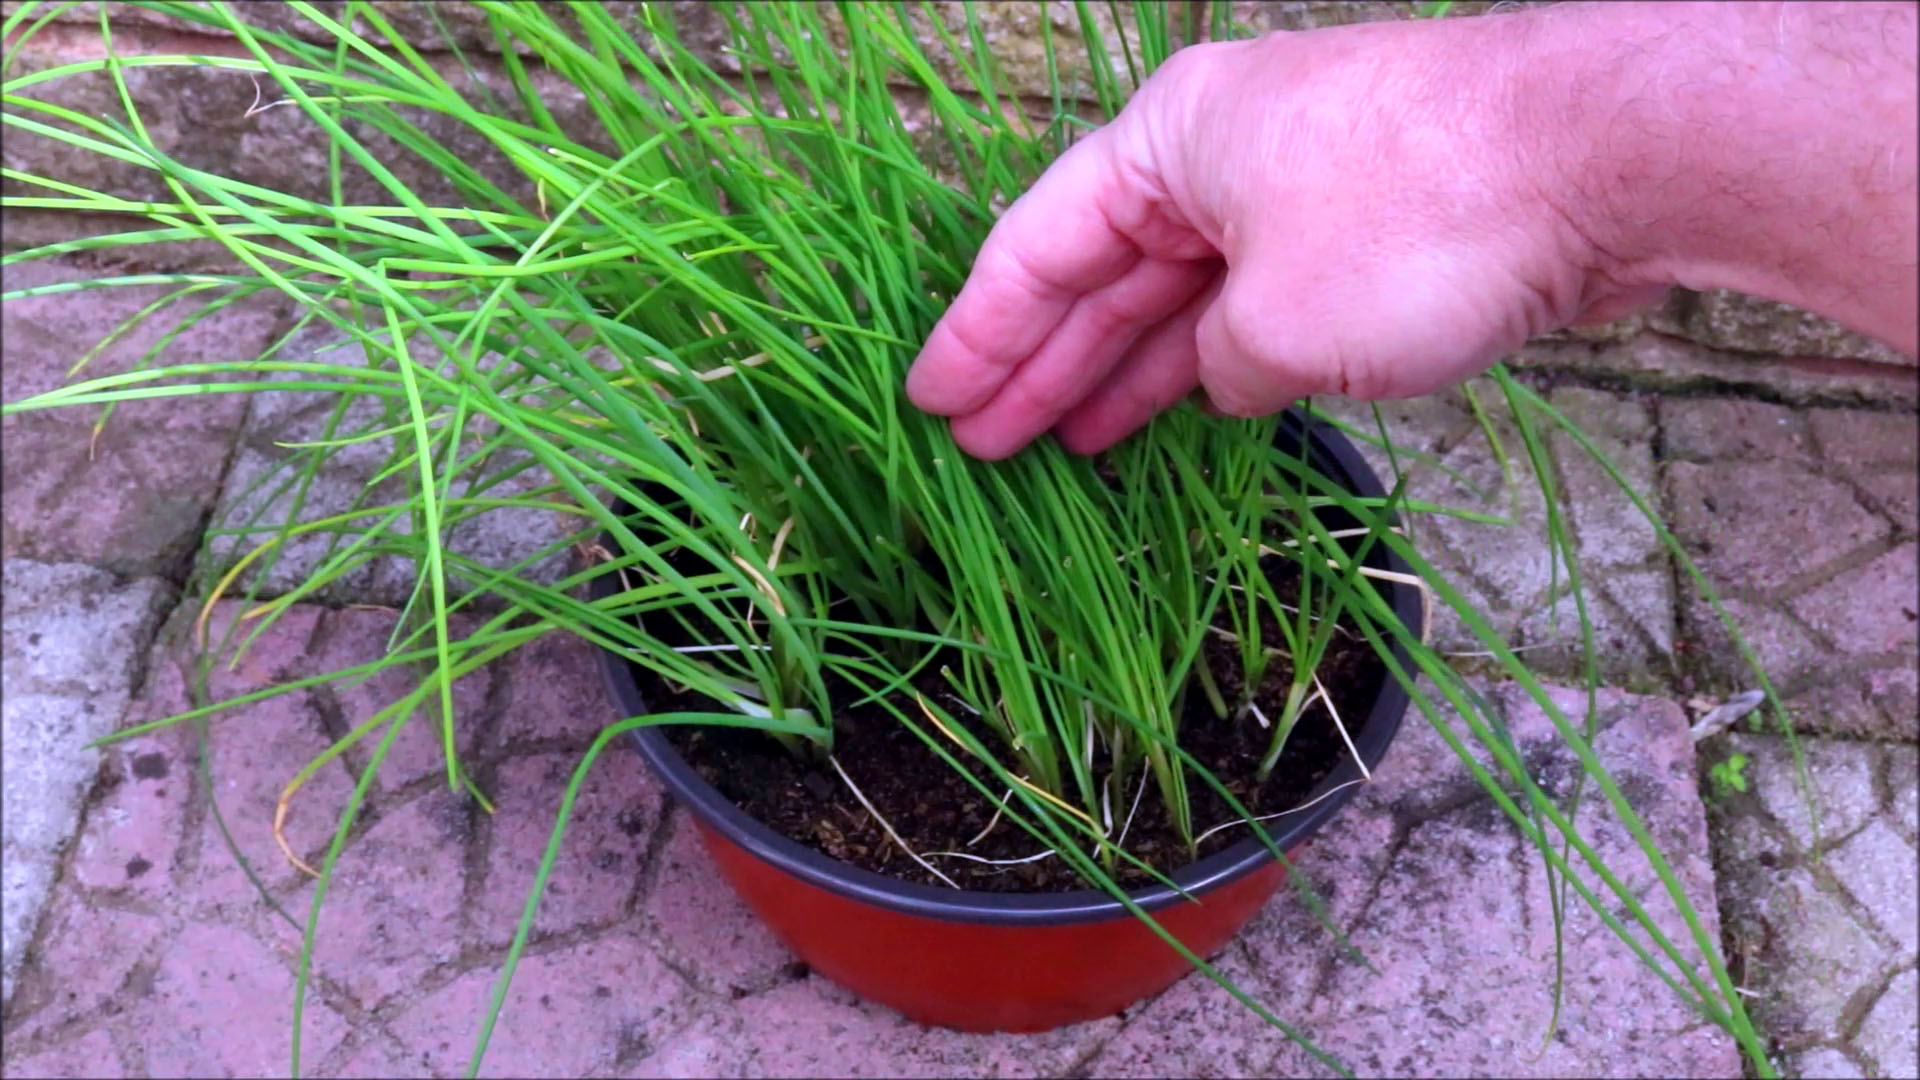
Step 12: Harvest
When the plants are established you can cut the leaves to harvest them.
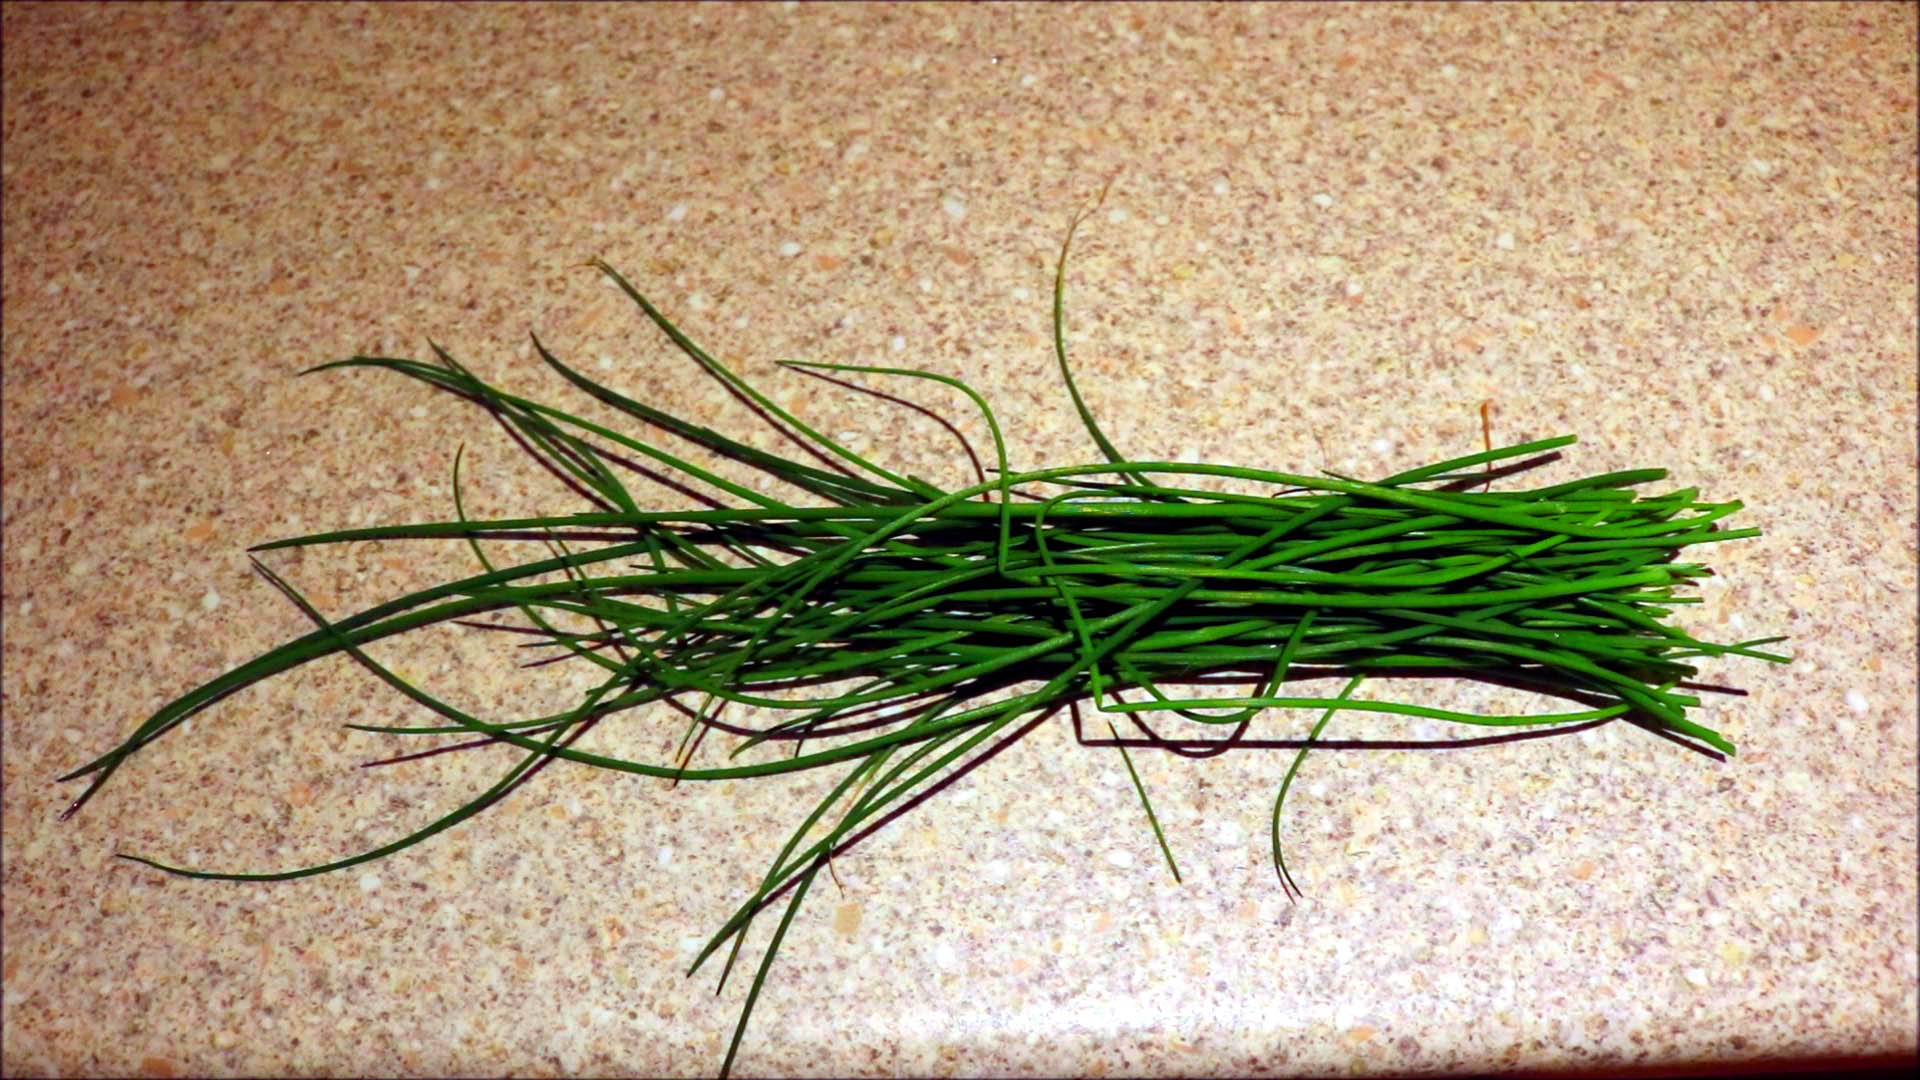
Chives have a mild onion-like flavor. They are often used as a garnish or topping for main meals or salads, or as a topping for omelets. They can also be used as a substitute for onions in some recipes.
Step 14: Stems Re-Grow
After a few weeks the cut stems will re-grow giving you a fresh harvest. You can keep cutting and re-growing. I have plants that are more than 2 years old.