
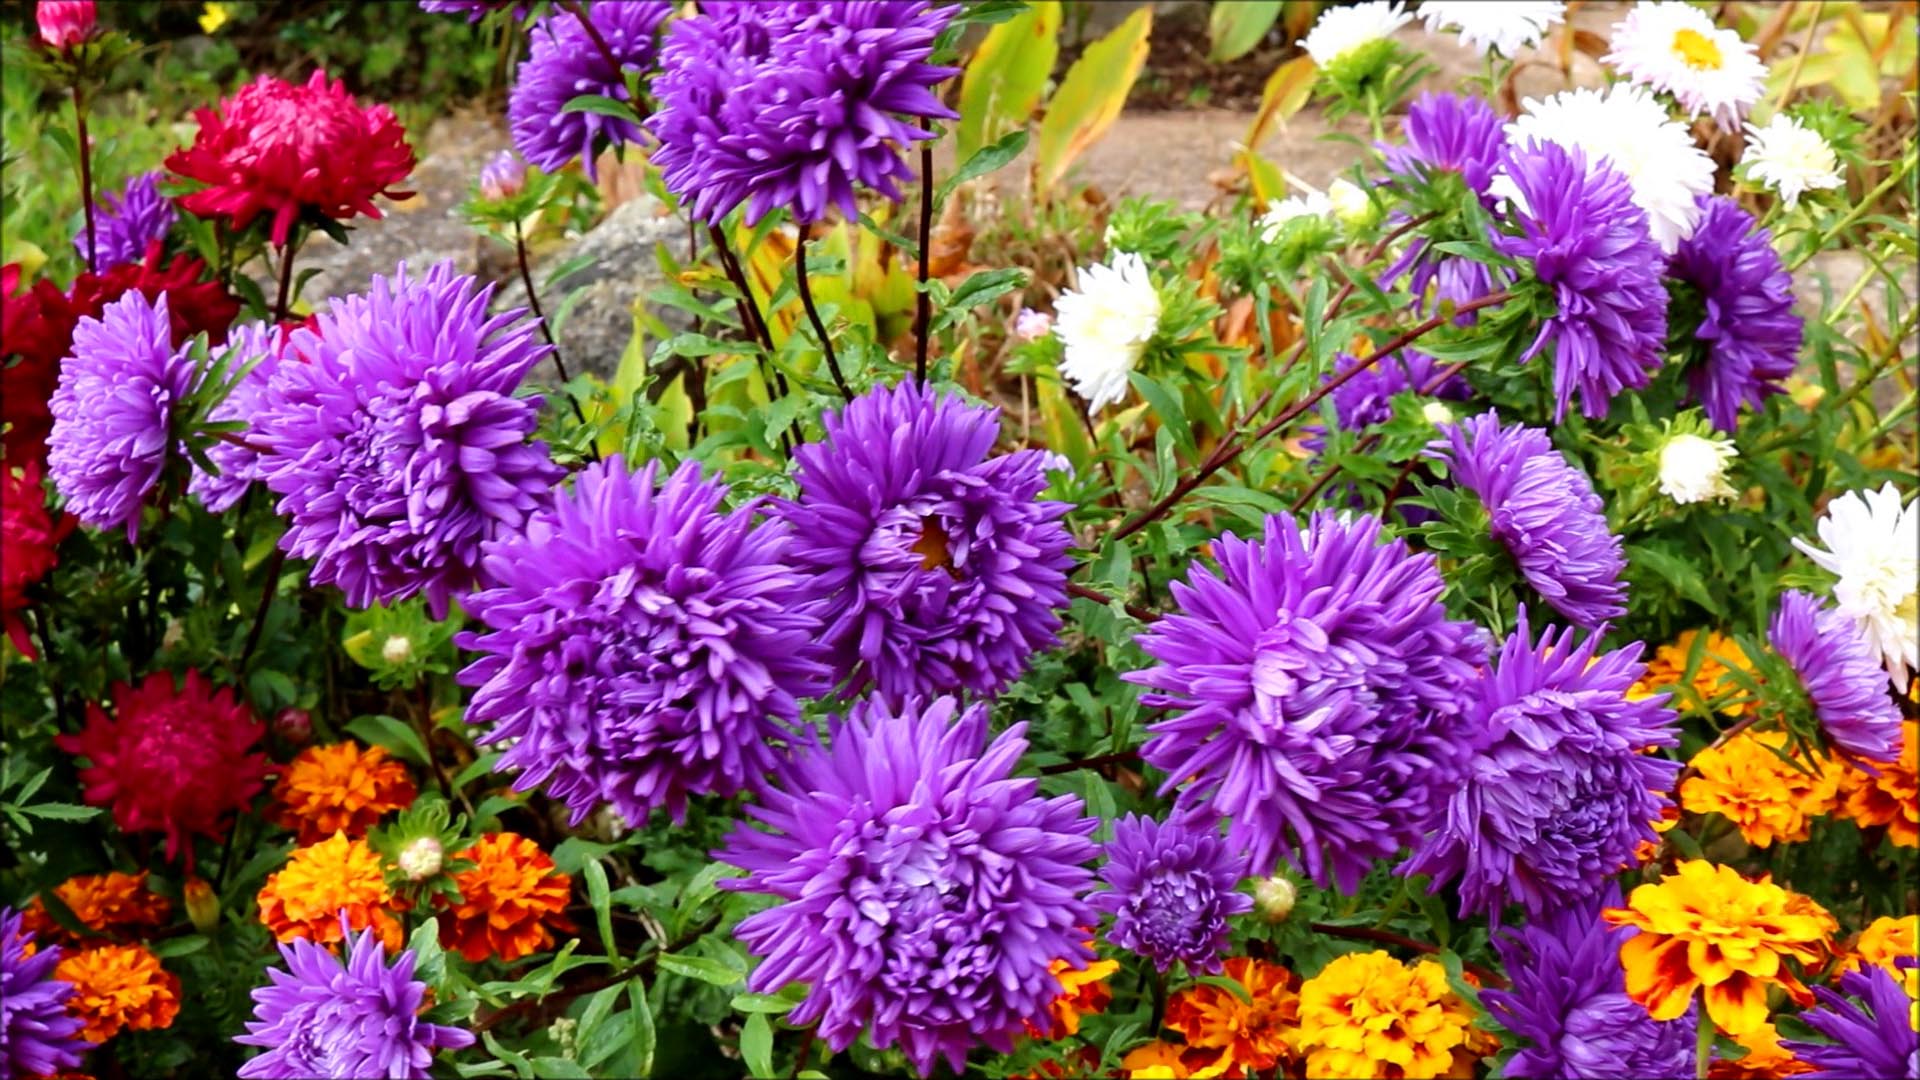
How to Grow Asters from Seed
The following two lists shows what tools and equipment I used to grow the Asters. Not all are strictly necessary but they are listed for completeness. For example - you would only need a heated mat if you had nowhere warm to germinate the seeds - or you can simply use string in place of a line marker - or you can use re-cycled pots from last year if you have them.
This site is reader supported and as such external links may earn us a commission. As an Amazon Affiliate we earn from qualifying purchases but at no cost to you the reader.
Things You Will Need to Grow Asters
Tools You Will Need to Grow Asters
- Mist Sprayer
- Garden Line Marker
- Garden Trowel
- Heated Mat
- Garden Spade
- Garden Digging Fork
- Garden Rake
- Watering Can
Step by Step Guide
If you want a quick overview then I suggest you first watch my Youtube Video How to Grow Asters from Seed . The following steps are also in the video but more detail is given in the sections below:
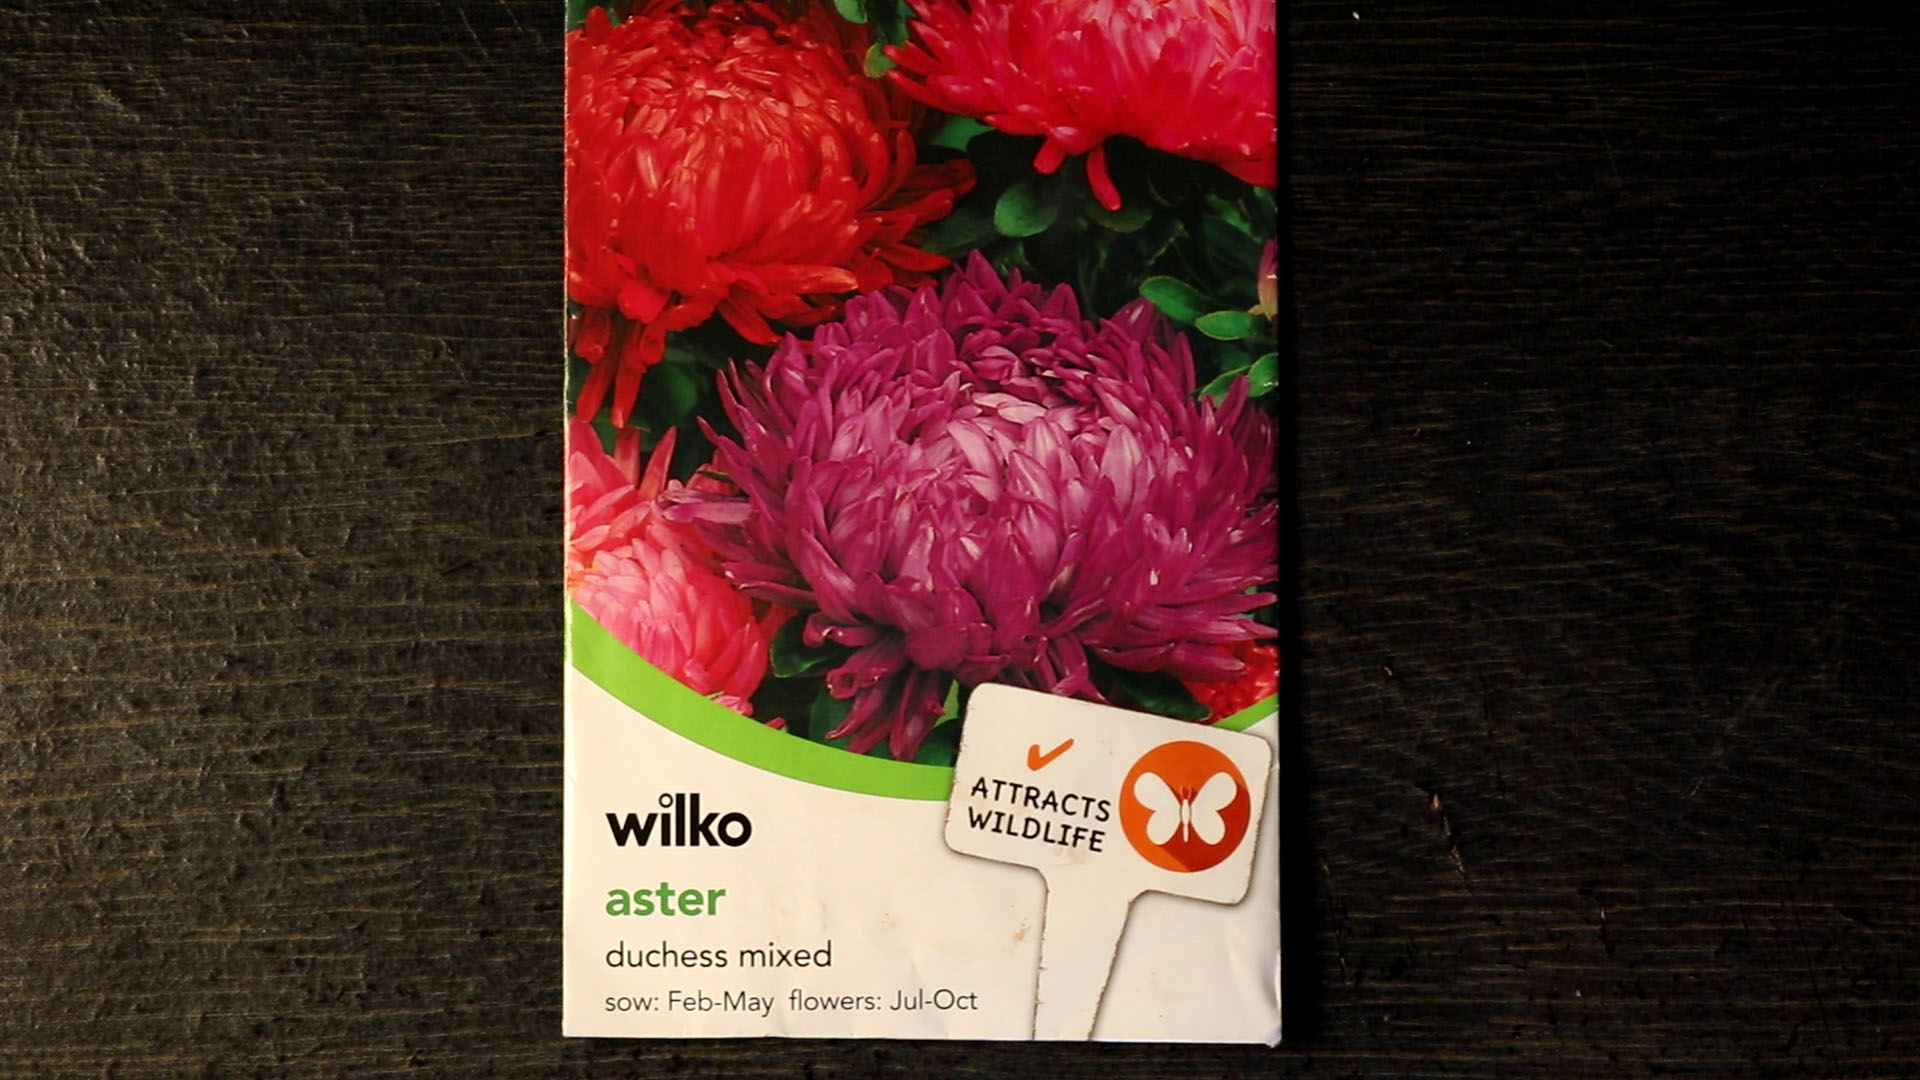
Step 1. Buy Some Seeds
Aster Seeds are available in Garden Stores or you can buy them on-line.
The variety that I am showing you how to grow here is called 'Dutchess Mixed'.
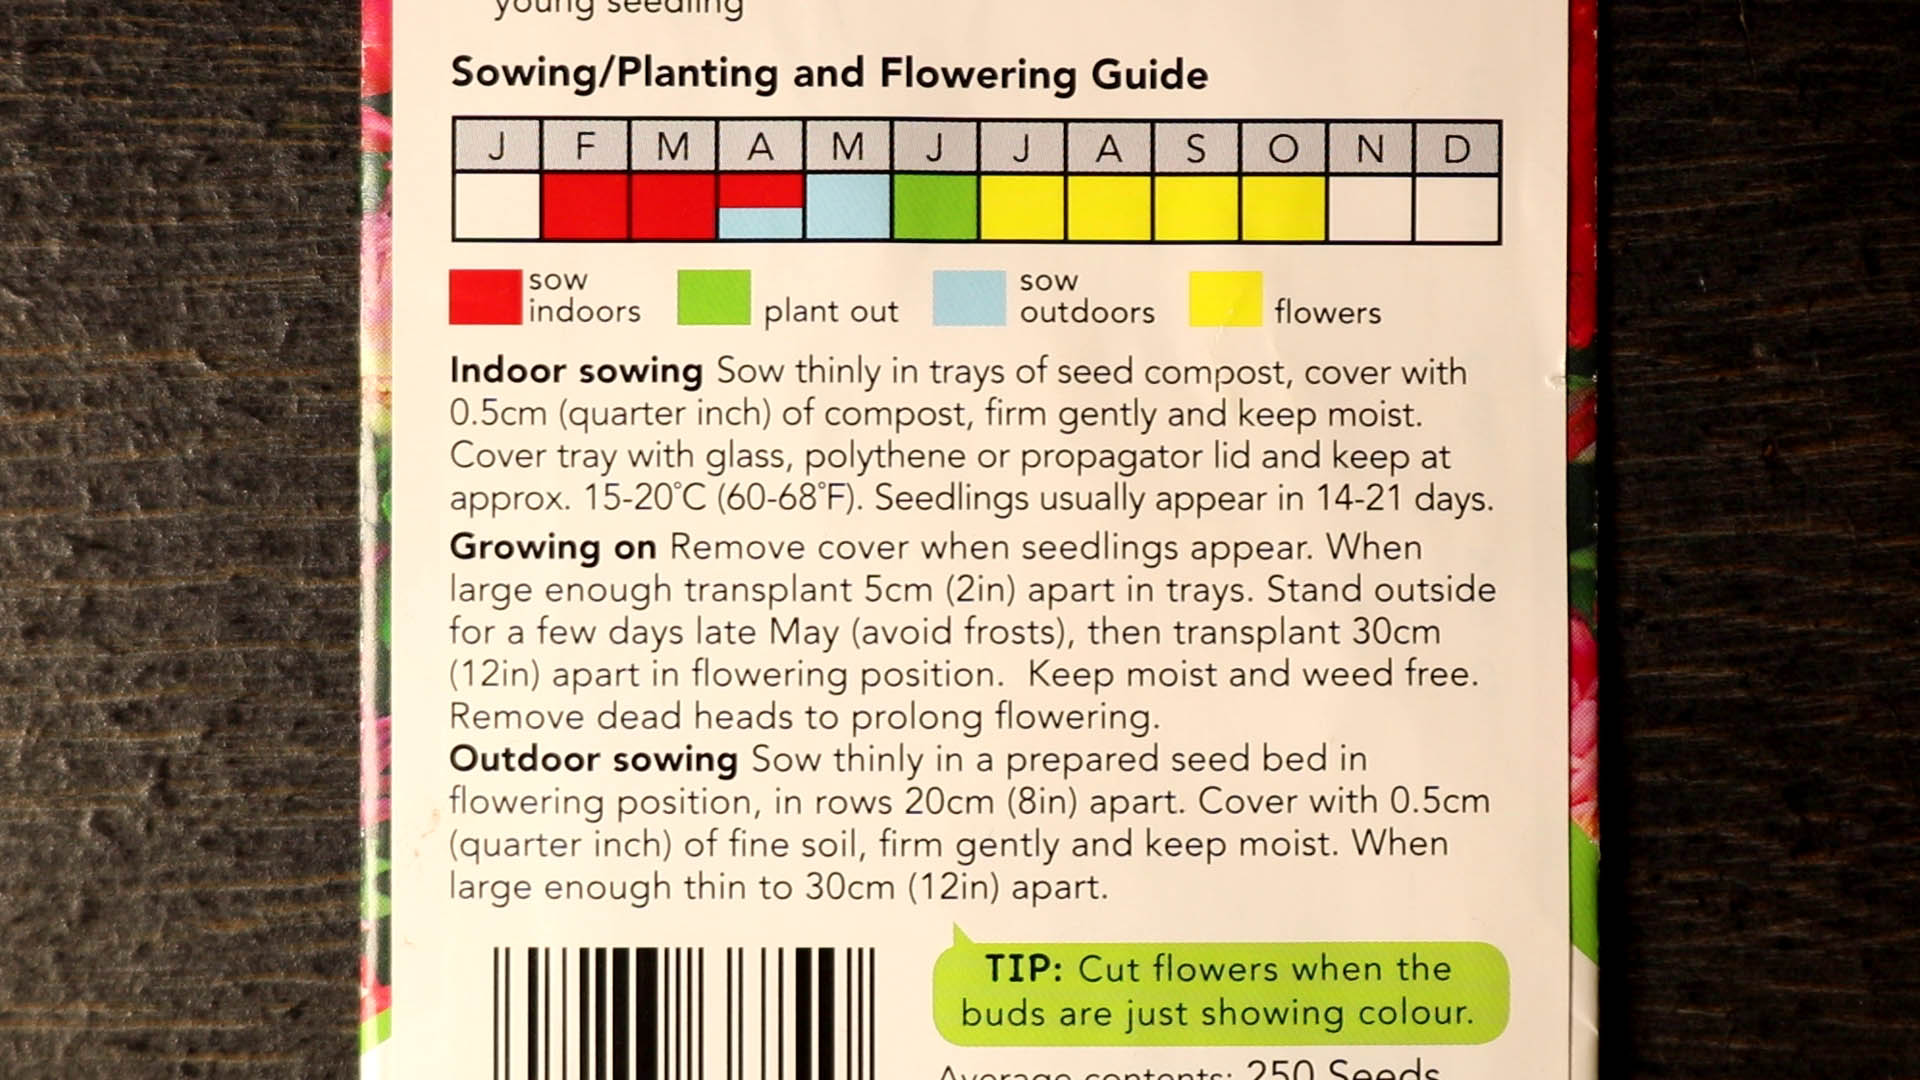
On the rear of the packet are usually shown growing times and instructions for your region.
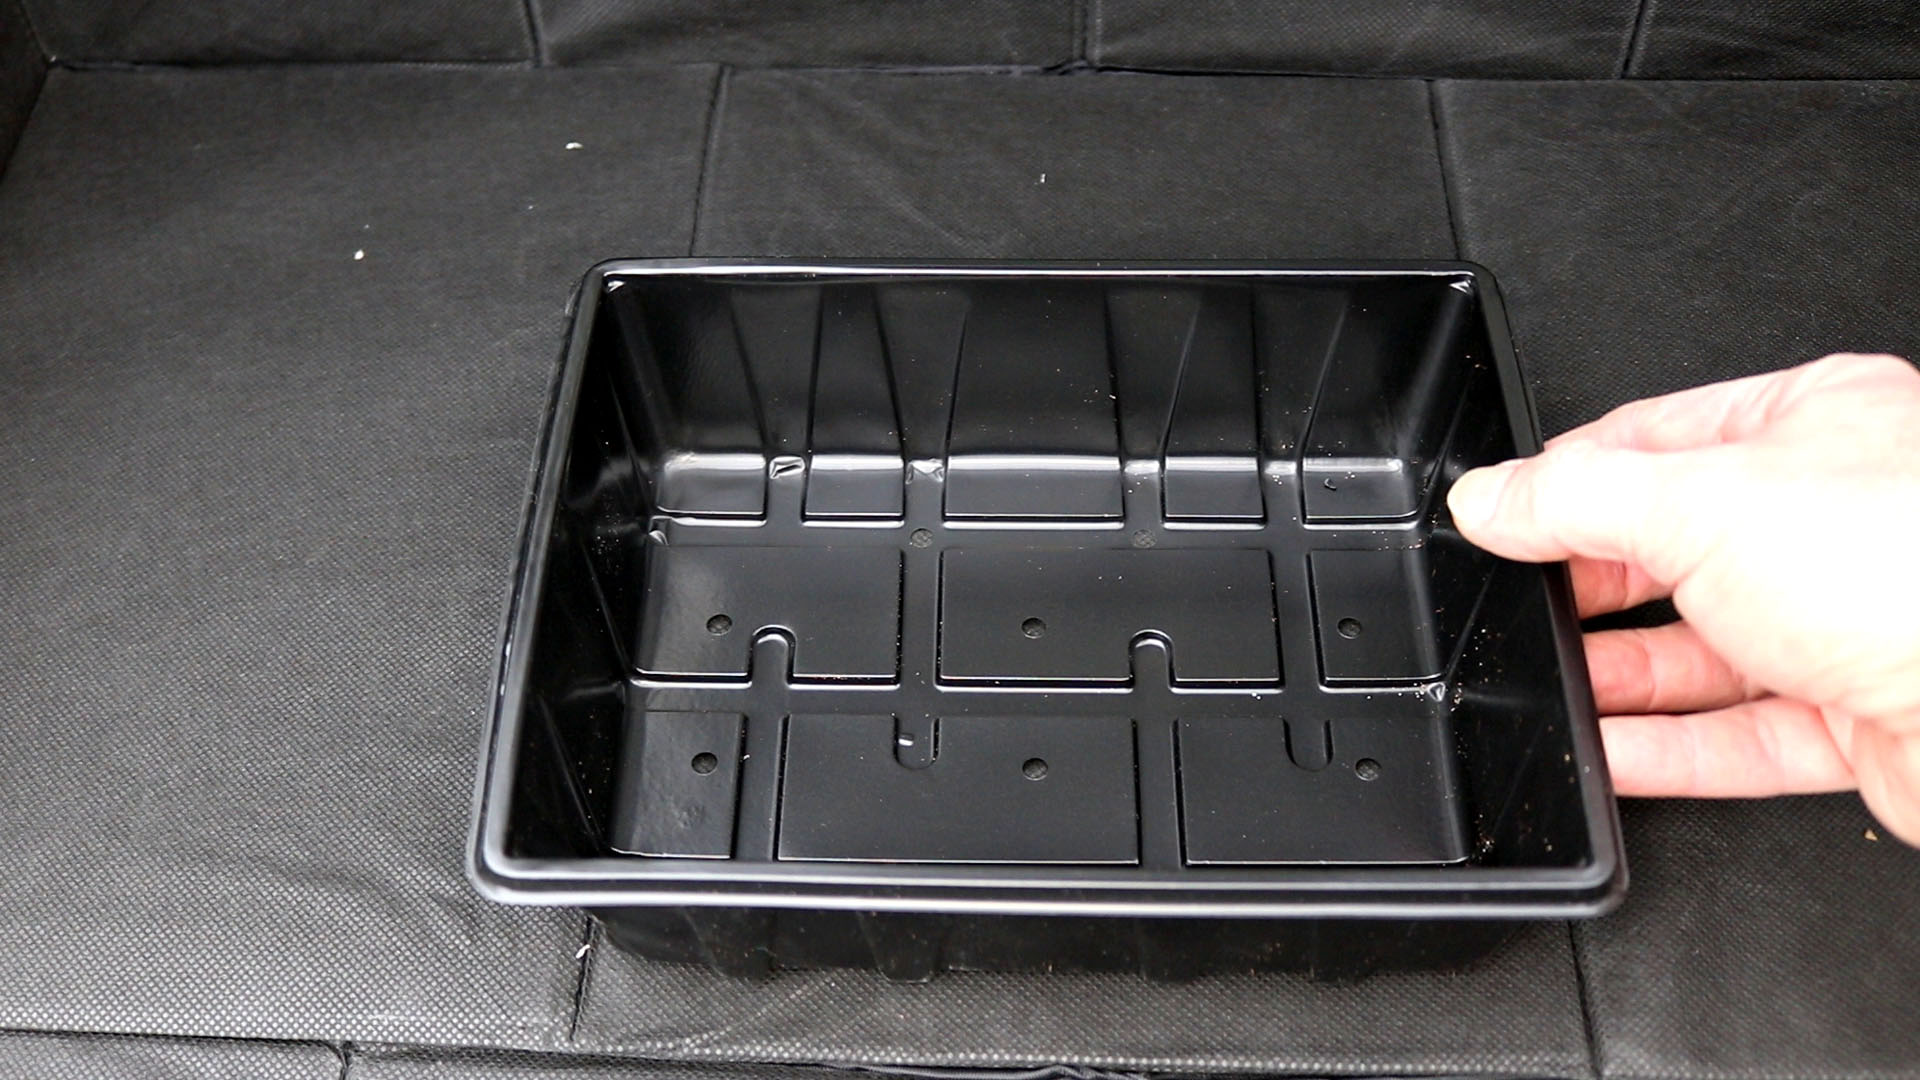
Step 2: Get a Propagator Tray
A Propagator Tray is a shallow plastic containter that is ideal for germinating seeds.
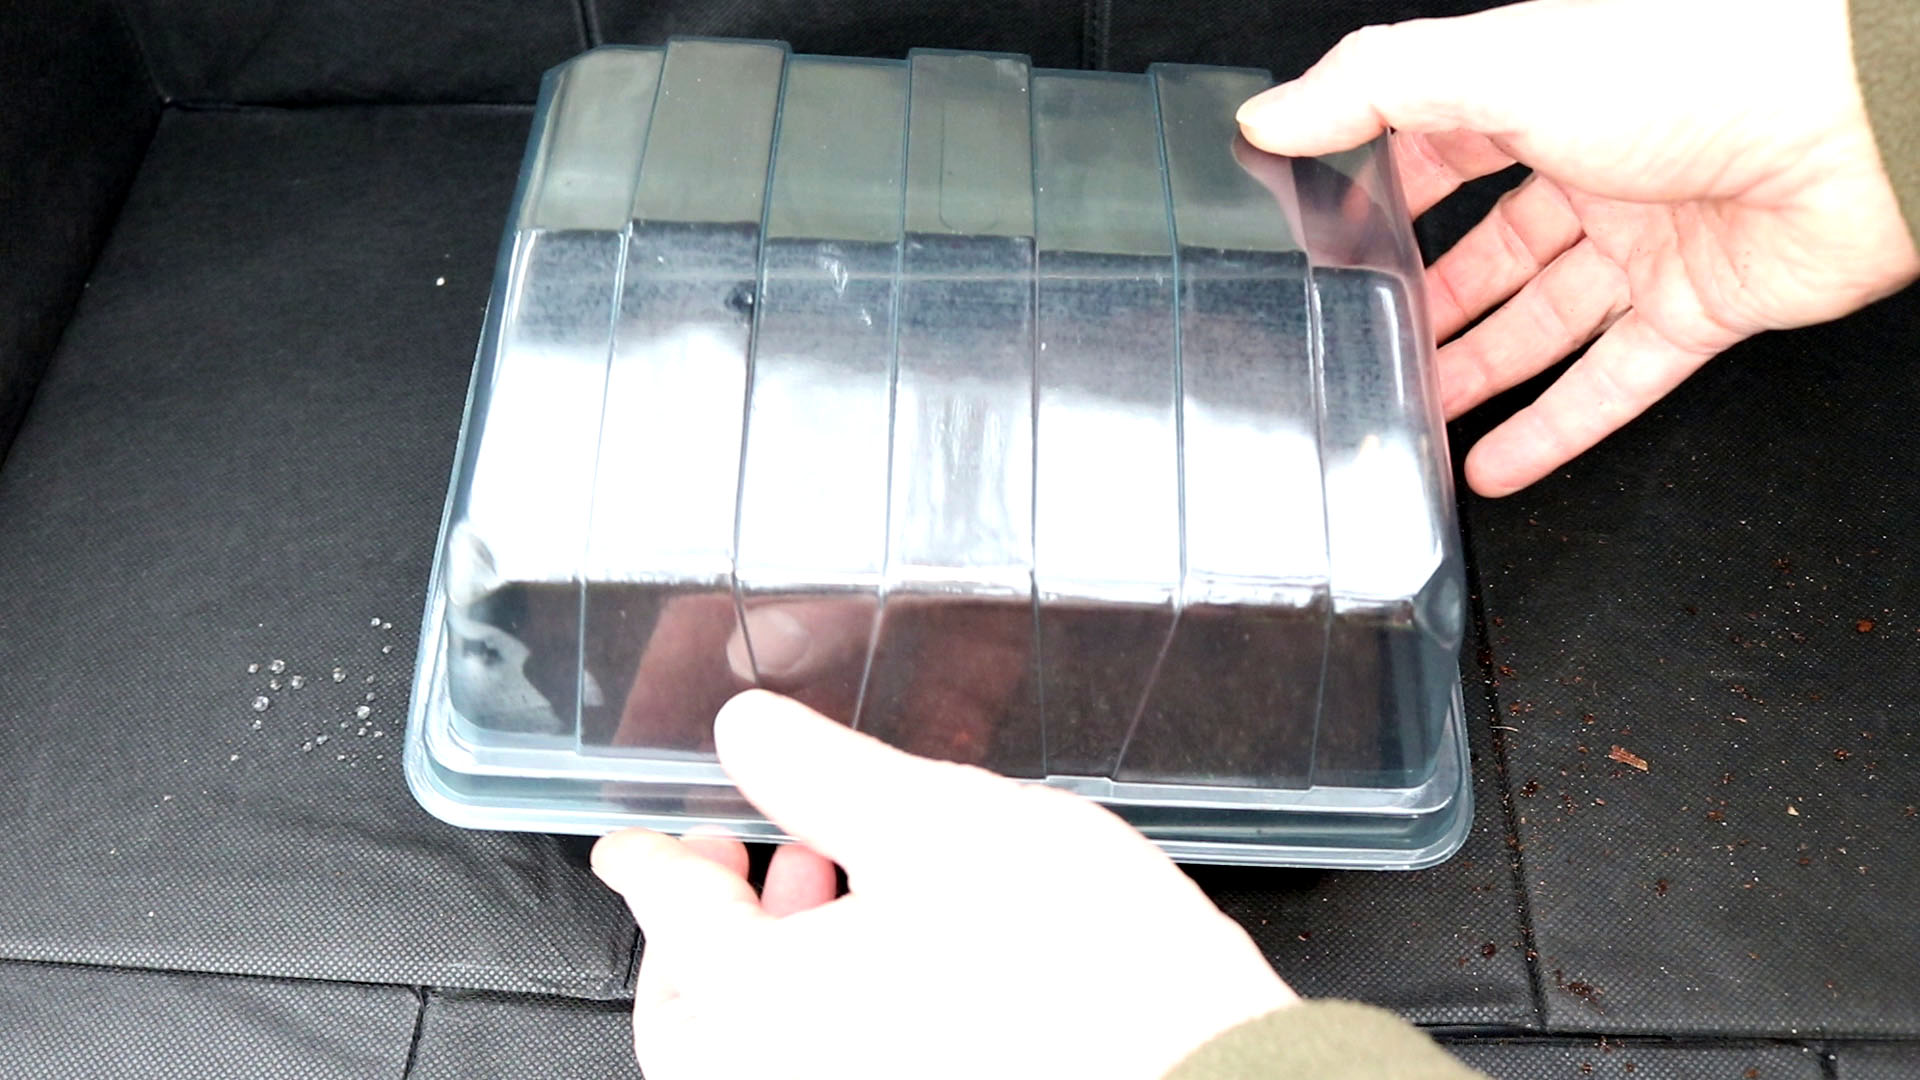
The Propagator Tray also has a transparent plastic cover that in effect creates a miniature Greenhouse. It lets in light but retains heat and moisture making it a great environment for germinating seeds.
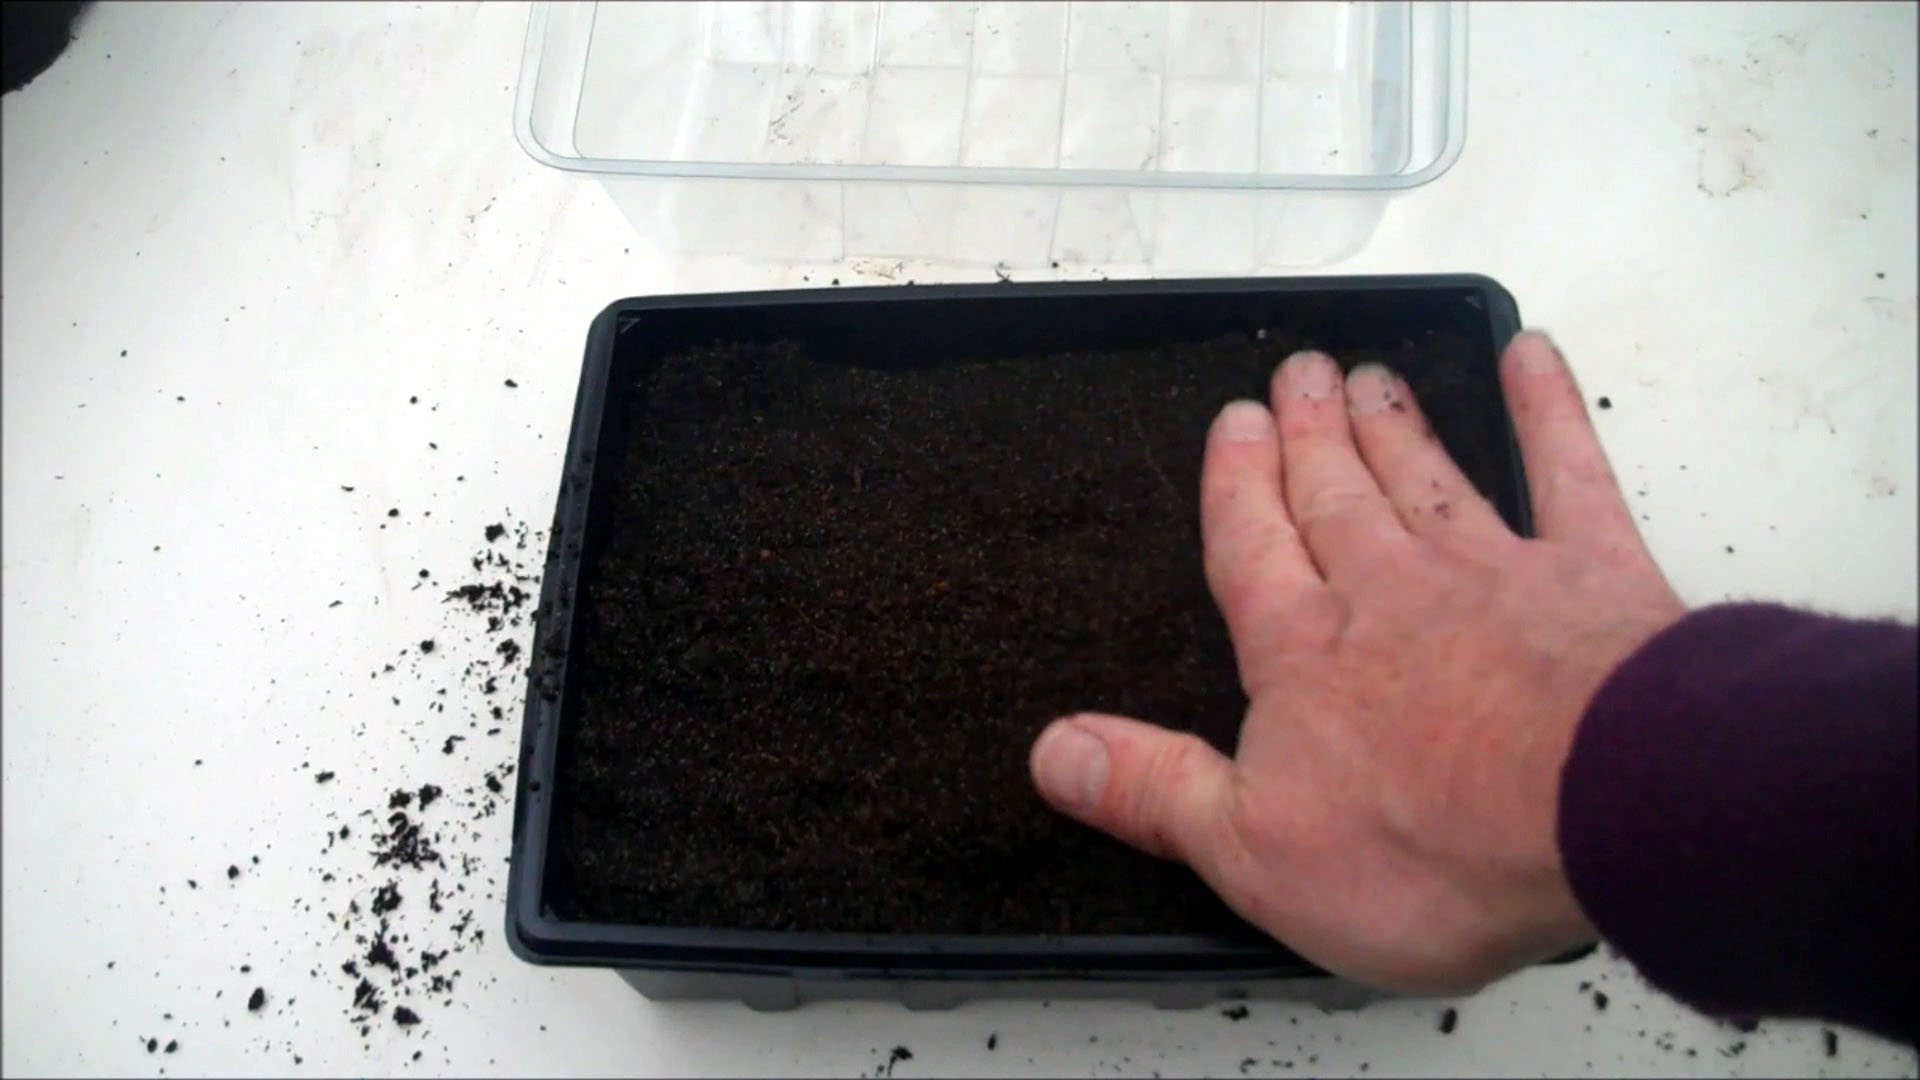
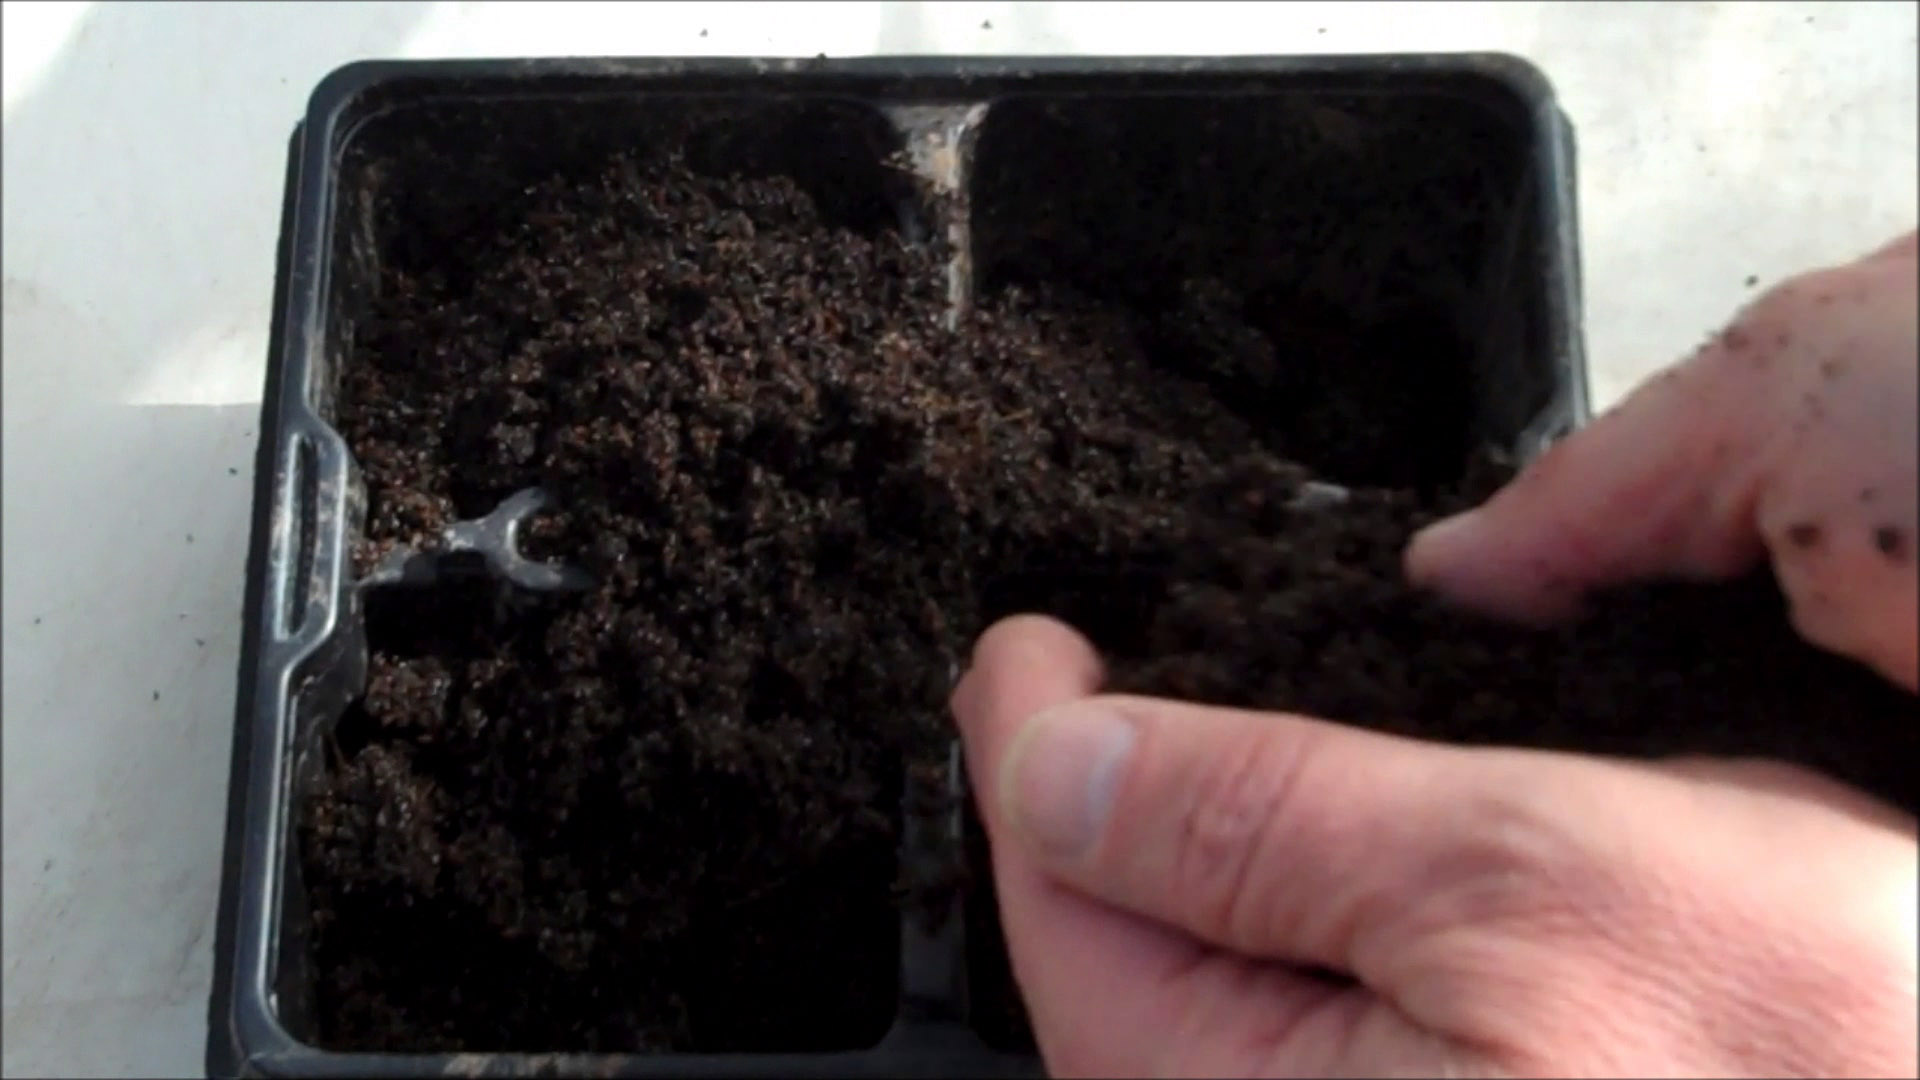
Step 3: Fill the Propagator Tray with Compost .
.
Fill the Propagator Tray with compost and then gently press the compost down to remove any air pockets.
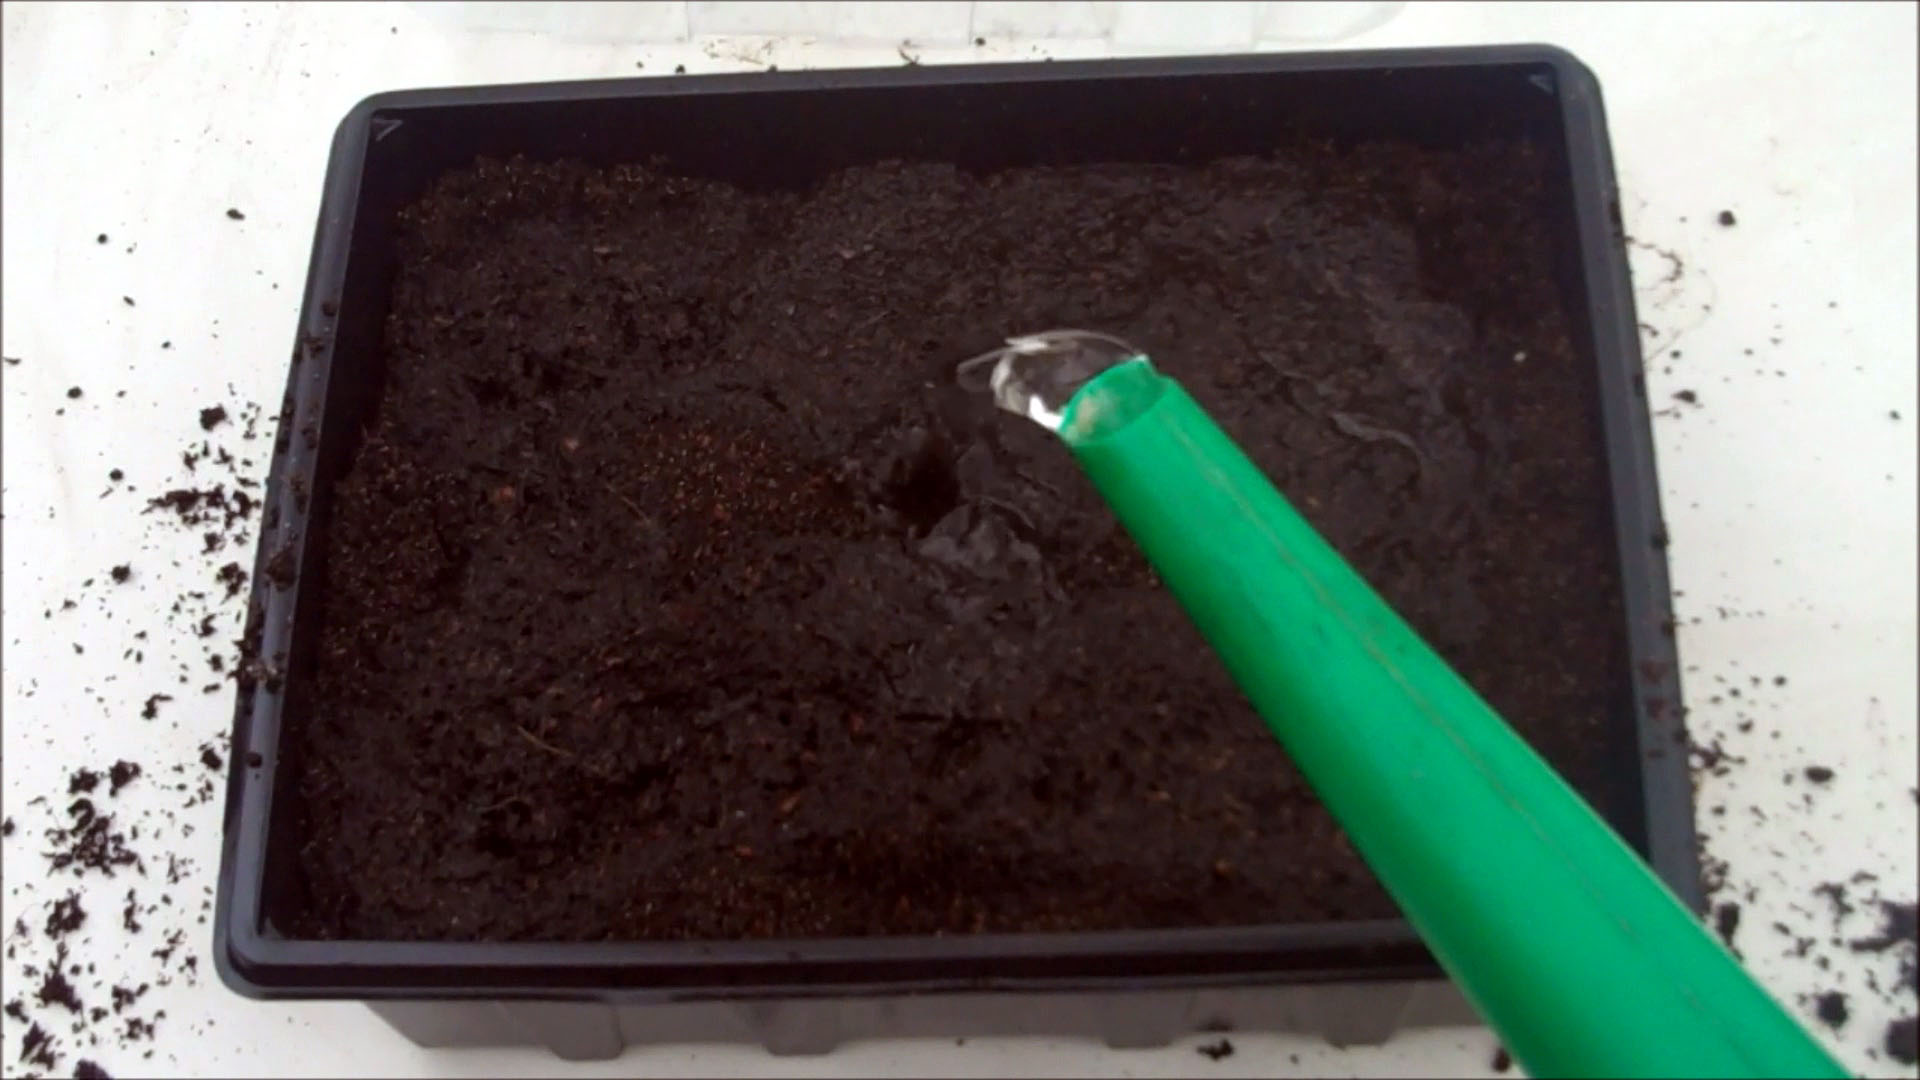
Step 4: Water the Compost
Seeds need air, heat and water to germinate. It is best to moisten the compost before adding the seeds otherwise they can all be washed to the edges of the tray if you water afterwards.
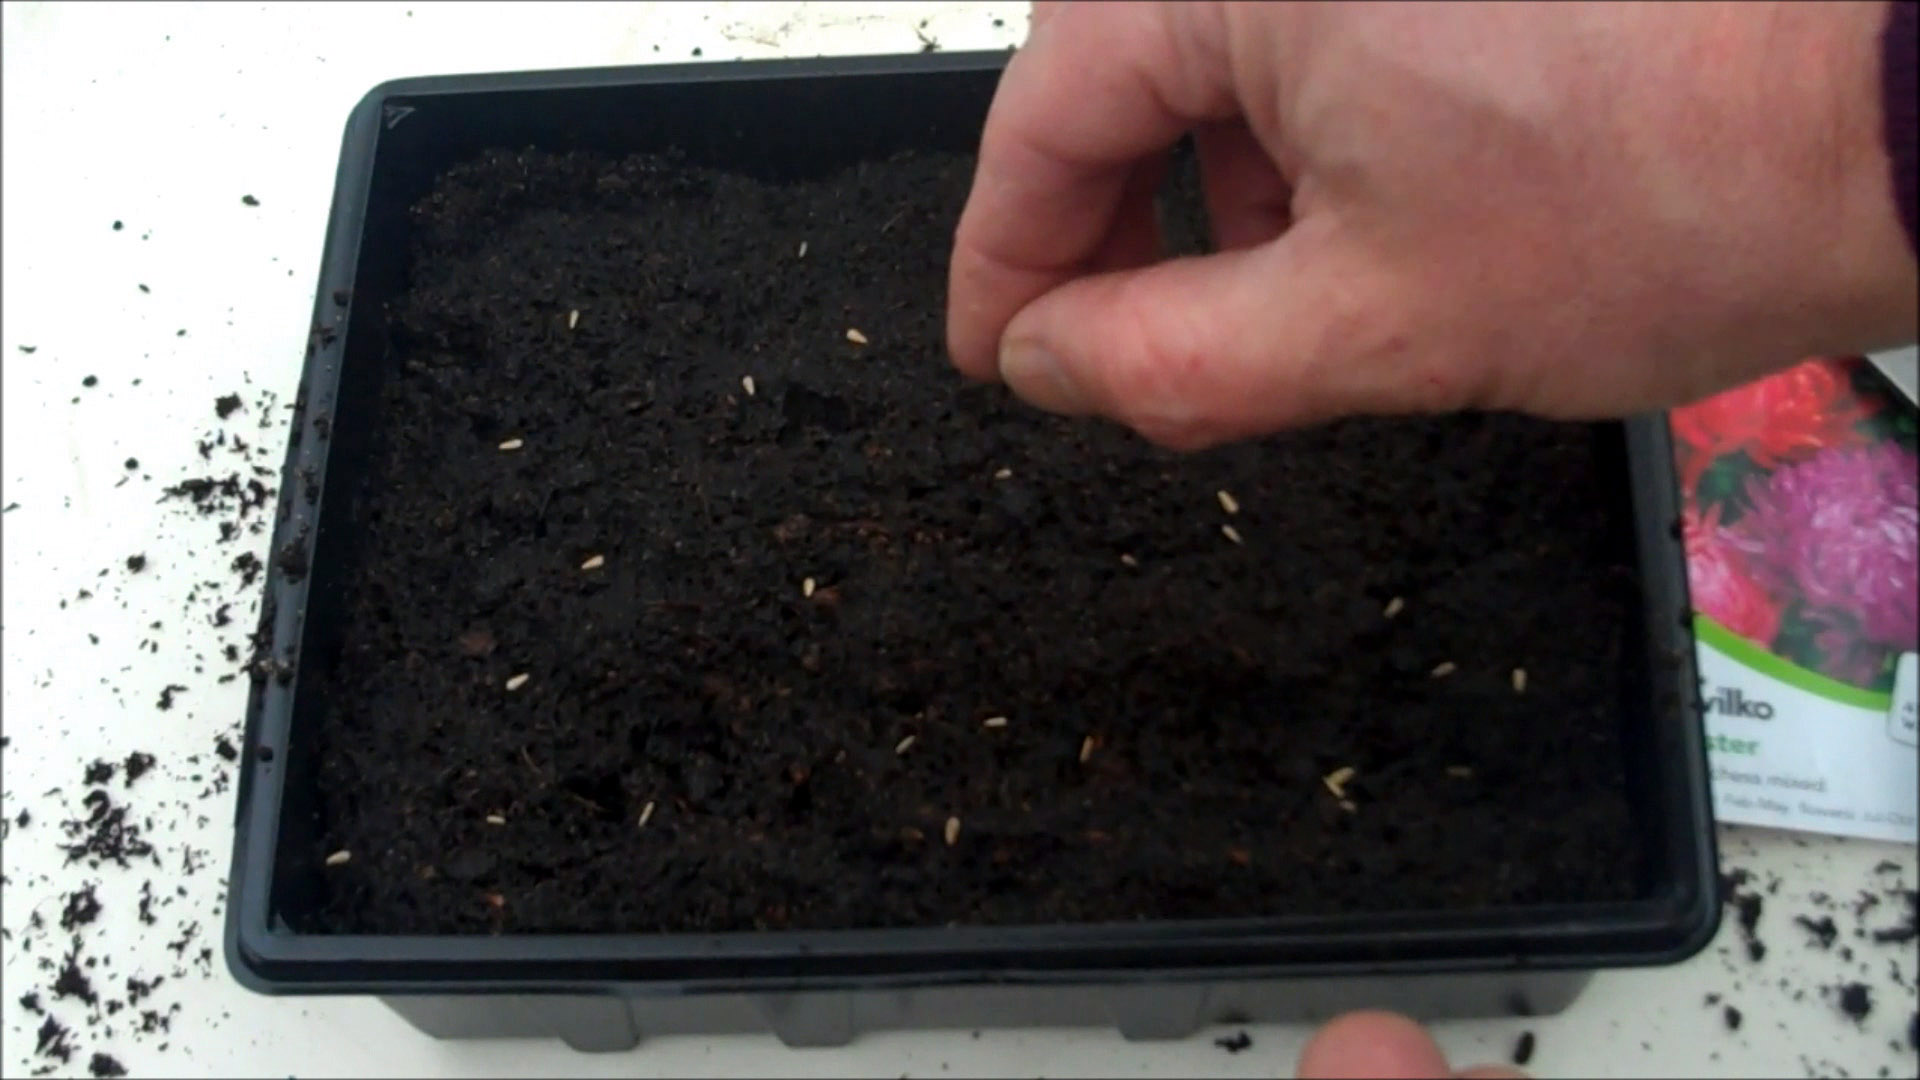
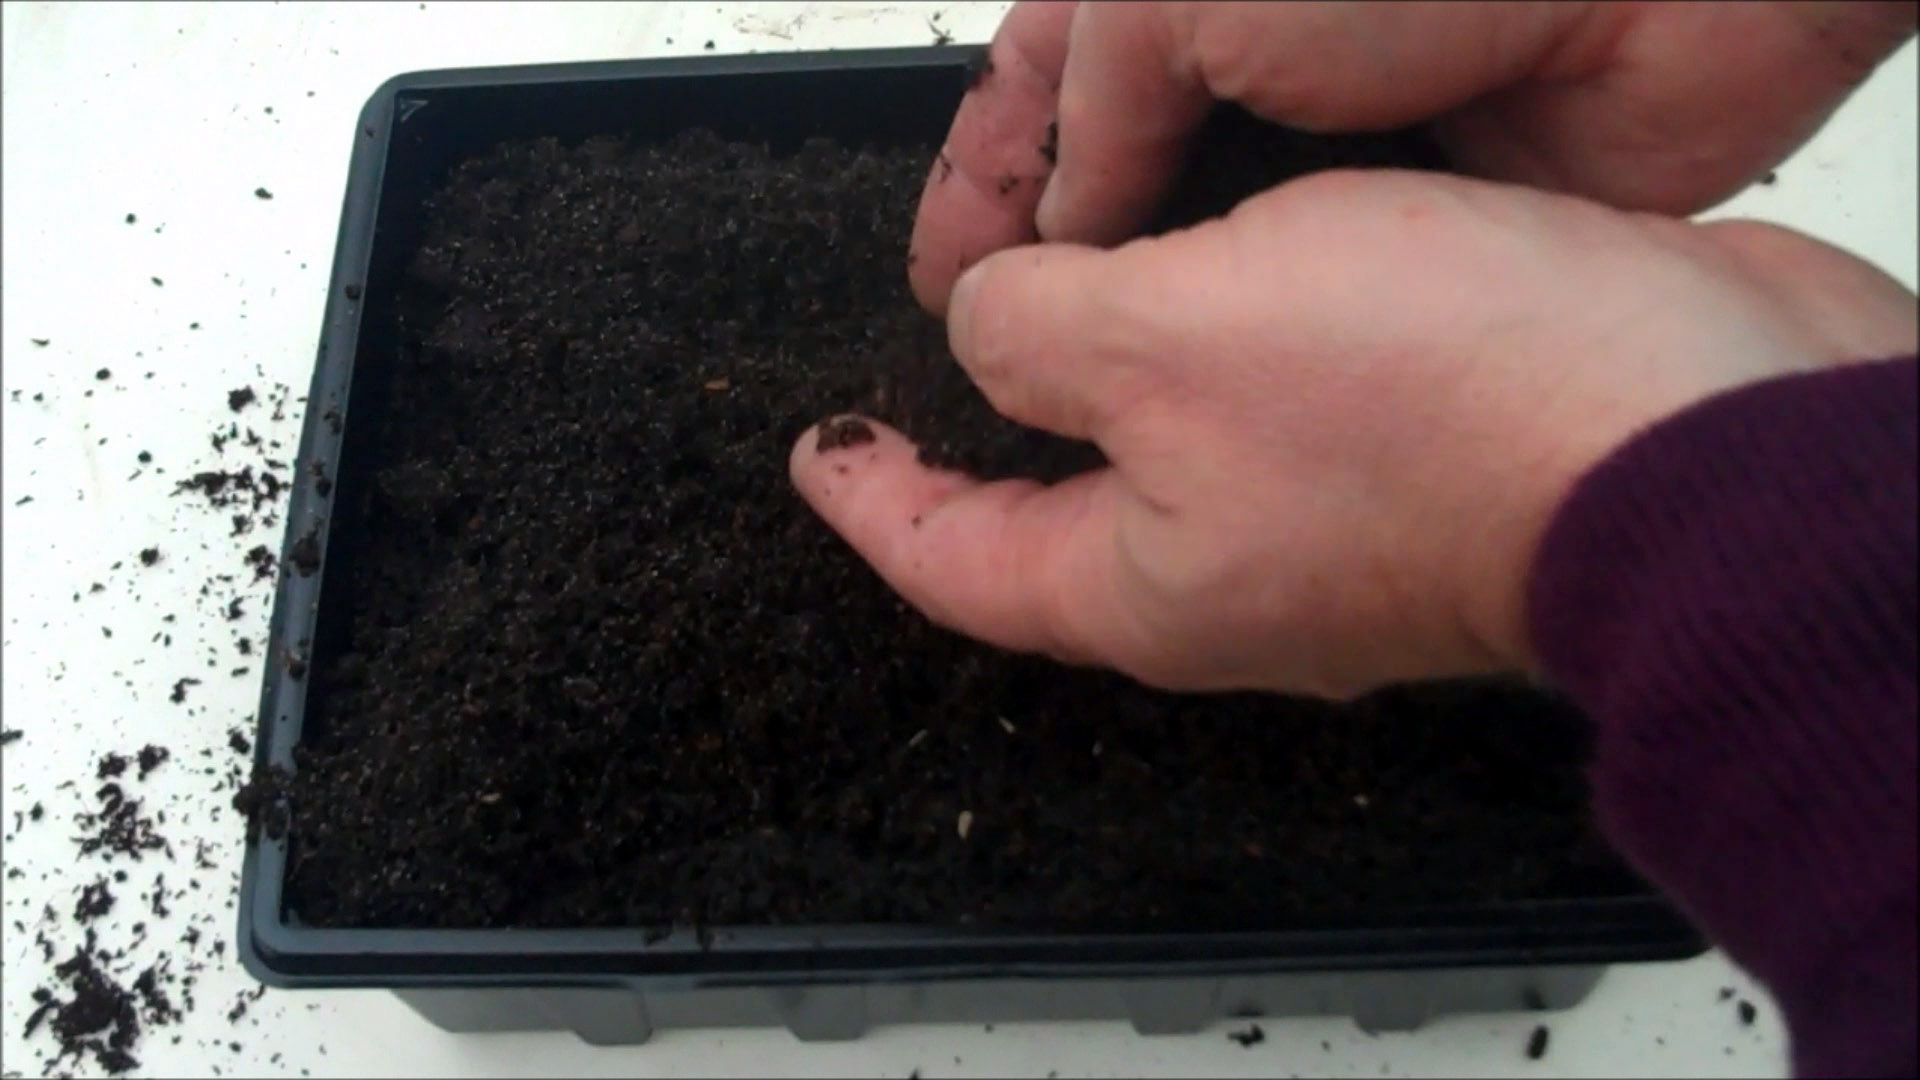
Step 5: Place Seeds on the Compost
Try to place the seeds evenly on the surface of the compost. Ideally leave a couple of finger widths between each seed. This spacing will make them easier to dig out when transplanting into pots later.
Step 6: Cover the Seeds
Cover the seeds with 10mm (1/4 inch) of compost. Press the compost down gently to remove any air pockets. This allows the seeds to make contact with the moist compost and absorb water which they need to germinate.
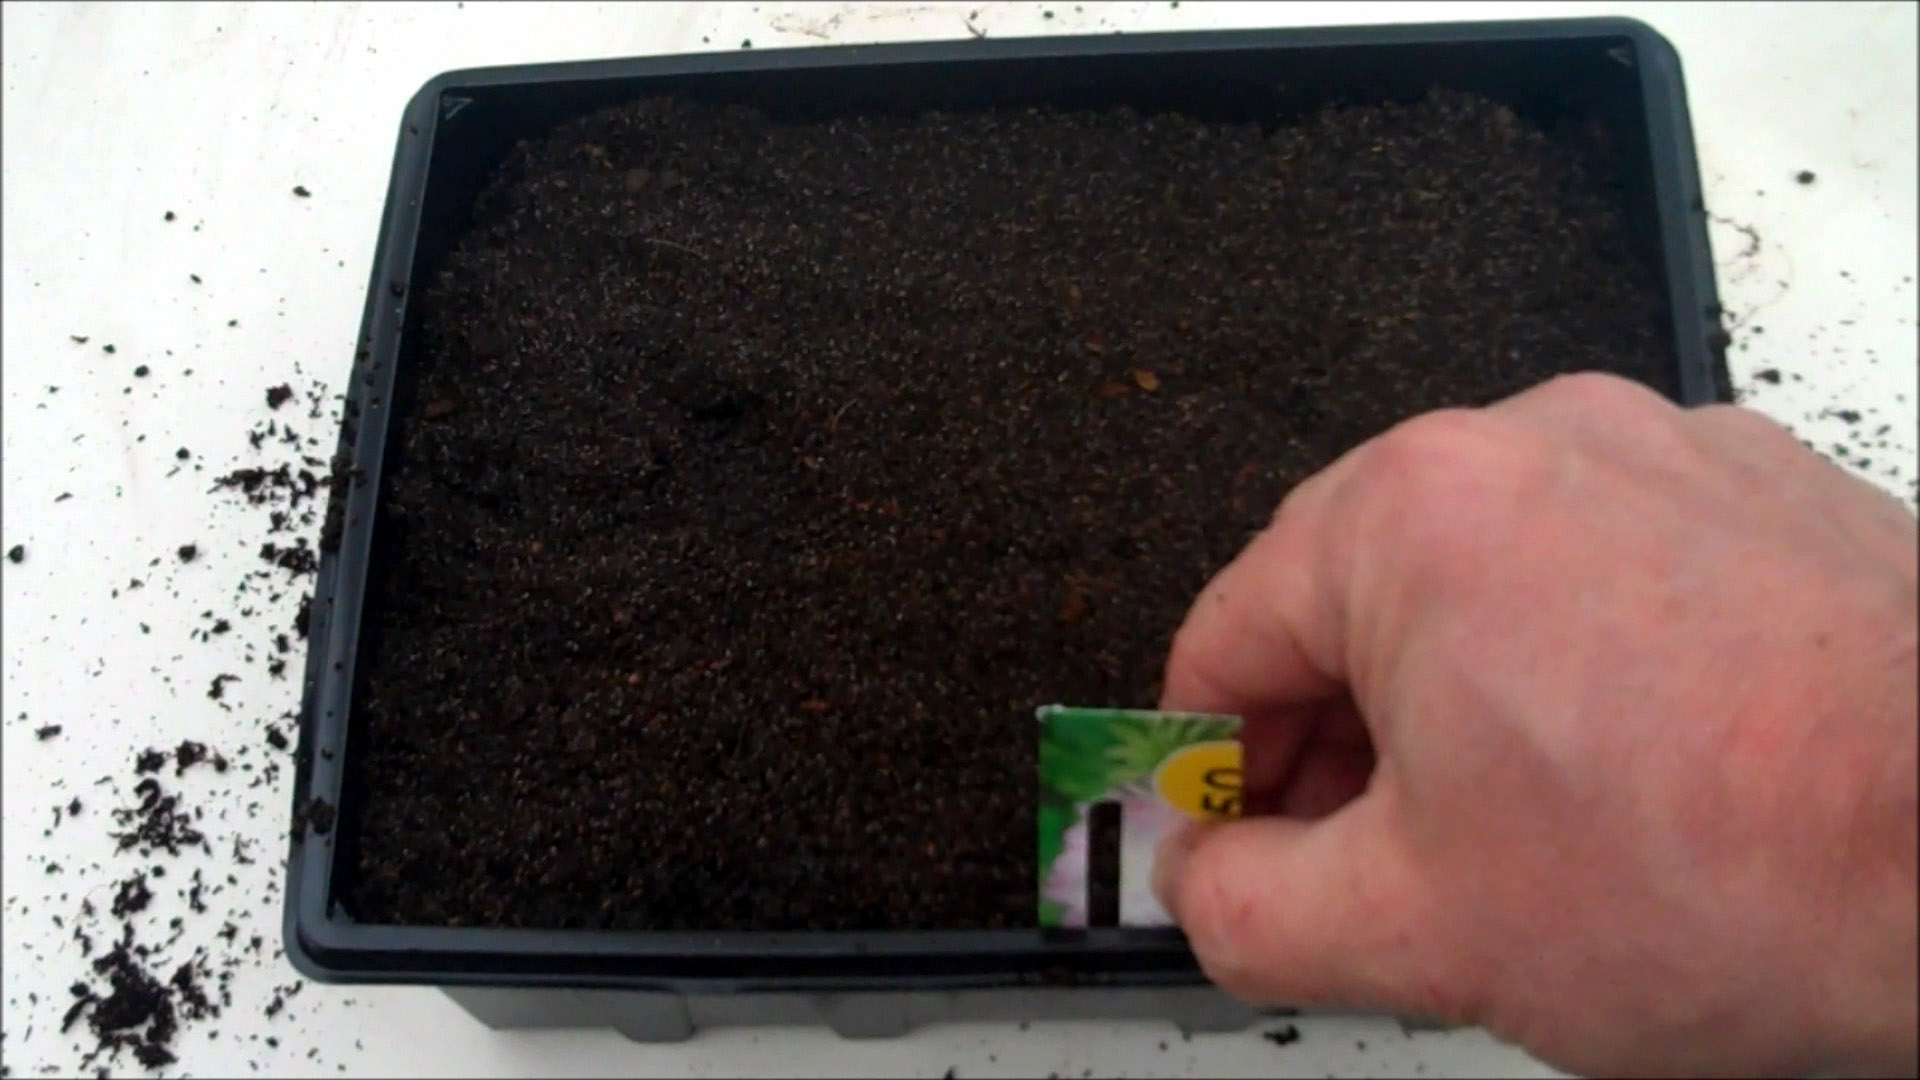
Step 7: Fit a Label
This is important, especially so if you have several Propagator Trays growing lots of plants. It can be several weeks until the seeds germinate and when they do it is not obvious what plants they are. So it is a good idea to identify them.
I use home made labels - sometimes from laminated paper and sometimes
from wooden stirrers from coffee shops. You can also buy ready made Labels if
you prefer.
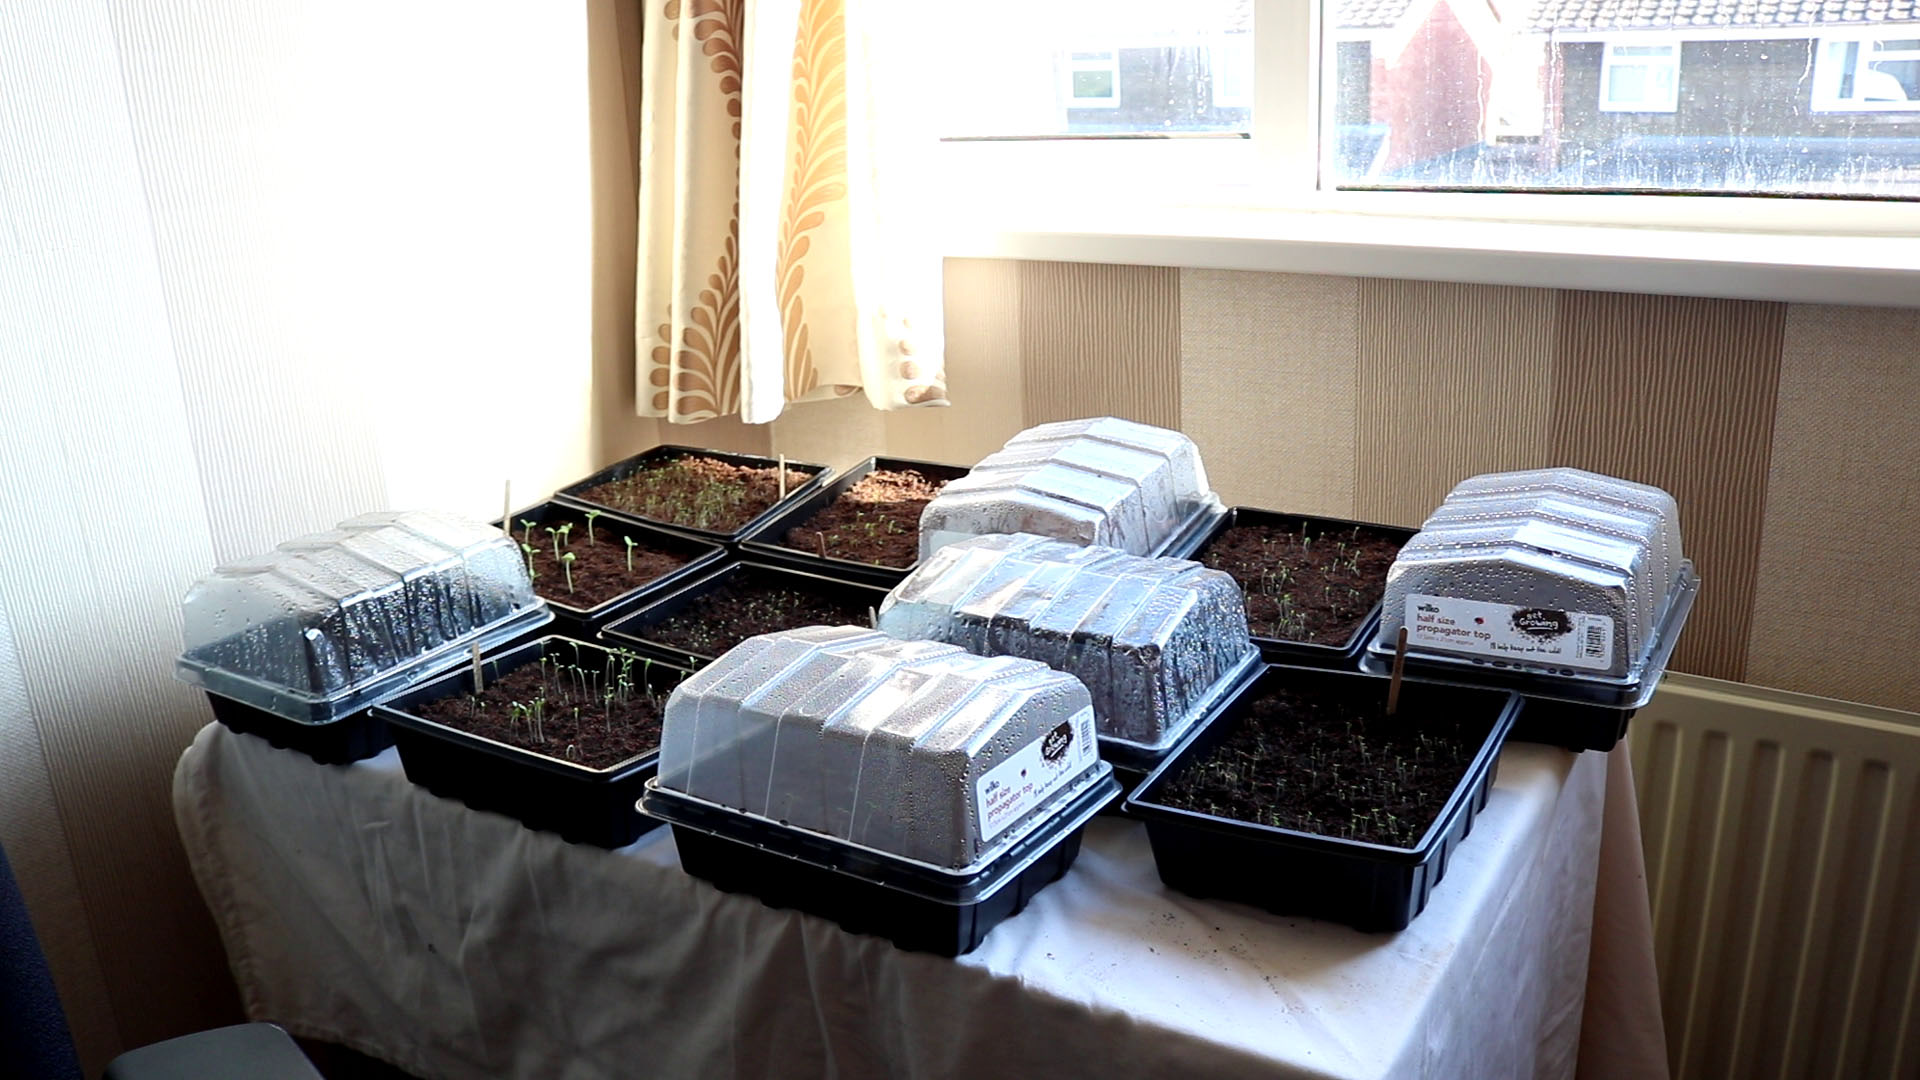
Step 8: Keep Warm and Moist
Fit the cover on the Propagator Tray and keep warm at approx.
15-20 degC (60 to 68 degF). I keep mine in a spare room (shown in photo) but
not in
direct sunlight as this can fry the seedlings when they germinate. If
you dont have a warm room you can buy a Heated Mat that goes under the
tray.
The Propagator Tray lid should trap the water and keep the compost moist but keep checking and if it
starts to get dry use a Mist Sprayer to moisten the surface.
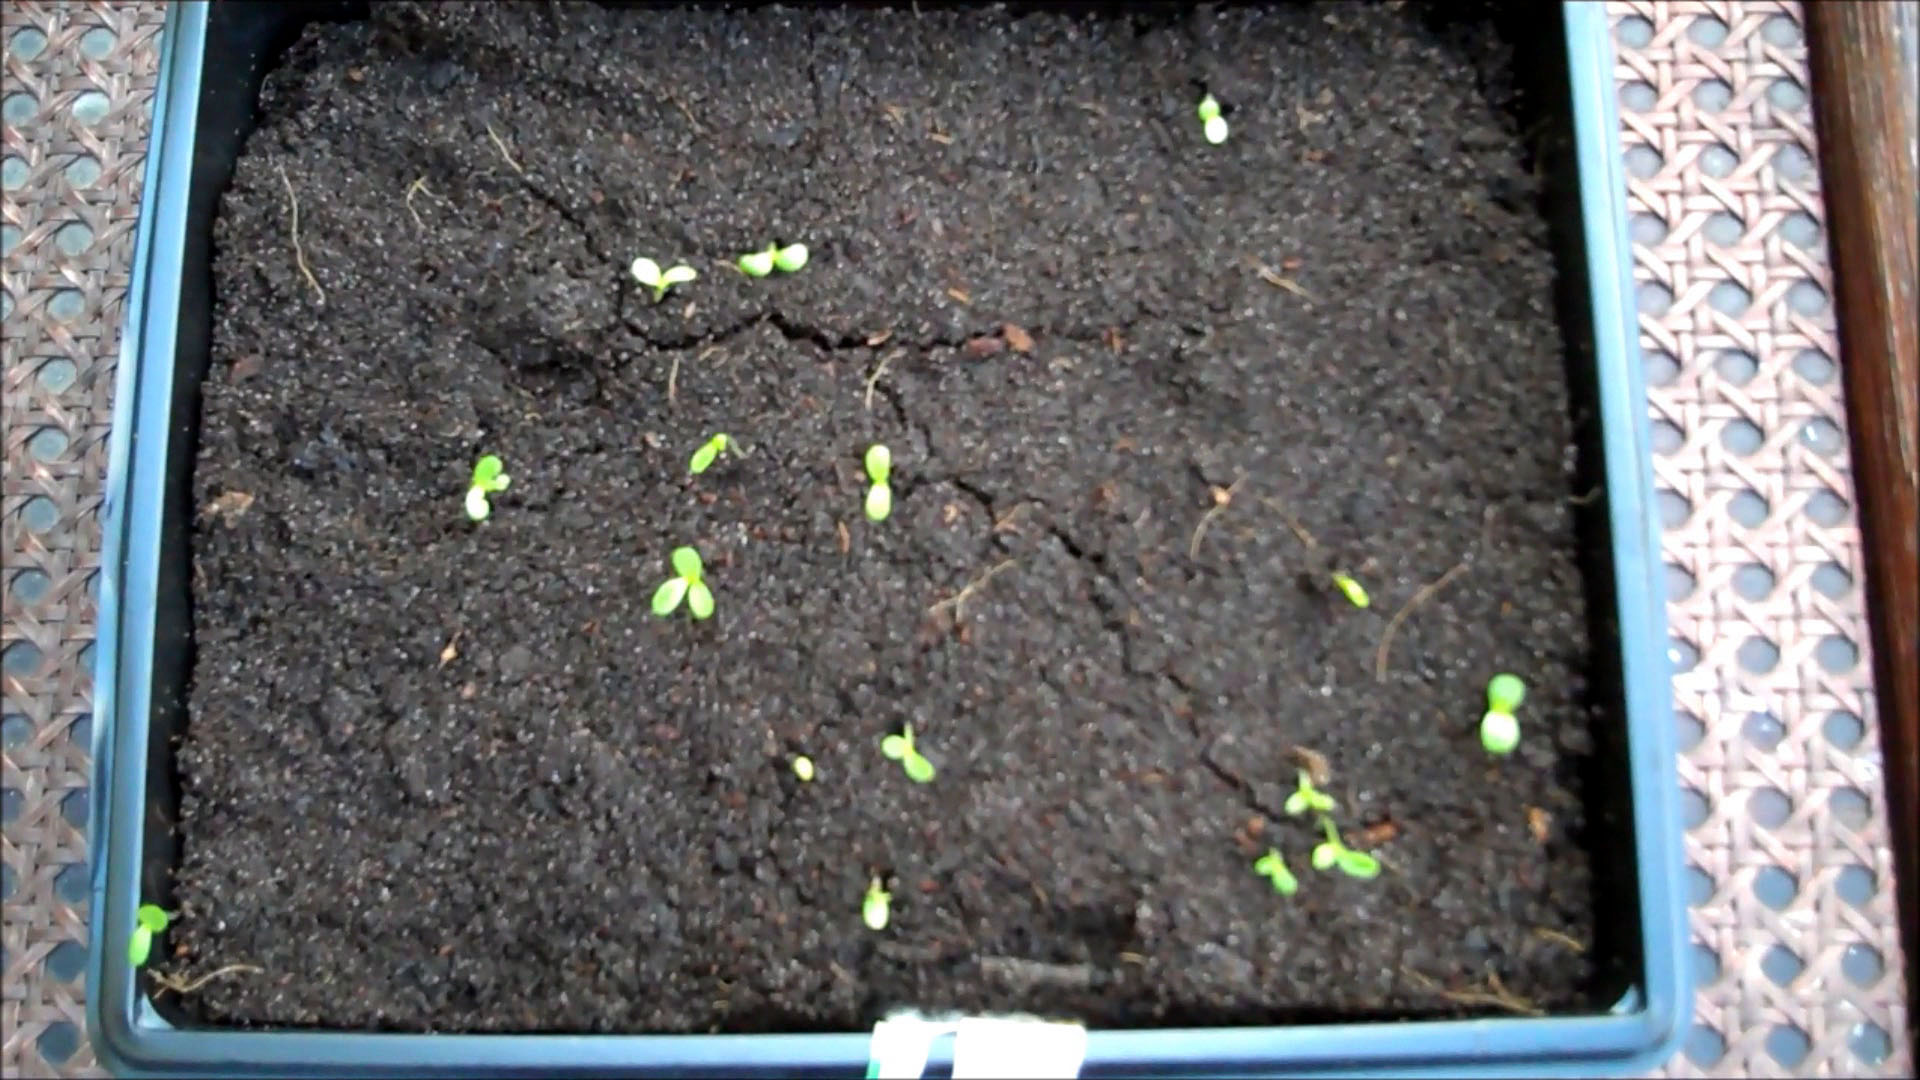
Step 9: Seeds Germinate
Within 14 to 21 days the seedlings will start to appear. At this point remove the Cover from the Propagator Tray. Keep warm and moist in a bright place but not in direct sunlight.
Step 10: Transplant into Pots
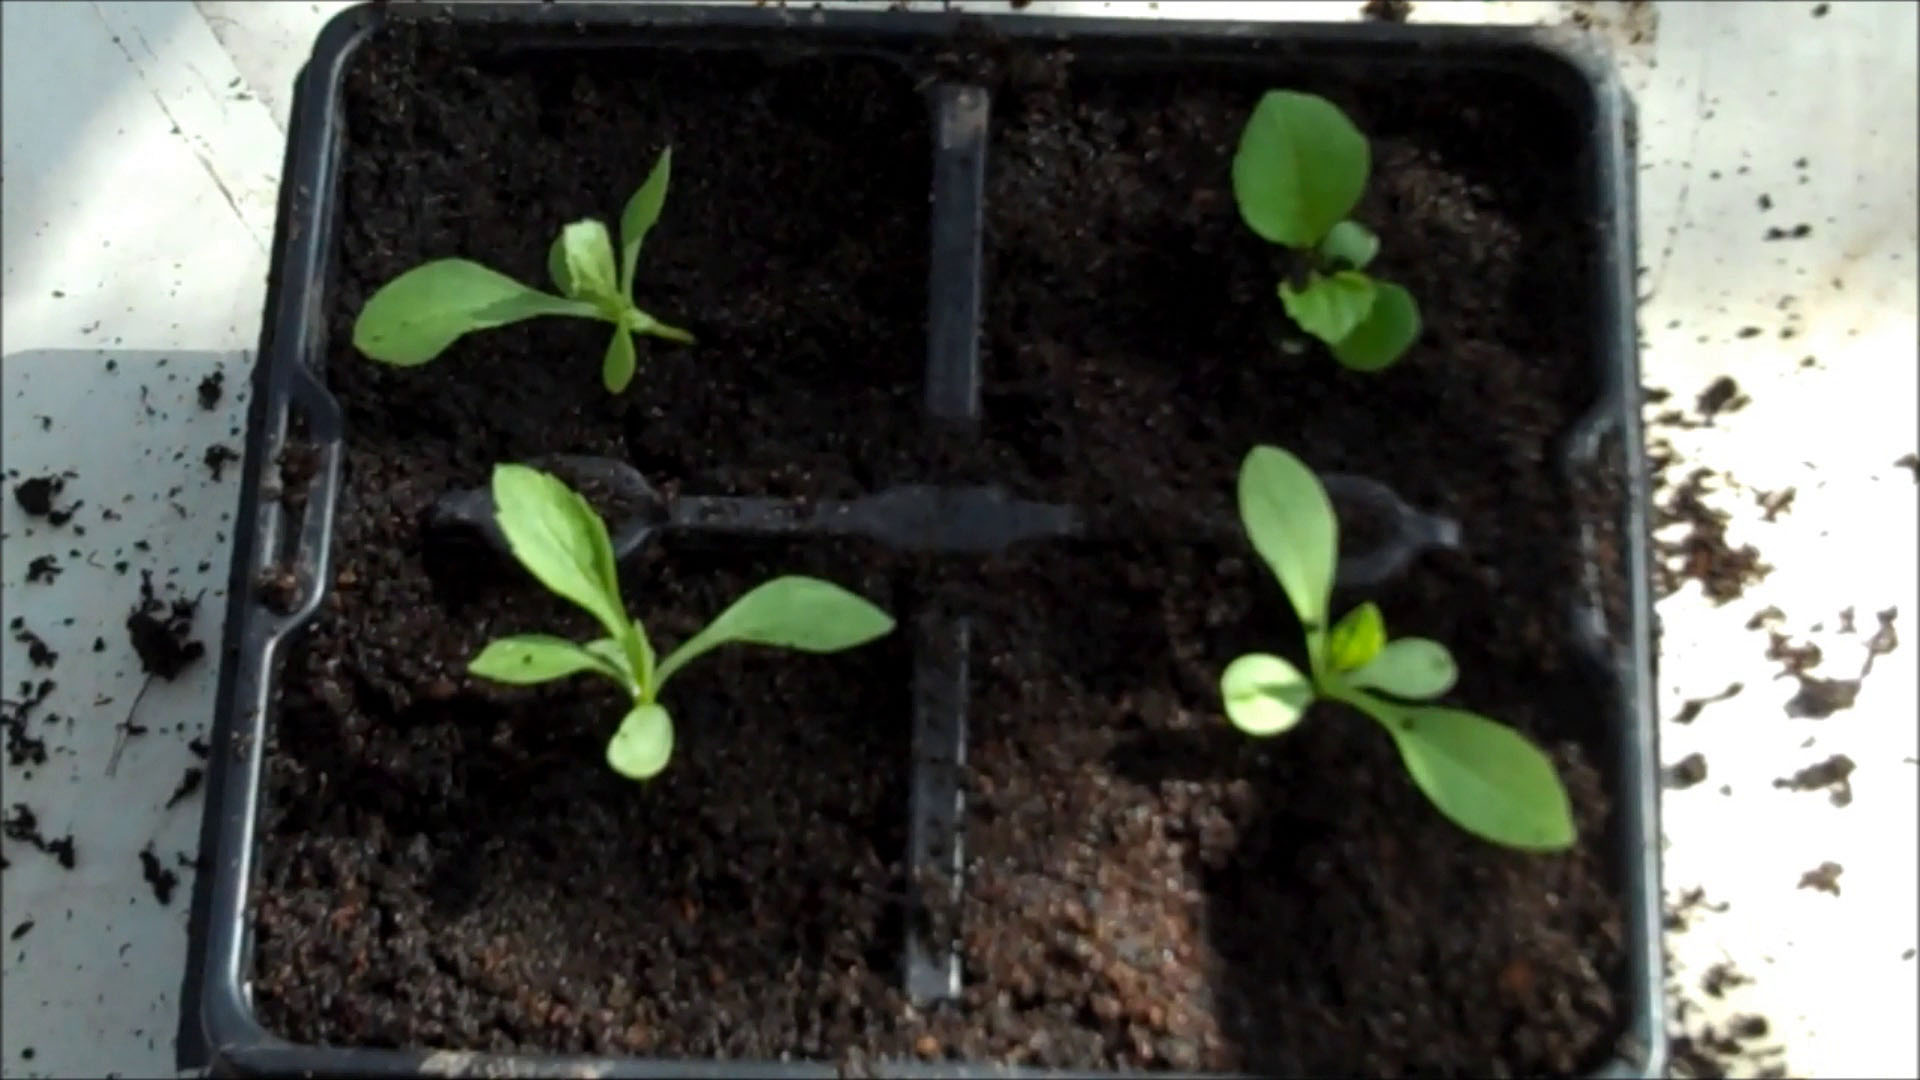
When the seedlings have at least 2 sets of leaves it is time to transplant them into pots. If they were left in the Propagator Tray their roots would crowd each other out and growth would be hindered giving weak, stunted plants.
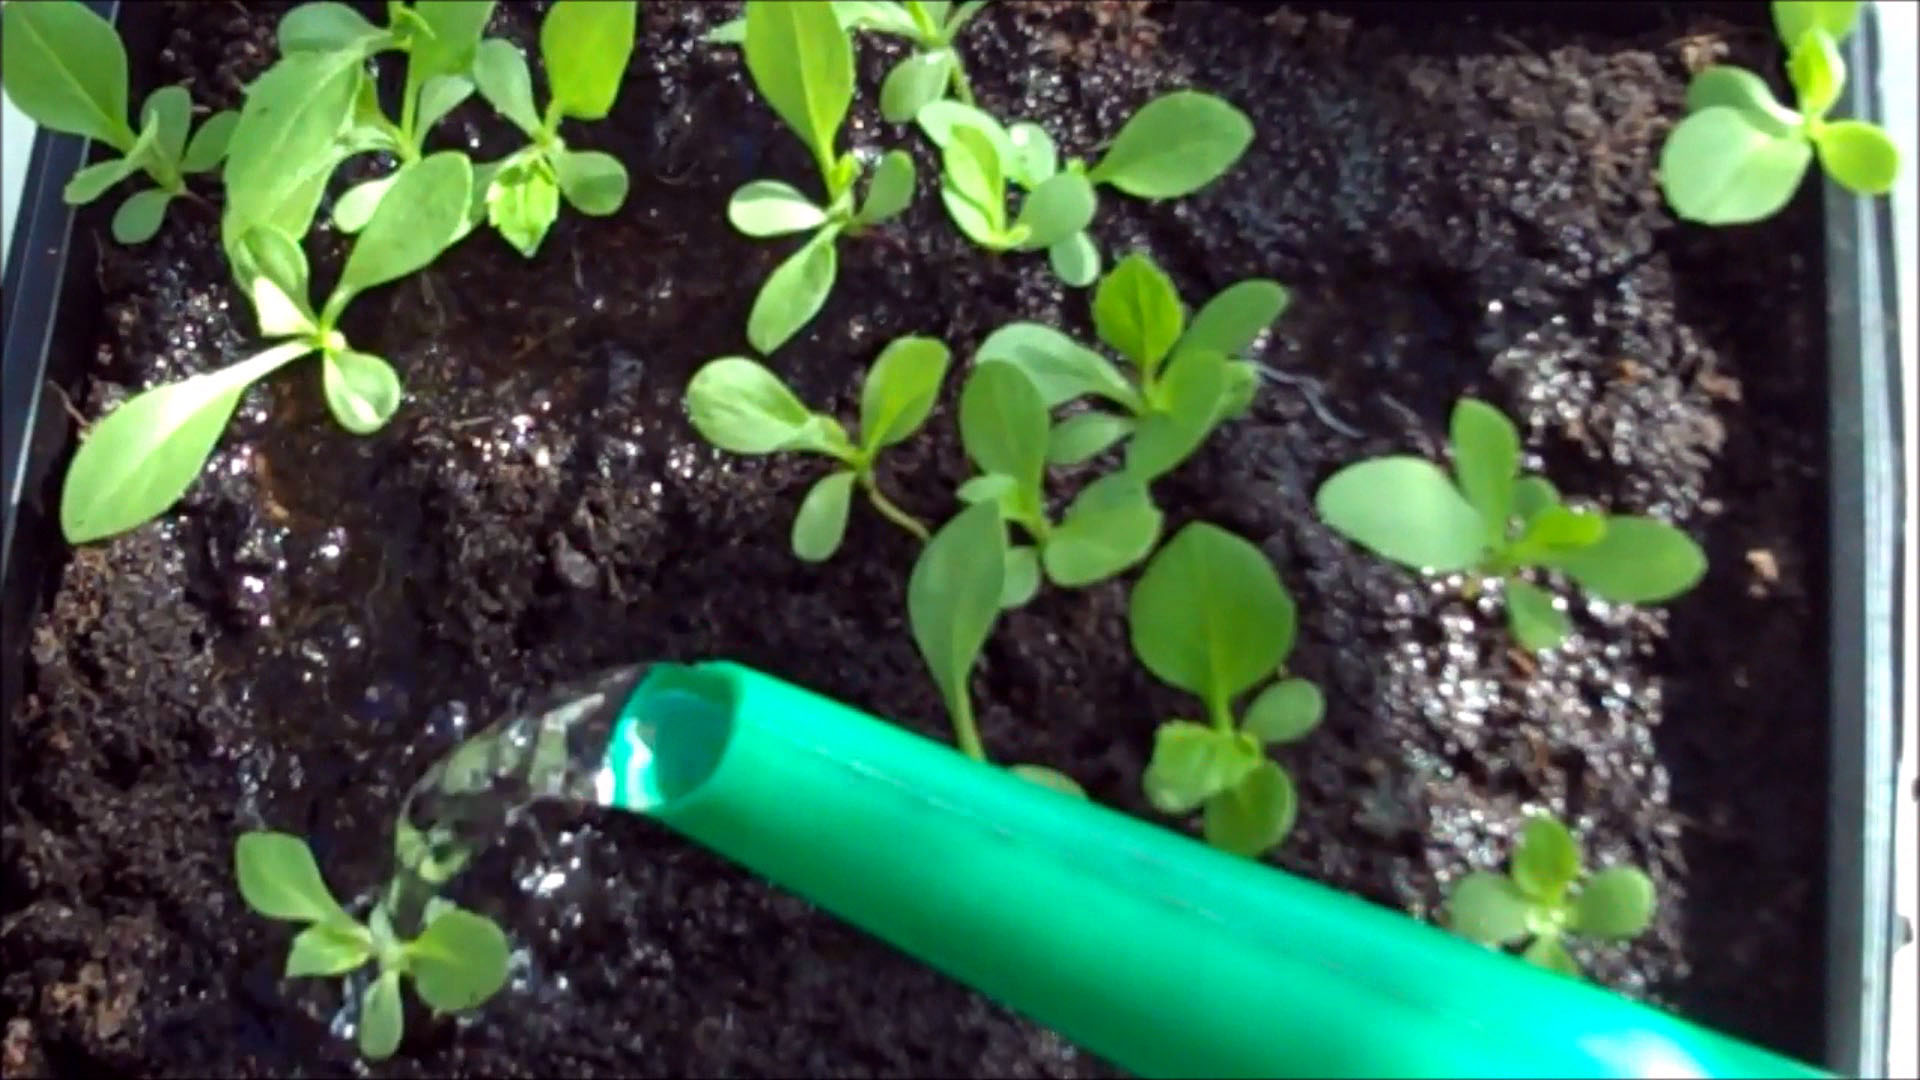
First water the seedlings. This makes them easier to dig out and helps them during the transplanting process.
Fill pots with compost. You can either use Single Pots
or Starter Trays
(I am
using a tray of 4 in the picture).
Gently press the compost down to remove any air pockets.
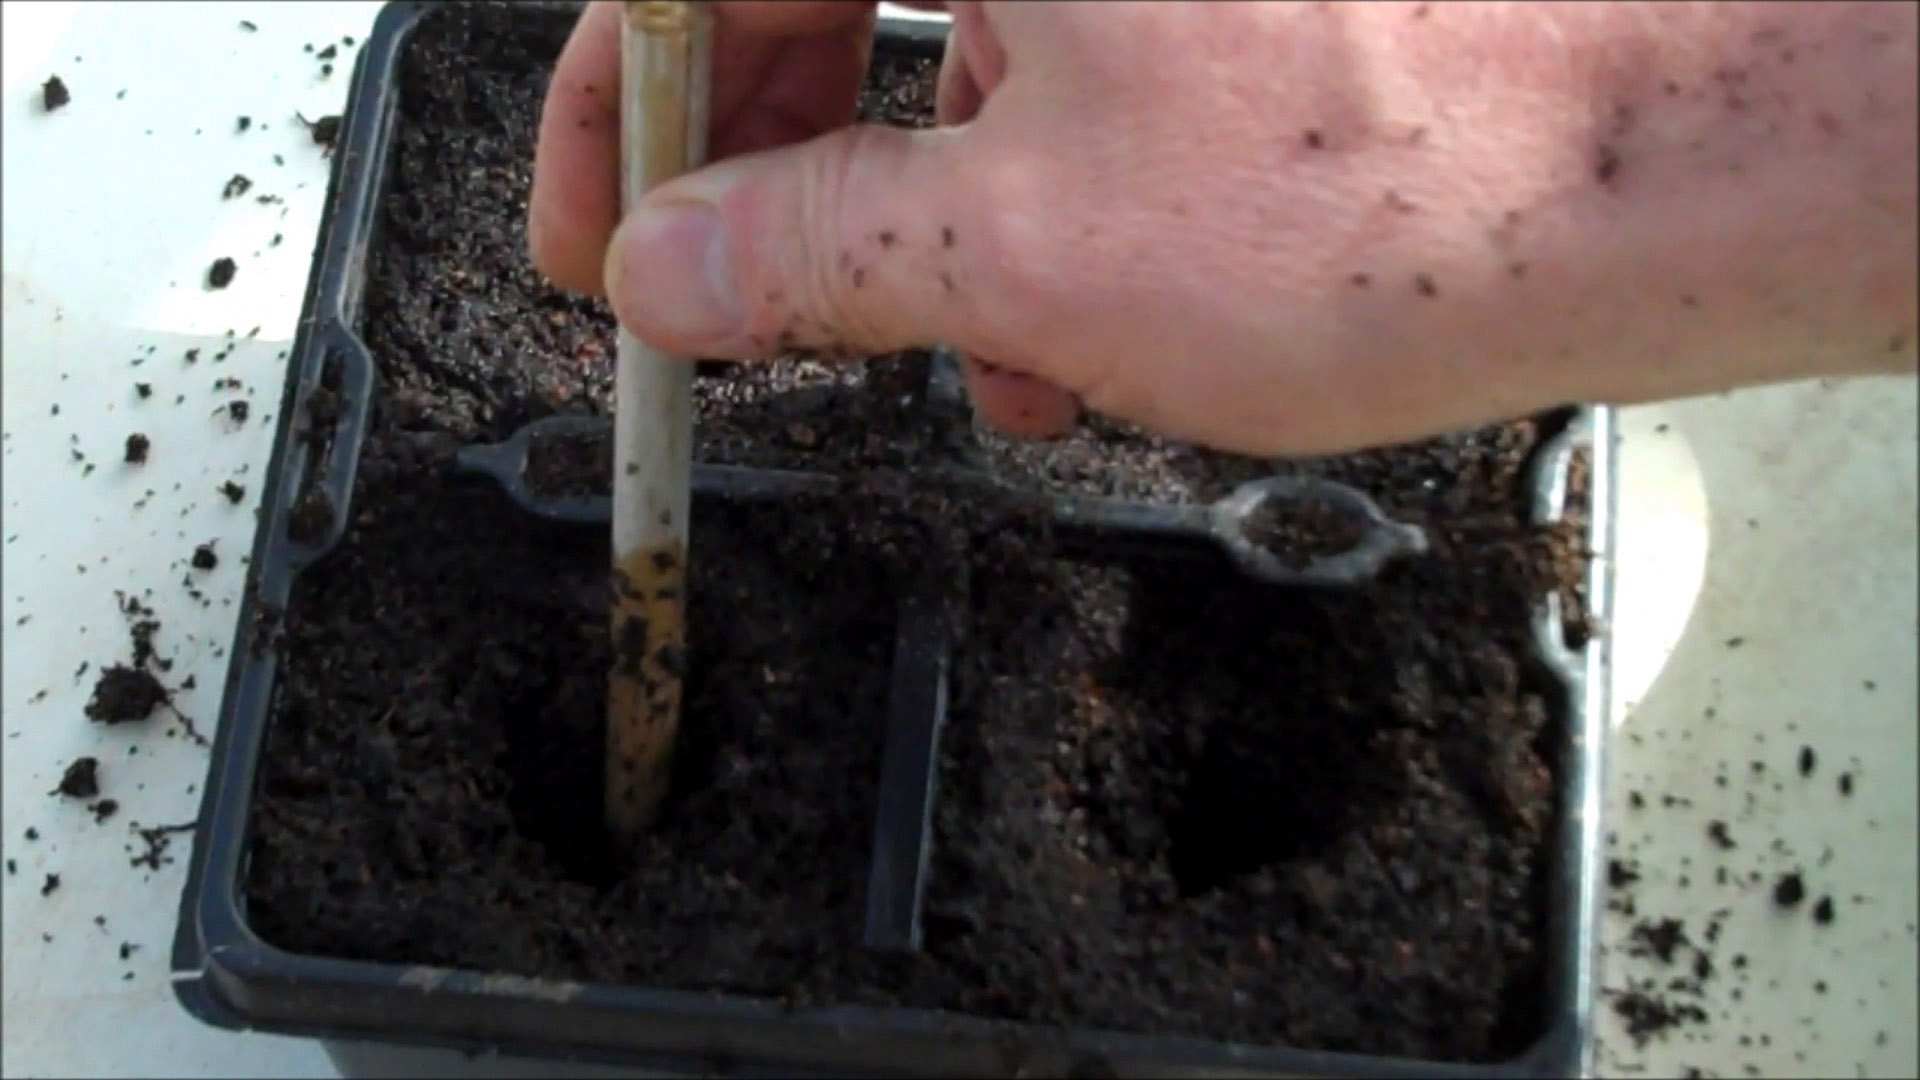
Make a hole in the center of the compost using your thumb or a stick.
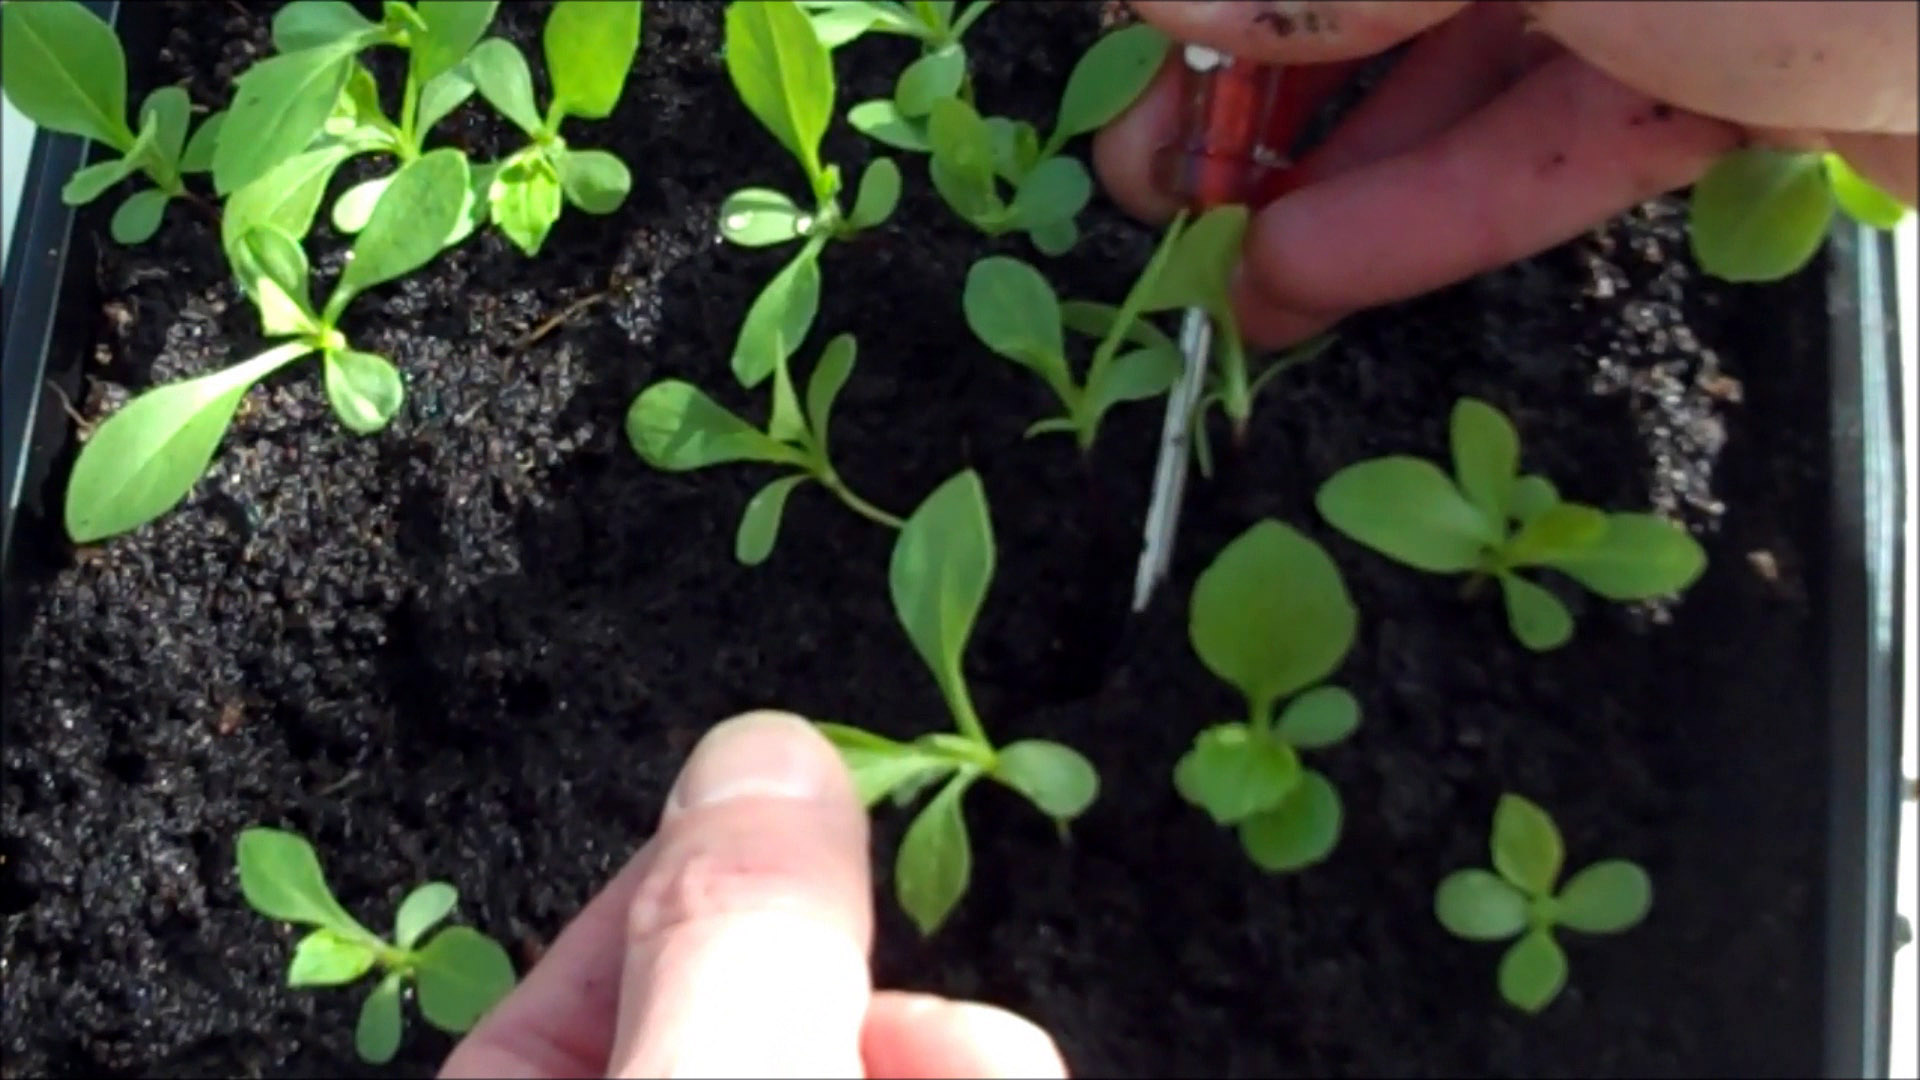
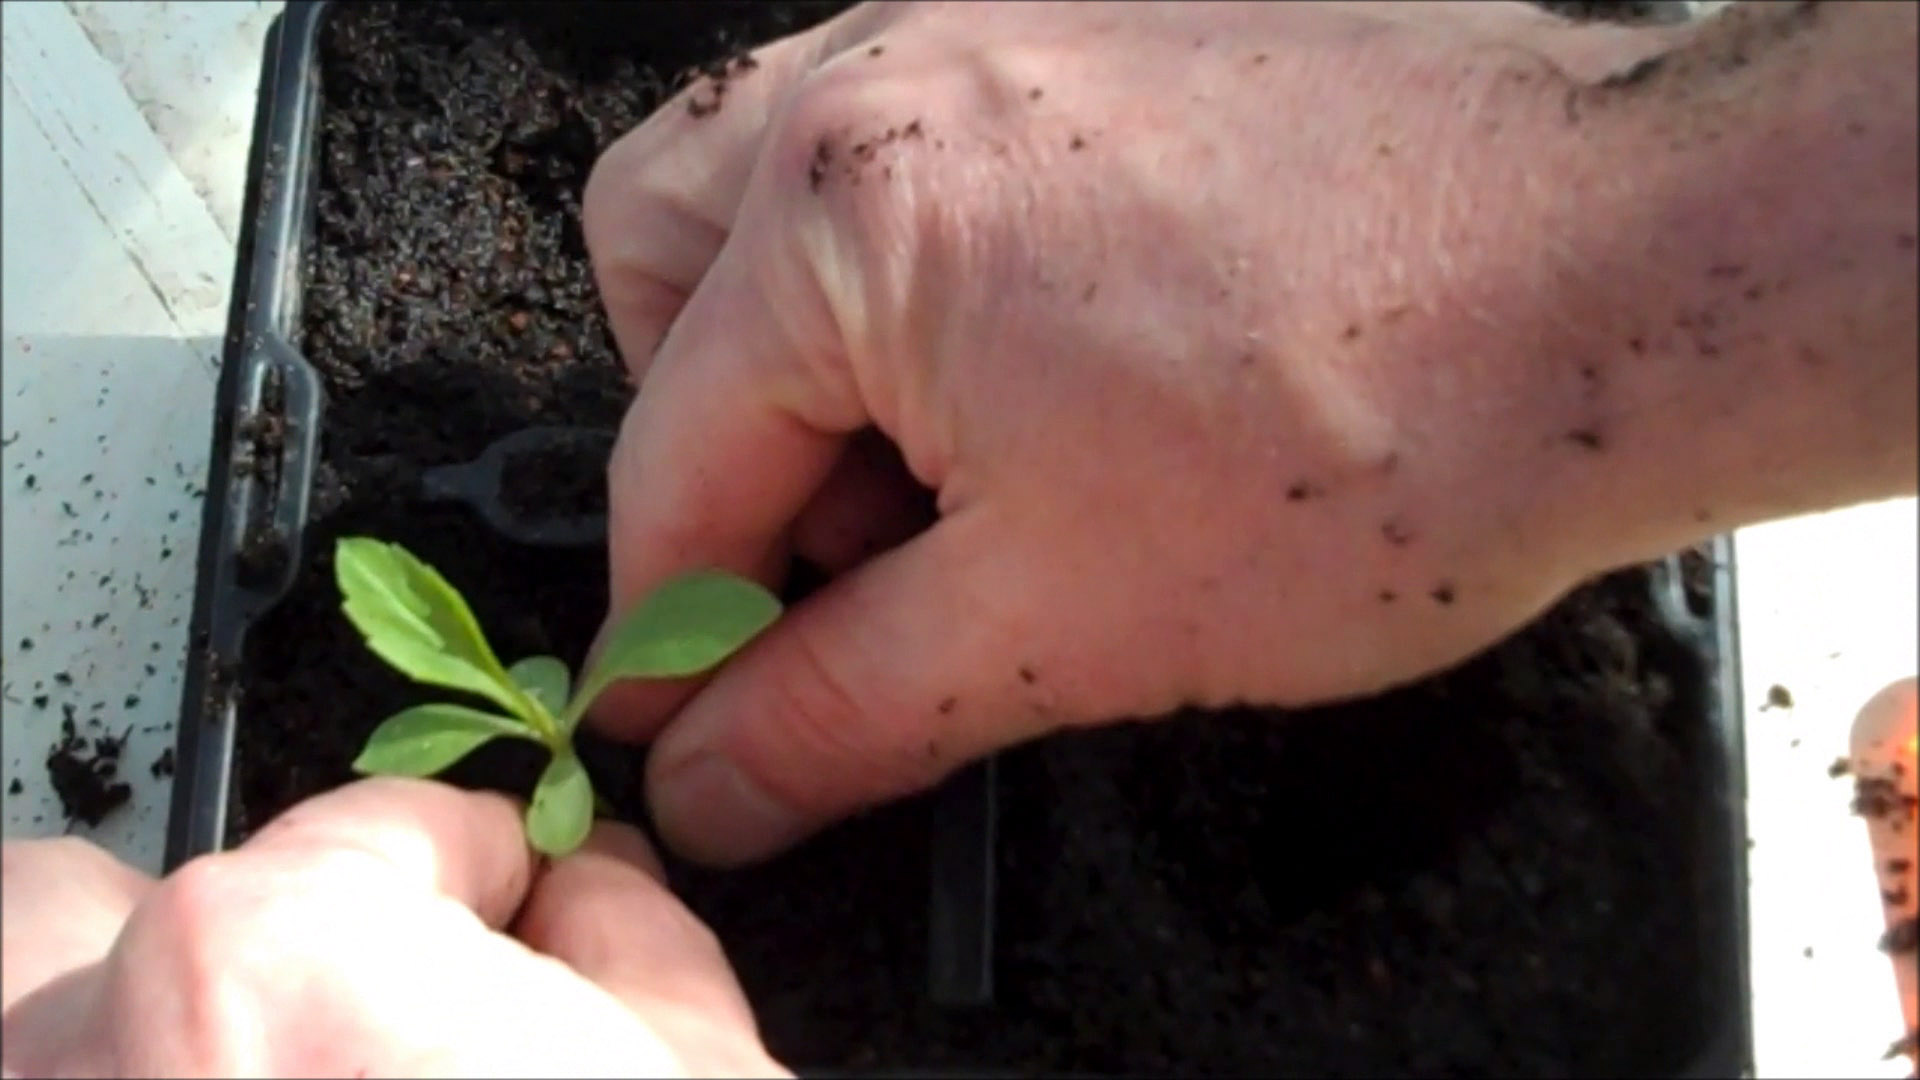
Hold a seedling by its leaf and gently tease the roots from the soil. Try to take as much root as you can. I find using a teaspoon is useful for this as it can get under the roots and lift them out while supporting them.
Dont hold by the stem because if you damage it then the whole plant is damaged whereas if you damage a leaf then that is all that is lost.
Place the seedling in the hole in the compost. Gently press the compost around the roots and then water into place.
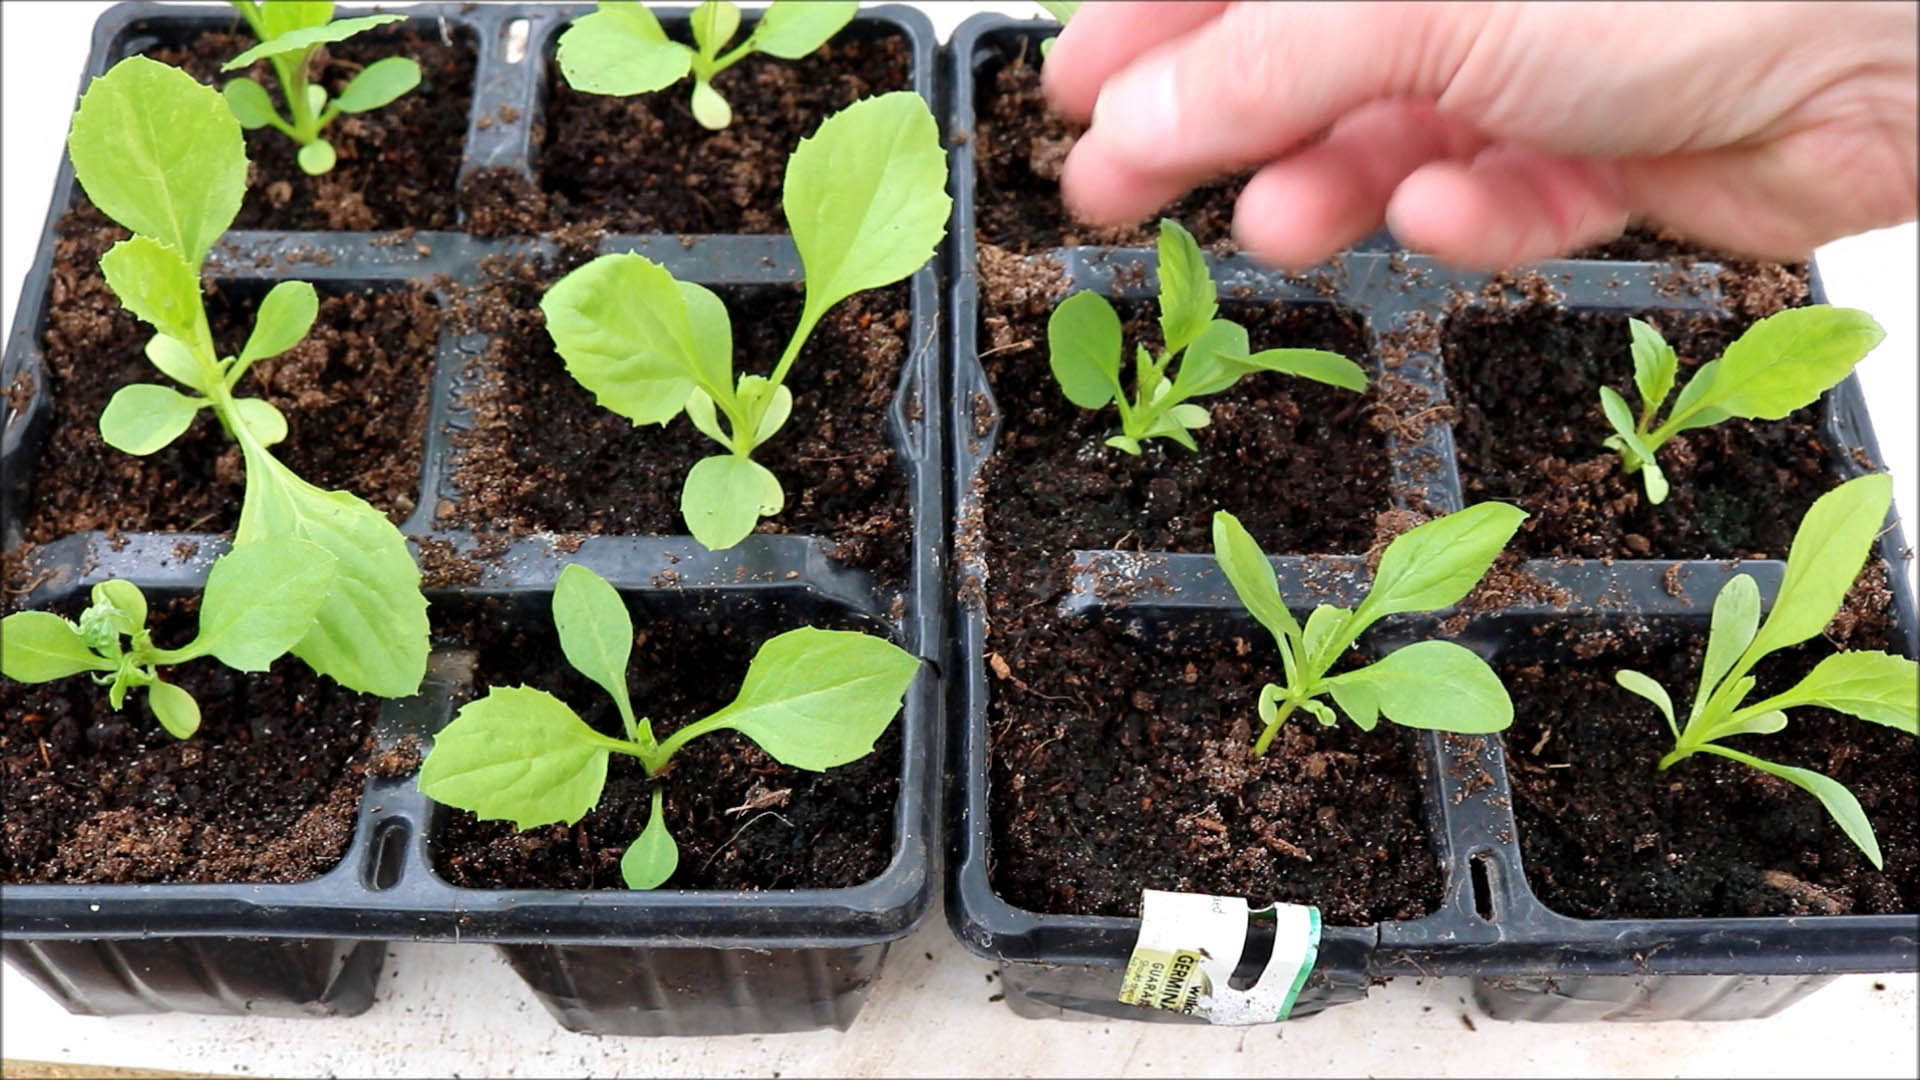
Step 11: Keep Warm and Watered
Keep indoors in a warm place at approx. 15-20 degC (60 to 68 degF). Keep in a bright place but not in direct sunlight.
Step 12: Harden Off
A week or two before planting outside, the plants must be put outside in the daytime to harden them off. They must be brought back inside at night time.
The process of hardening off gradually gets the plants used to cooler outdoor temperatures, low humidity and increased air movement. If you planted outside without doing this then the plants will be harmed, sometimes permanently or their growth set back by several weeks.
Step 13: Plant Outside
When the danger of any frosts have passed then it is time to plant outside.
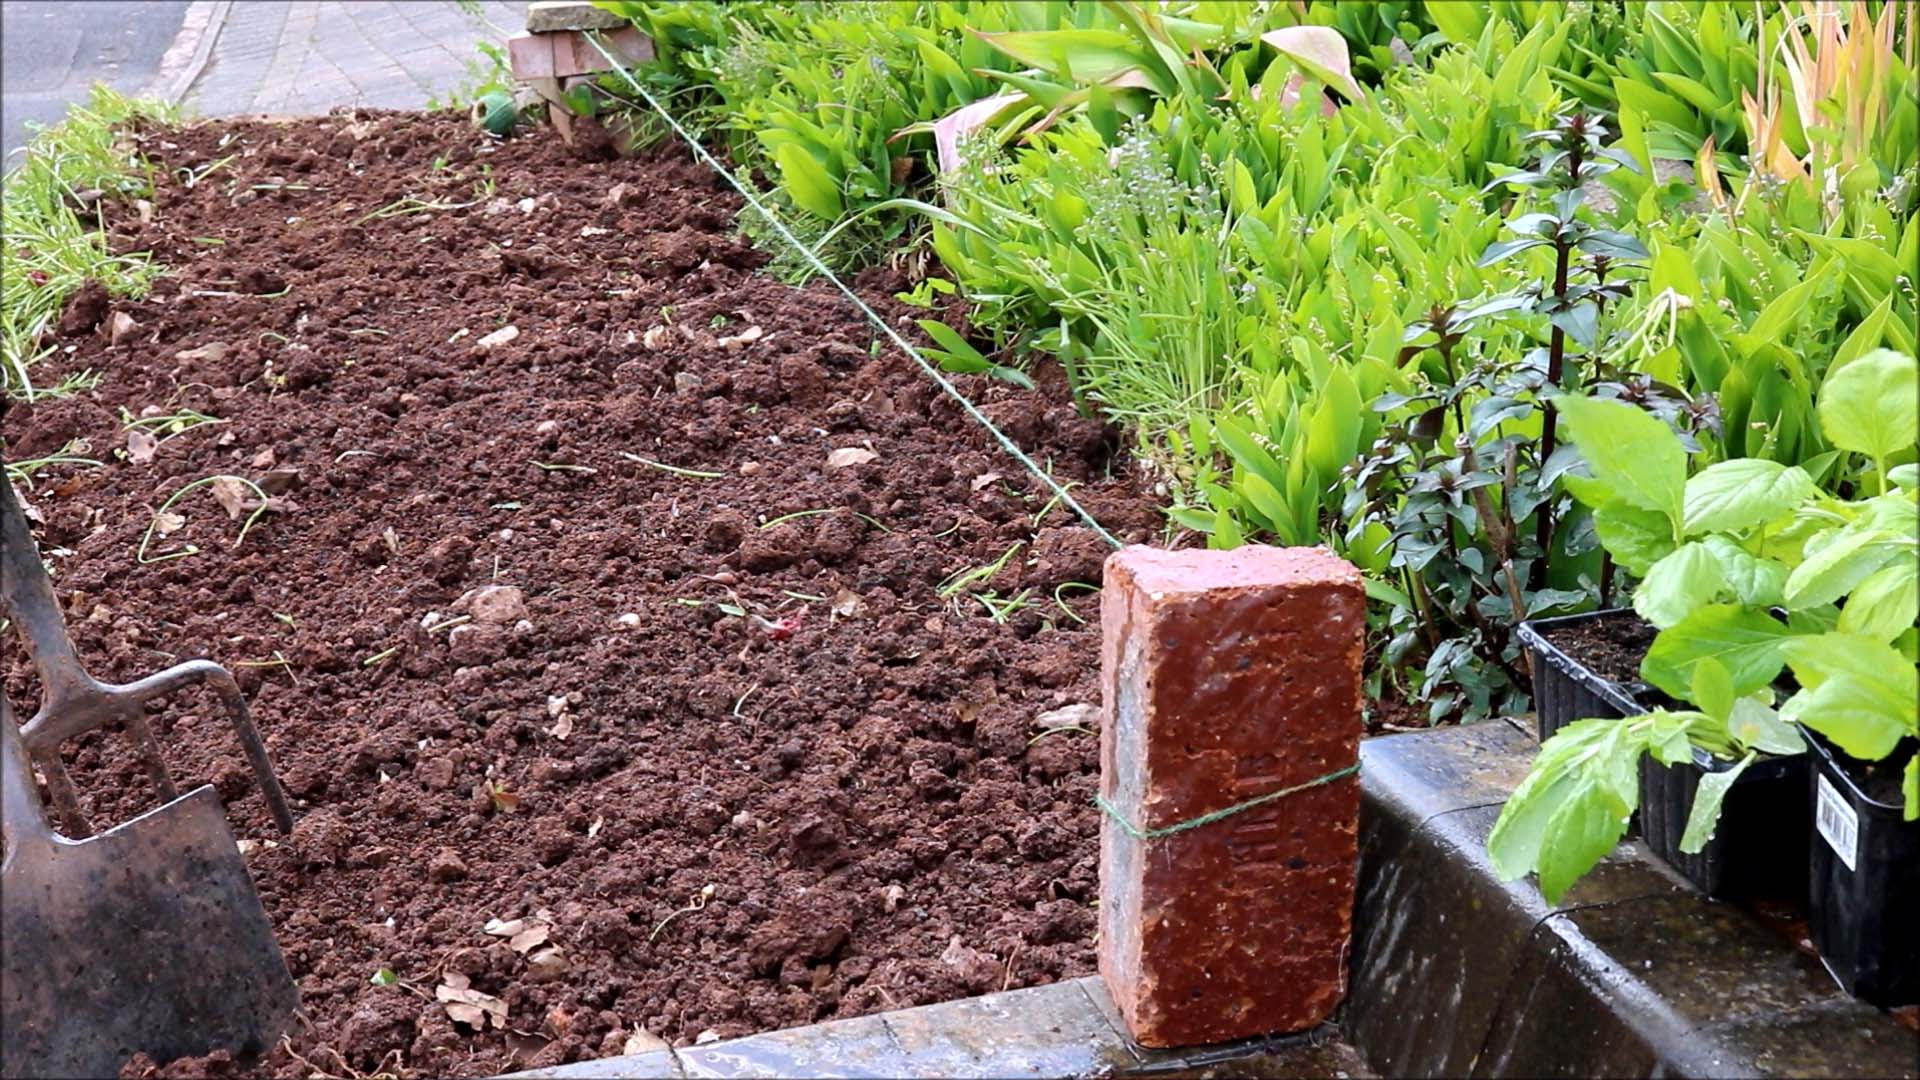
Firstly dig your soil and remove any weed and stones. Next rake the
soil to give
a fine tilth. Mark a line where you want to position the plants with a length of string or use a Garden Line Marker.
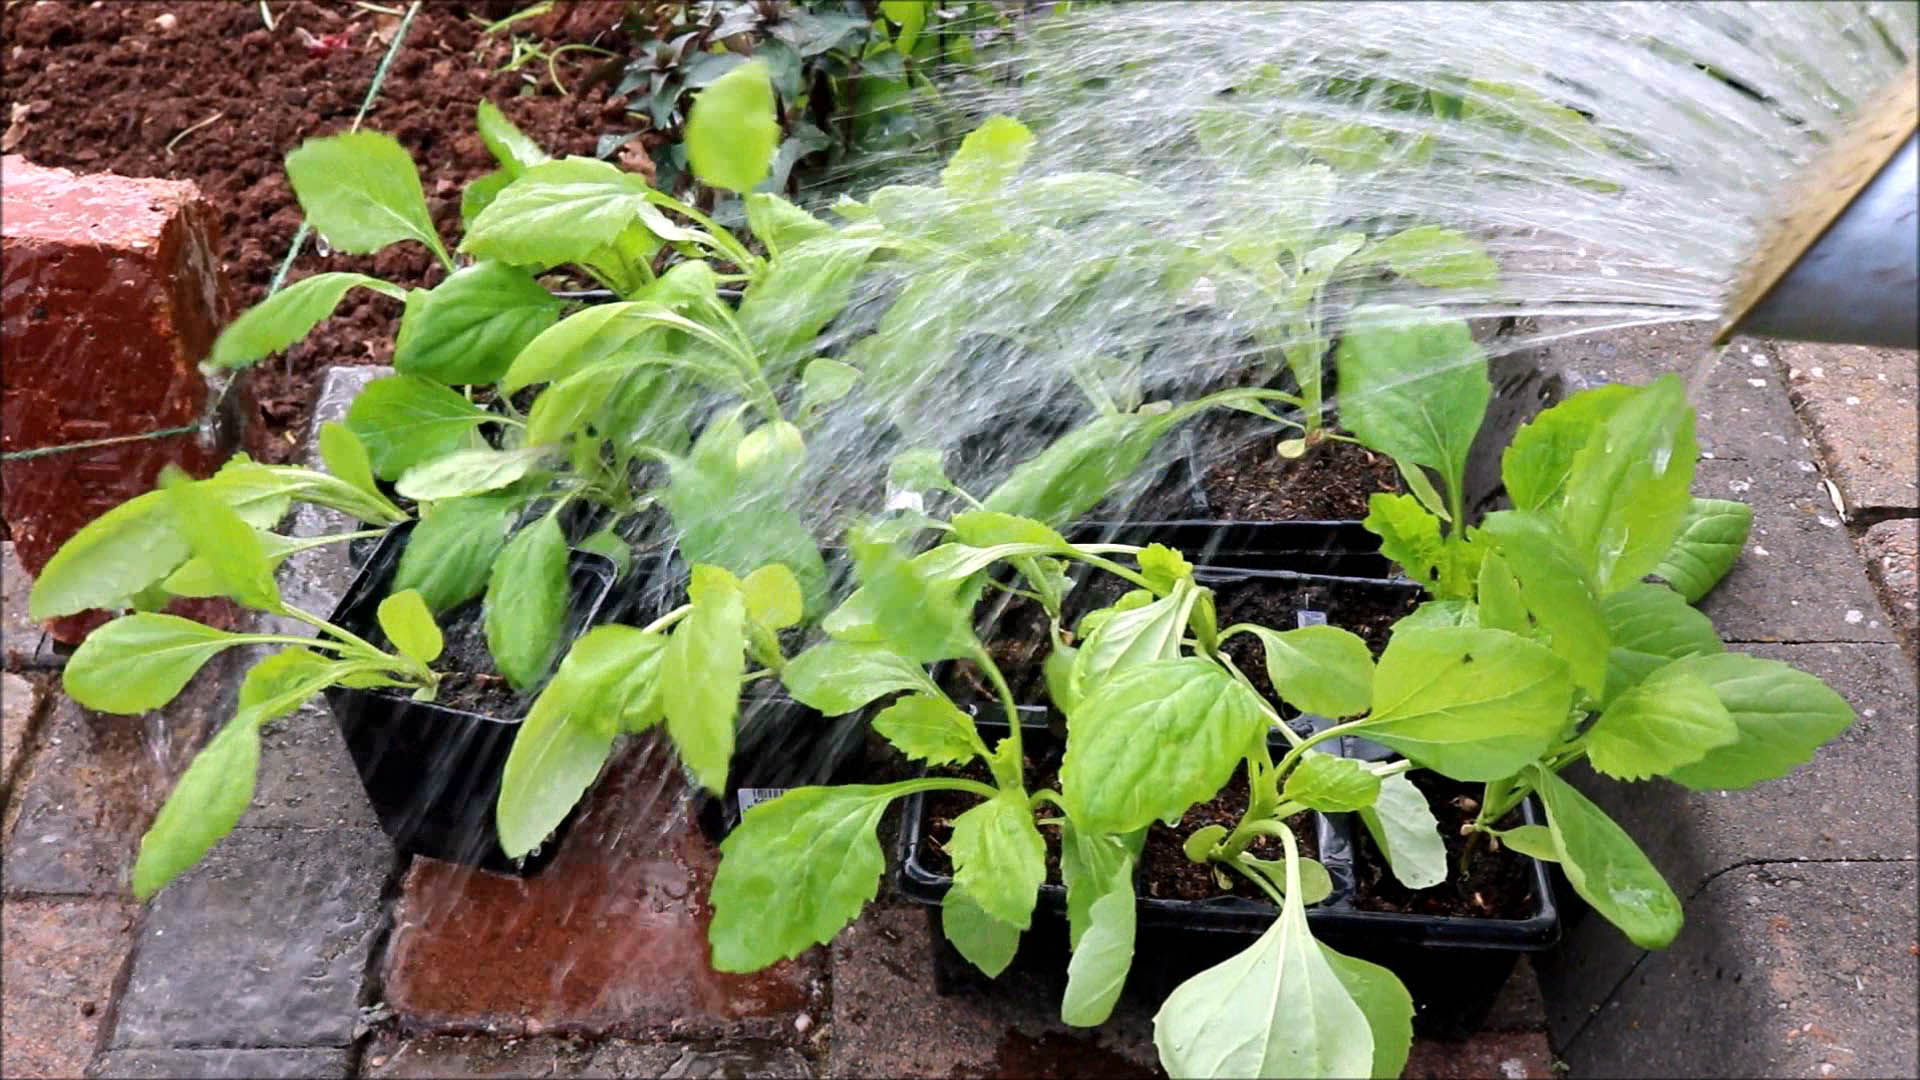
Prior to removing the plants from their pots give them a good soaking.
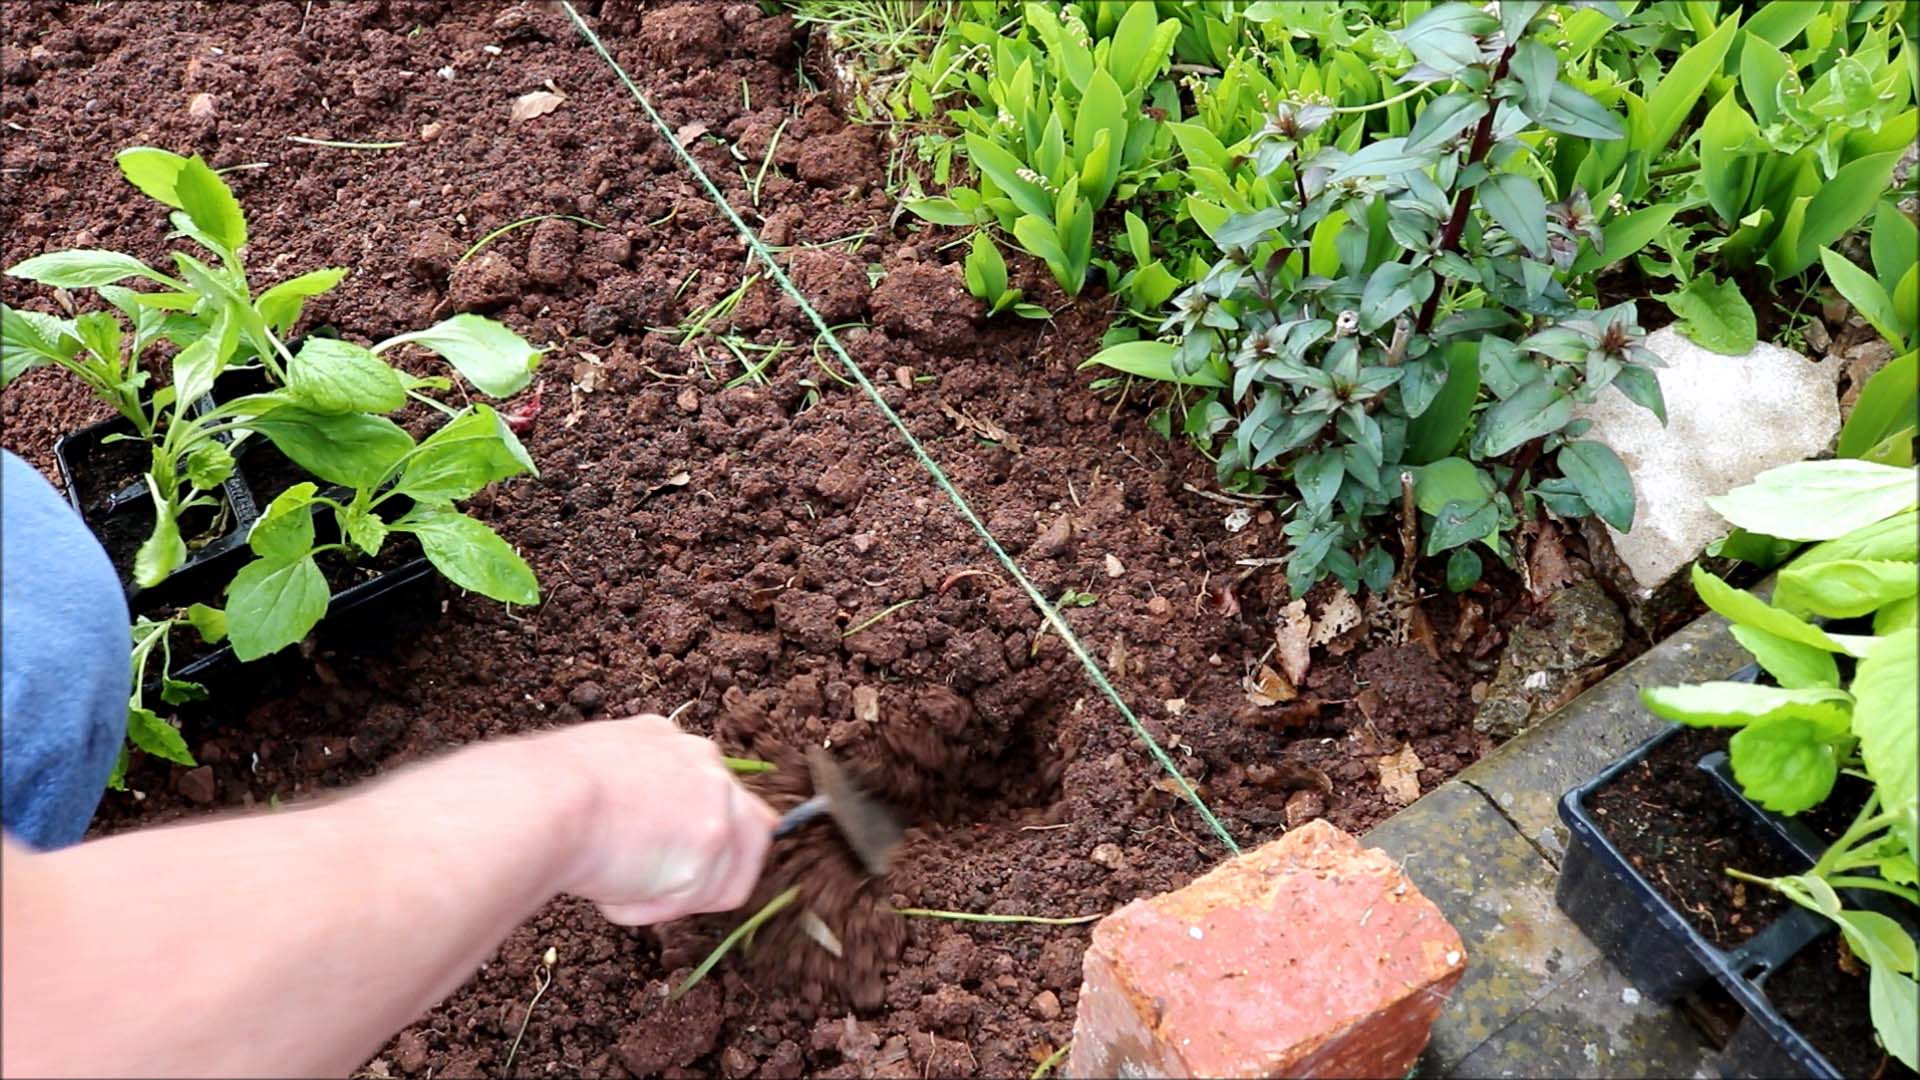
Use a Garden Trowel to dig a small hole in the soil - a little bigger
than the size of the plant pot that the seedlings are in.
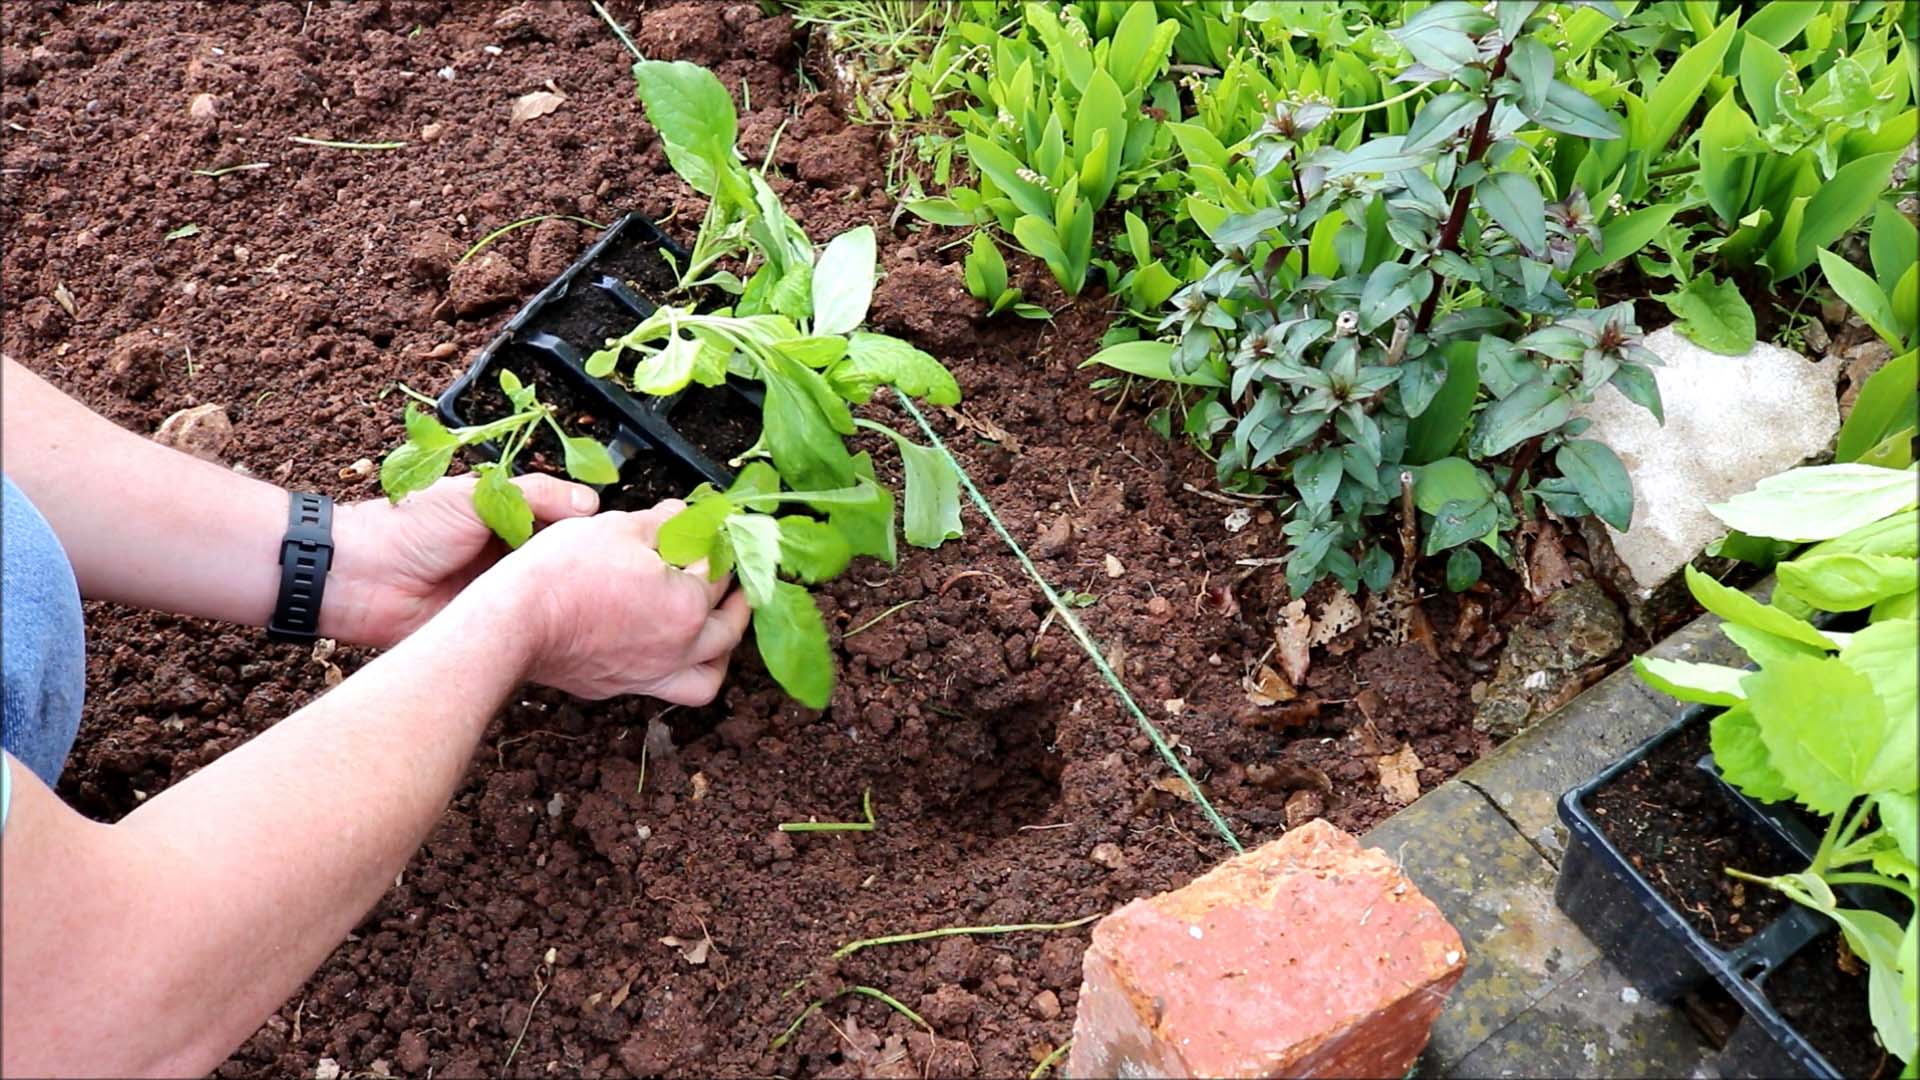
Hold the plant by its leaves (not the stem as this could break and you could lose the whole plant). Carefully tease the roots from the pot and place the plant in the hole in the soil.
Gently press the soil around the roots.
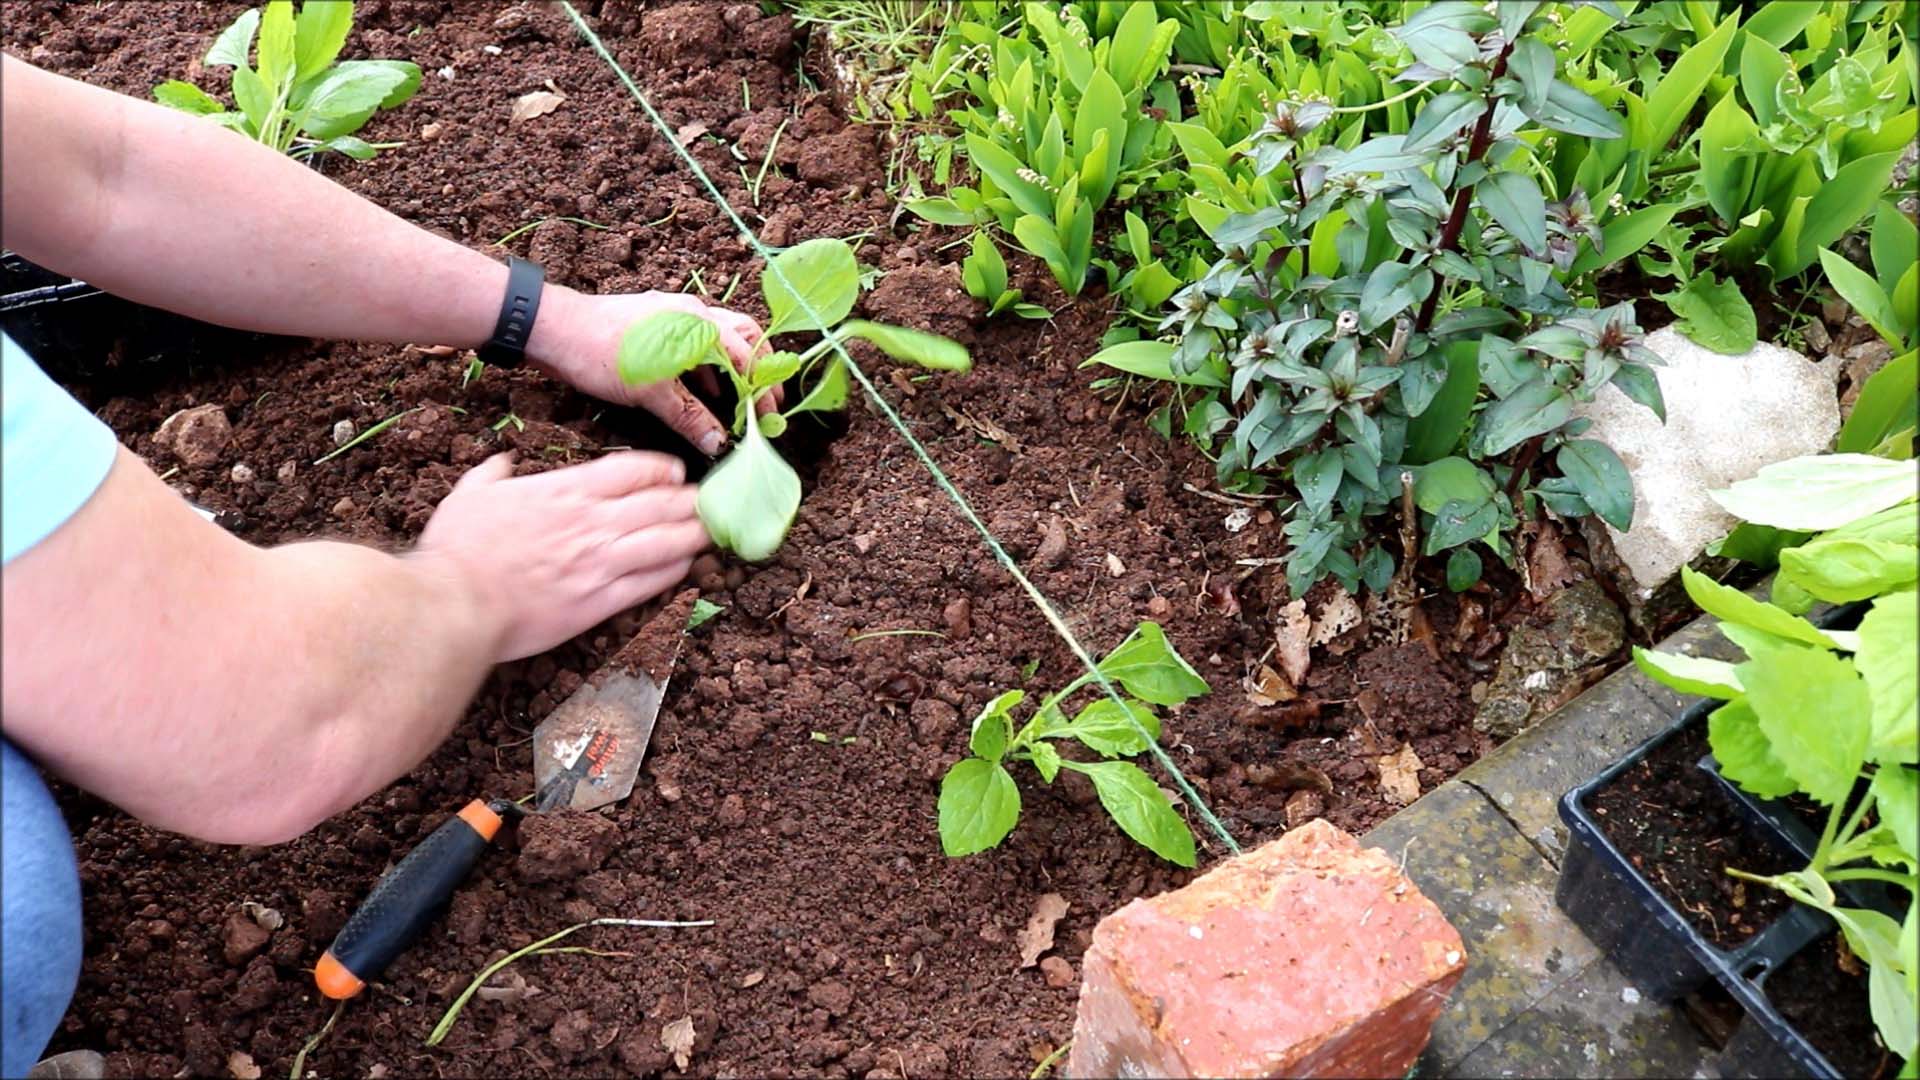
Move along your marked line and place the next plant 30cm (12 inch) away from the first plant.
Repeat until the whole row is planted out. If you need more than one row then mark the next one 30cm (12 inch) away from the first one.
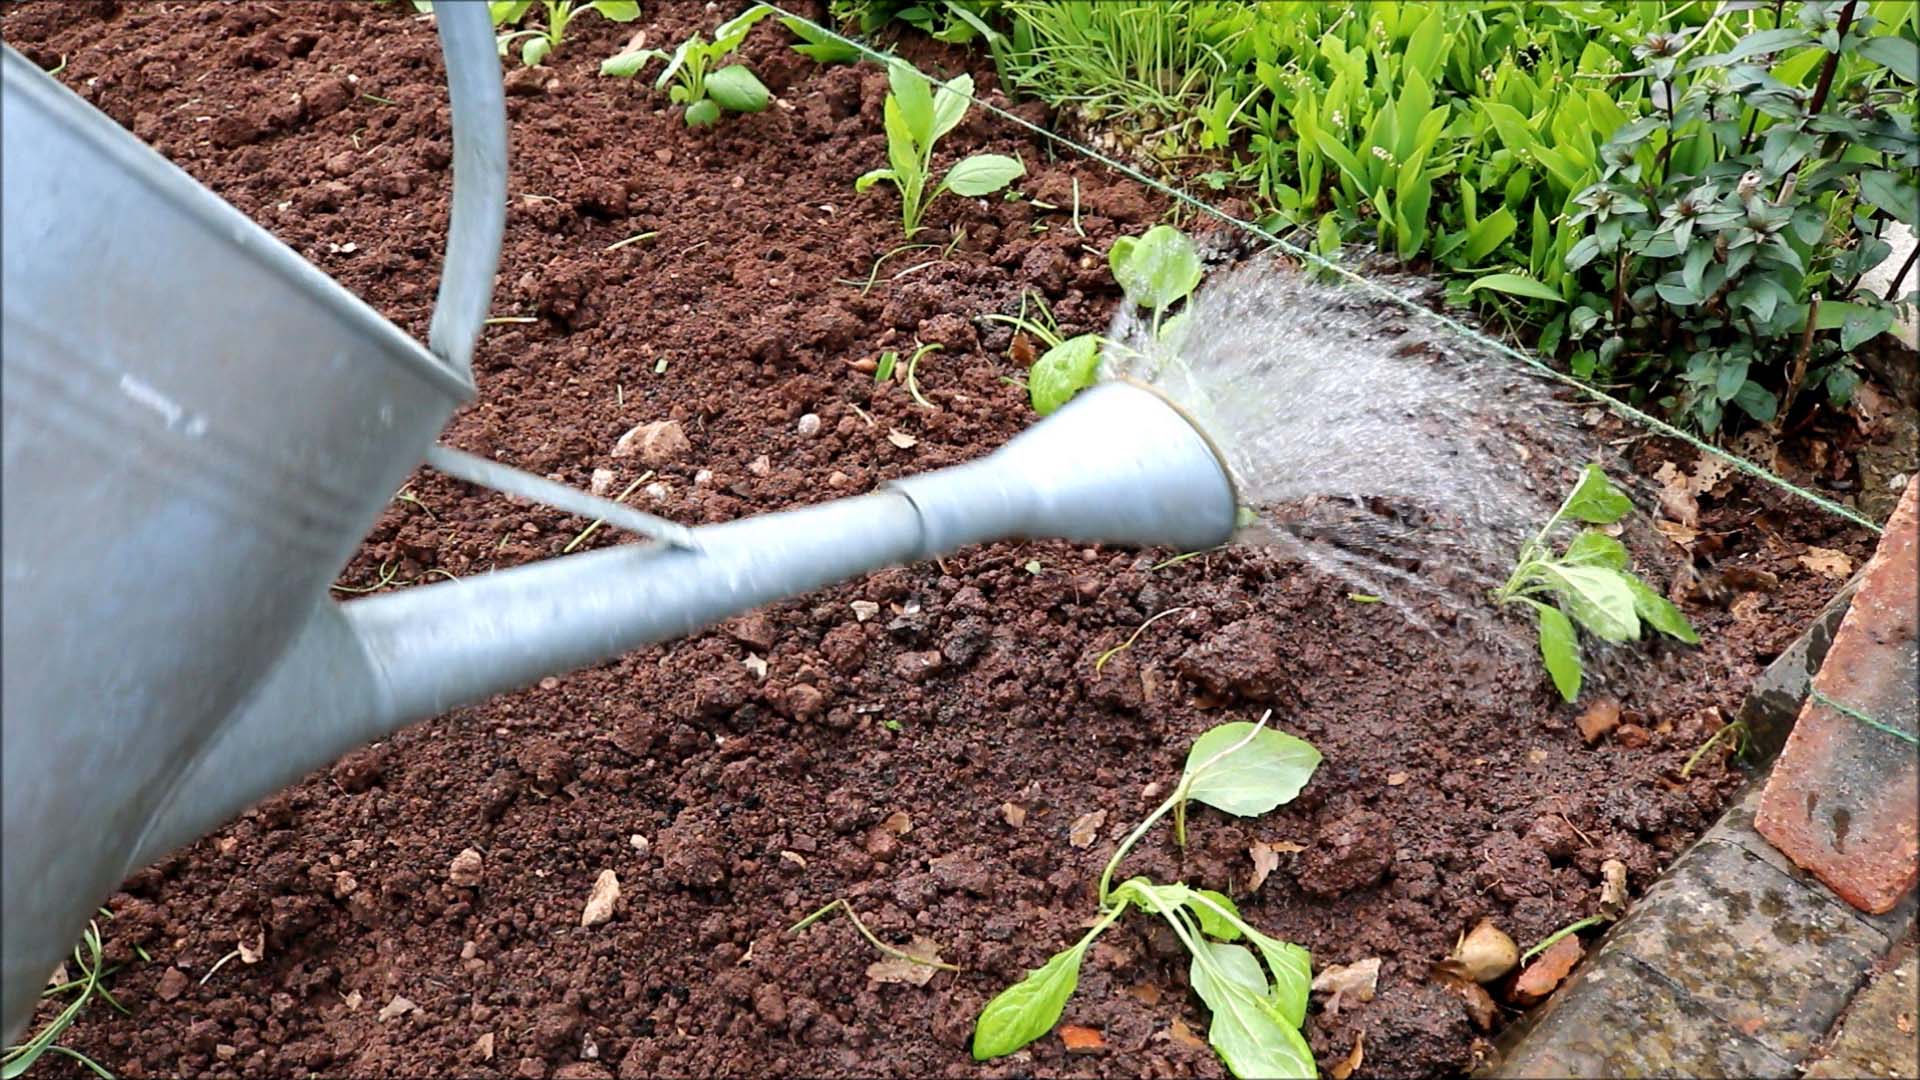
Give the plants a good soaking. This washes the soil down and around the roots filling any air pockets.

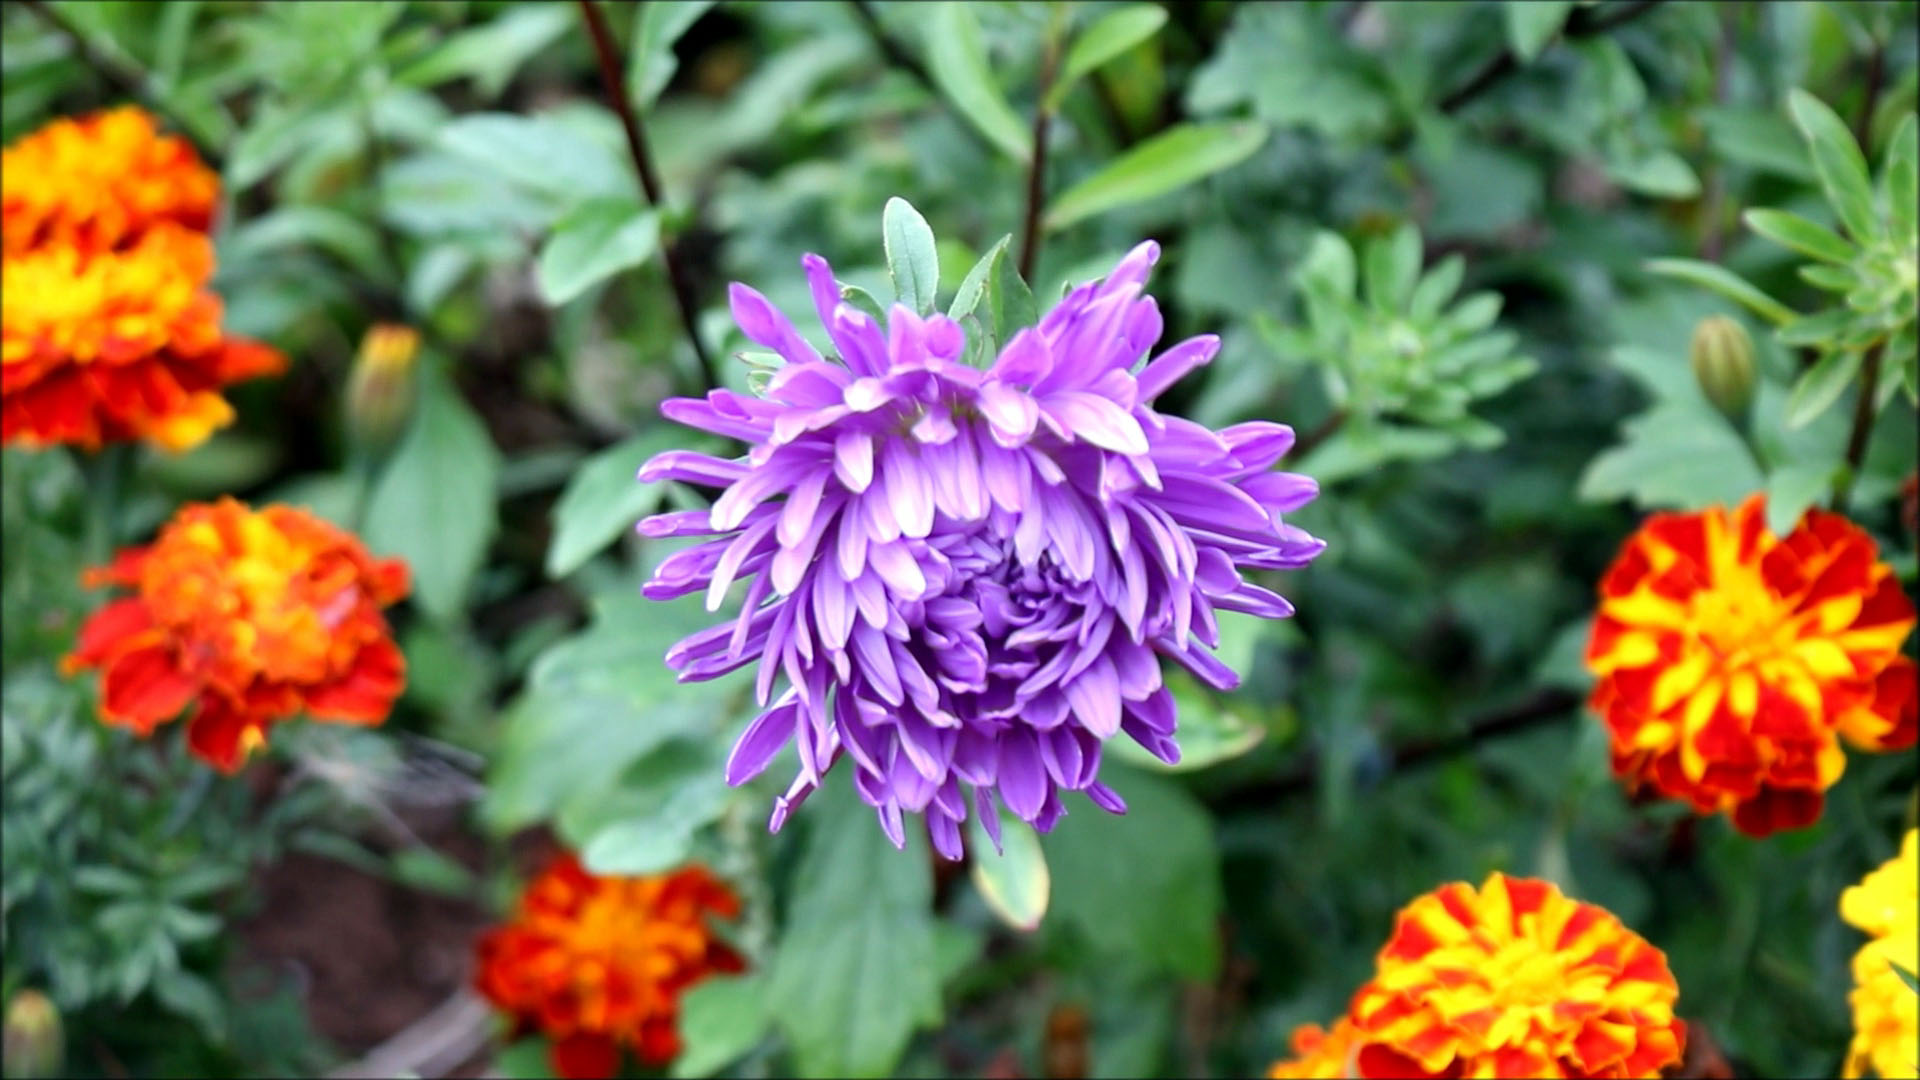
Step 14: First Flowers Appear
After about 4 to 6 weeks the first flowers will begin to appear.
Step 15: Keep Watered and Dead-Head
Keep watered and weed free. Dead head (remove any dead flowers) to prolong flowering. This stops the plant putting its energy into seed growth and into production of new flowers.